How to Draw a Forest in 6 Simple Steps
Learn how to draw with this step-by-step tutorial.
Materials You'll Need
- Drawing paper
- Pencil (HB or 2B)
- Eraser
- Colored pencils
- Blending stump
- Watercolor paints
Welcome to our detailed guide on how to draw a forest, a captivating experience that invites you to immerse yourself in nature's beauty. Forests are more than just collections of trees; they are vibrant ecosystems filled with a myriad of colors, textures, and life forms. The act of drawing a forest not only stimulates your creativity but also allows you to connect with the serenity and charm that comes from the great outdoors.
In this tutorial, we'll take you step by step through the process of capturing the enchanting world of the forest on paper. From sketching the foundational elements to adding intricate details, we will explore various techniques that will help you create a realistic and mesmerizing forest scene. Whether you are a beginner or an experienced artist, this guide is designed to inspire and enhance your artistic journey. So, gather your materials and let's embark on this exciting adventure into the wilderness!
Materials Required
-
Pencil
-
Eraser


How to Draw a Forest: A Step-by-Step Guide
Forests are breathtaking and full of life, with towering trees, lush foliage, and intricate natural details. Whether you're drawing a mystical enchanted forest, a peaceful woodland, or a dense jungle, learning to capture the depth, texture, and variety of trees is essential for creating a realistic and immersive forest scene.
In this step-by-step guide, you'll learn how to sketch the background, trees, foliage, and details, as well as add shading and texture to bring your forest drawing to life. So grab your pencils, erasers, and blending tools, and let's start creating your very own forest masterpiece! ️
Tip: To enhance your forest drawing, consider incorporating varying shades of color when adding foliage and shading; using colored pencils or watercolors can bring depth and vibrancy to your artwork. Experiment with layering colors to create highlights and shadows that mimic the natural light filtering through trees, making your scene more dynamic and lifelike.
Step 1: Sketch the Background & Horizon
Before diving into the details, start by lightly sketching the basic structure of the forest.
-
Draw the horizon line—this will define the depth and perspective of your forest.
-
The forest floor should be uneven—add small hills, slopes, or tree roots to make it look more natural.
-
If your forest has a path, river, or clearing, sketch it now to establish the composition.
Tip: Use light, loose strokes so you can adjust the background easily as you progress.
Step 2: Draw the Trees
Now, start drawing the main trees in your forest.
-
Use vertical lines to sketch the tree trunks—vary their thickness and height to create a realistic look.
-
Draw different types of trees—some tall and straight, others twisting and gnarled.
-
Space out the trees unevenly—forests are not symmetrical, so avoid making them too uniform.
-
Some trees can be partially hidden behind others, adding to the sense of depth.
Tip: The trees in the foreground should be larger and more detailed, while those in the background should be smaller and fainter for depth.
Step 3: Add the Foliage & Canopy
Now, it's time to give your forest lush greenery.
-
For bushy, full trees, use curved, cloud-like shapes to form dense leaves.
-
For pine trees, draw overlapping jagged strokes to create needle-like foliage.
-
Use small, quick strokes to indicate branches and leaves, making them look natural and organic.
-
Keep the canopy dense in some areas and open in others to create an interesting composition.
Tip: Add gaps in the foliage to show light filtering through—this will make your forest feel alive!
Step 4: Draw the Foreground Elements
Adding foreground details helps make your forest scene more immersive.
-
Sketch bushes, shrubs, and grasses in front of the trees.
-
Draw fallen logs, vines, or rocks to give the forest floor more character.
-
Add smaller plants and mushrooms for extra texture and variety.
-
If your forest has a path or river, outline the edges and define its shape.
Tip: Keep the foreground elements larger and more detailed than the background for a better sense of perspective.
Step 5: Add Details & Texture
Now, let's enhance the realism of your forest with texture and small details.
-
Tree bark: Use short, vertical strokes to give tree trunks rough, natural texture.
-
Leaves & foliage: Draw small overlapping lines to indicate clusters of leaves.
-
Forest floor: Add fallen leaves, twigs, or pebbles to make the ground more realistic.
-
Hollow trees & knots: Sketch holes or knots in the tree trunks to add character.
Tip: Avoid drawing every single detail—instead, suggest textures with carefully placed strokes.
Step 6: Add Shading & Shadows
To make your forest look three-dimensional, it's time to add shading and contrast.
-
Determine your light source—where is the sunlight coming from?
-
Shade one side of each tree trunk to create depth and form.
-
Add darker shadows where trees overlap or block light.
-
Lightly shade the forest floor to show dappled sunlight filtering through the leaves.
Tip: Use blending tools (like a tissue or blending stump) to soften shadows and create smooth transitions.
Step 7: Finalize the Drawing & Add Highlights ✨
Take a step back and refine any final details in your forest.
-
Go over key outlines to make them bold and crisp.
-
Use an eraser to gently lift light areas, creating highlights where sunlight hits.
-
If you want to add animals, a wooden cabin, or a waterfall, now is the time!
-
Enhance the depth by making distant trees lighter and less detailed.
Tip: If you're adding mist or fog, lightly smudge the background for a soft, dreamy effect.
Your Forest Drawing is Complete!
Congratulations! You've successfully drawn a beautiful and immersive forest scene, complete with detailed trees, foliage, and realistic textures.
Want to take it further?
✅ Try drawing your forest in different seasons—lush green summer, golden autumn, snowy winter, or a misty enchanted forest! ✅ Add wildlife—birds, deer, rabbits, or even mythical creatures like fairies or dragons! ✅ Experiment with coloring techniques—use colored pencils, pastels, or watercolors to create a vibrant, lifelike forest.
Keep practicing, exploring, and bringing nature to life on paper! ✨
Happy drawing!
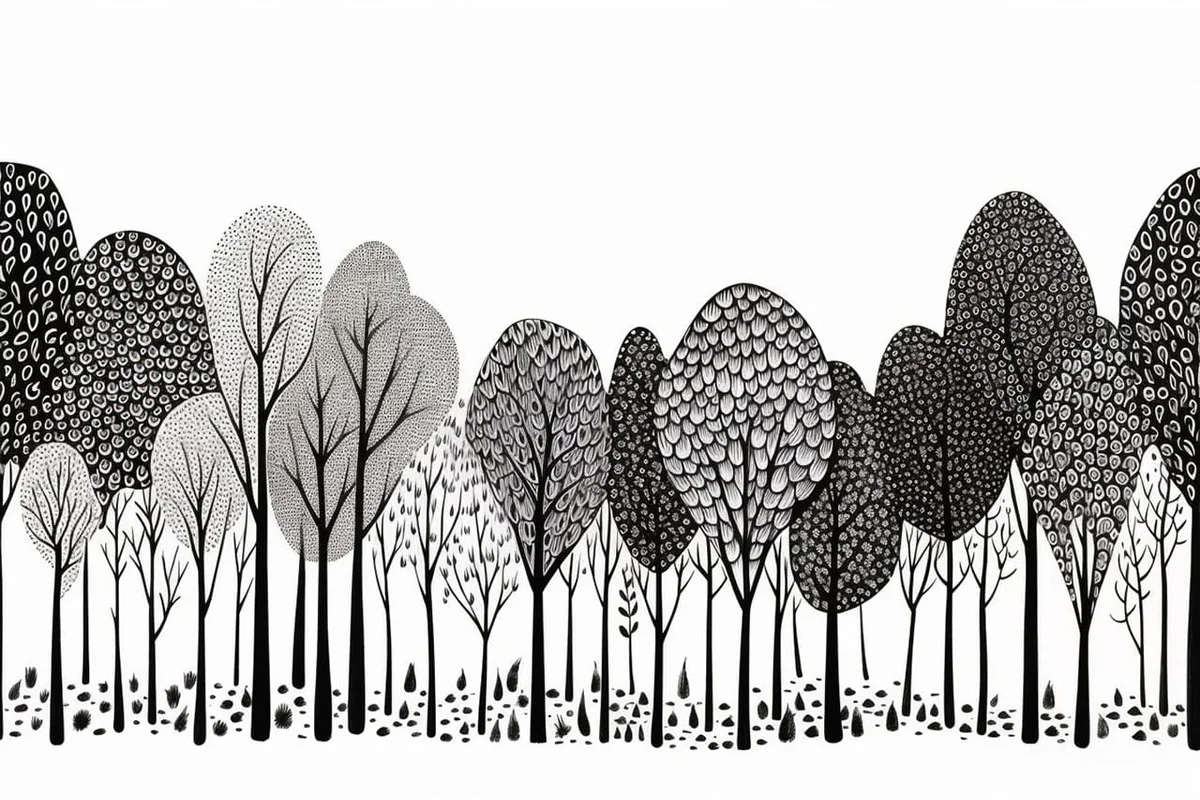
Gallery of Forest Drawings


Fun Facts About Forests
-
Forests cover about 31% of the world's land area and are home to more than 80% of the terrestrial plant and animal species.
-
The Amazon Rainforest, often referred to as the "lungs of the planet," produces approximately 20% of the world's oxygen supply.
-
There are three major types of forests: temperate, tropical, and boreal (taiga).
-
Forests play a crucial role in combatting climate change by acting as carbon sinks, absorbing large amounts of carbon dioxide from the atmosphere.
-
The Black Forest in Germany is named for the dense tree canopy that blocks out most sunlight, giving it a dark appearance.
-
Forests are essential to indigenous communities around the world, providing resources, cultural identity, and livelihoods.
-
A single tree can provide enough oxygen for up to four people each day.
-
The world's tallest known living tree, named Hyperion, is a coast redwood and stands over 379 feet (115 meters) tall.
-
Forests contribute to biodiversity, with some of the most diverse ecosystems on the planet found within their canopies.
-
In Japan, "forest bathing" or "shinrin-yoku" is a common practice that involves immersing oneself in the forest atmosphere for relaxation and health benefits.
Suggestions for Scenes and Settings for Forest Drawings
-
Mystical Sunrise: Capture the serene beauty of a forest at dawn, with light filtering through the trees and mist rising from the forest floor.
-
Hidden Waterfall: Illustrate a lush forest setting with a hidden waterfall cascading into a sparkling pool surrounded by vibrant foliage.
-
Enchanted Glade: Create a magical clearing in the woods with unicornsgrazing and fairies flitting about under dappled sunlight.
-
Rainforest Canopy: Draw the dense, layered heights of a tropical rainforest, teeming with exotic birds, monkeys, and colorful plants.
-
Foggy Forest Path: Design a mysterious and eerie scene of a path winding through a fog-laden forest, inviting the viewer to explore further.
-
Autumn Colors: Depict a forest ablaze with fall foliage, with leaves in shades of red, orange, and gold carpeting the ground.
-
Winter Wonderland: Show a snow-covered forest landscape with icicles hanging from branches and deer moving quietly through the drifts.
-
Ancient Ruins: Imagine ancient stone ruins nestled deep within a forest, overgrown with moss and vines, hinting at forgotten civilizations.
-
Forest Nightlife: Paint a night scene alive with nocturnal creatures like owls, foxes, and glowing fireflies dancing around the trees.
-
Fantasy Forest Fortress: Sketch an imaginative scene of a fortress made entirely of trees, with living branches forming walls and lookout towers.