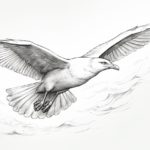
If you’ve ever been captivated by the majestic beauty of an eagle soaring through the sky, you may have wondered how to capture that grace and power in a drawing. In this tutorial, we will guide you through the step-by-step process of drawing a flying eagle. With a few simple techniques and a little patience, you’ll be able to create a stunning representation of this awe-inspiring creature.
Materials Required
Before we begin, you’ll need to gather the following materials:
- Drawing paper: Choose a smooth and sturdy paper that can handle various shading techniques.
- Pencil: Opt for a medium-soft graphite pencil, such as an HB or 2B, that allows for both light and dark tones.
- Eraser: Select a soft eraser that can easily remove pencil marks without damaging the paper.
- Blending stump or tortillon: These cylindrical tools are used for blending and smudging pencil marks.
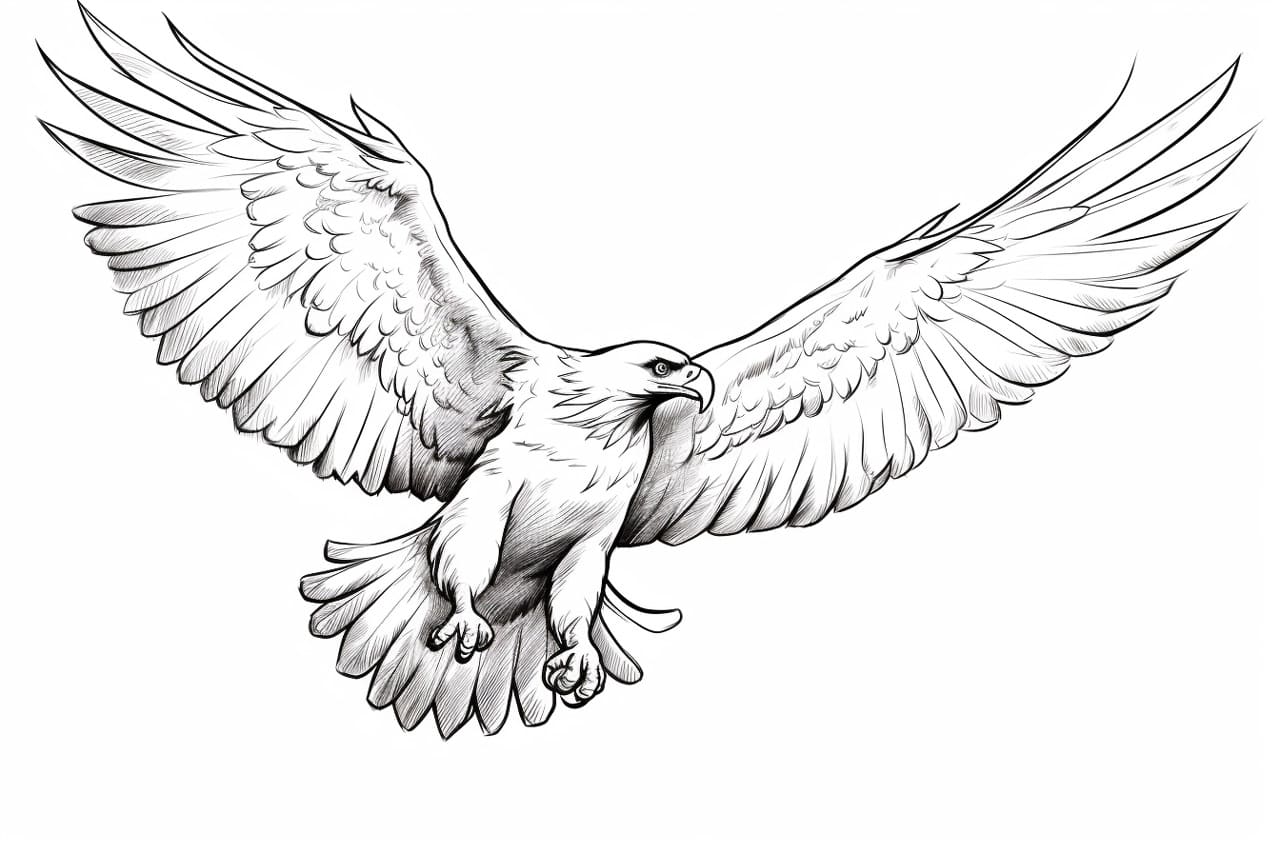
- Reference image: Find a clear and detailed photo or illustration of a flying eagle to use as a visual guide throughout the drawing process.
Now that you have your materials ready, let’s dive into the steps of drawing a flying eagle!
Step 1: Basic Shapes
To establish the overall proportions and pose of the eagle, begin by sketching basic shapes. Start with an oval for the body, a circle for the head, and rough outlines for the wings and tail. Keep your lines light and use a gentle touch.
Step 2: Refine the Body
Using the basic shapes as a guide, refine the outline of the body by adding more curves and defining the silhouette. Pay attention to the eagle’s streamlined form and the positioning of its wings. Remember, it’s better to start with loose and general lines before adding detail later on.
Step 3: Wings and Feathers
Now it’s time to work on the wings. Start by sketching the primary flight feathers, which are the longest ones on the wings. These feathers should be slightly curved and extend outwards. Add the secondary and tertiary feathers, filling in the details gradually. Don’t forget to indicate the ruffles and texture of the feathers for a more realistic look.
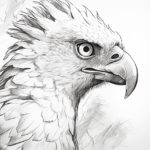
Step 4: Head and Beak
Focus on the eagle’s head next. Sketch the eyes, beak, and the top of the head. Pay attention to the shape of the beak, which is usually hooked and slightly curved downward. Add some detail to the eyes to give the eagle a fierce and focused expression.
Step 5: Tail
Move on to the tail of the eagle. Start by sketching the central tail feathers, which are usually longer than the ones on the sides. Then, add the shorter feathers on each side, making sure they flow smoothly and symmetrically. Take your time to get the tail feathers just right, as they contribute to the overall balance and grace of the drawing.
Step 6: Details and Shading
With the basic structure in place, it’s time to add finer details and shading. Start by refining the outlines of the body, wings, and tail, making sure everything flows together seamlessly. Then, begin shading the different areas of the eagle to create depth and dimension. Use a combination of light, medium, and dark pencil strokes to mimic the texture of feathers and the play of light and shadow on the bird’s body.
Step 7: Highlights and Texture
To bring your drawing to life, add highlights and texture to the eagle’s feathers. Use an eraser to gently lift off some pencil marks, creating highlights on the areas that catch the most light. You can also use a blending stump or tortillon to blend and soften certain areas, enhancing the smoothness and texture of the feathers.
Step 8: Final Touches
Take a step back and evaluate your drawing as a whole. Make any necessary adjustments or additions to ensure that the proportions and details are accurate. Pay attention to the overall composition and balance of the drawing. Once you’re satisfied with the result, you can carefully erase any remaining stray lines.
Conclusion
Drawing a flying eagle may seem like a daunting task, but by breaking it down into simple steps, you can create a stunning representation of this magnificent bird. By following the techniques outlined in this tutorial and using a reference image, you’ll be able to capture the grace and power of the eagle in your artwork. So grab your materials and let your creativity take flight!