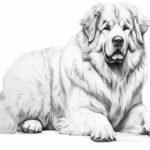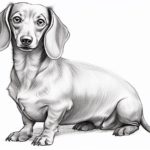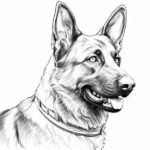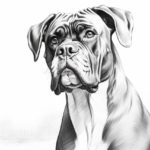
Are you a dog lover and an aspiring artist? If so, you’ve come to the right place! In this step-by-step guide, I will teach you how to draw a fluffy dog using simple techniques. Whether you’re a beginner or have some experience with drawing, this tutorial will help you create an adorable and realistic depiction of a fluffy pup. So grab your pencils and let’s get started!
Materials Required
Before we begin, make sure you have the following materials ready:
- Drawing paper: Choose a high-quality paper that is suitable for pencil drawing. A heavier weight paper will prevent smudging and provide a better surface for shading.
- Pencils: You’ll need a set of graphite pencils ranging from 2H (light) to 6B (dark). The variety of pencil grades will allow you to create different tones and textures.
- Eraser: Have a kneaded eraser handy for making corrections and lightening areas that need to be highlighted.
- Pencil sharpener: Keep a sharpener nearby to ensure your pencils are always sharp, allowing for precise lines and details.
- Reference photo: Find a clear and detailed photo of a fluffy dog to use as a reference. It’s important to have a visual representation of what you’re trying to draw.
Now that you have all the necessary materials, let’s dive into the step-by-step process of drawing a fluffy dog!
Step 1: Outline the Basic Shape
Start by lightly sketching the basic shape of the fluffy dog. Use simple shapes like circles and ovals to create the head, body, and limbs. This initial outline will serve as a guide for the rest of the drawing, so make sure it’s proportionate and captures the overall stance of the dog.
Step 2: Add Facial Features
Once you’re satisfied with the basic shape, add the facial features of the dog. Focus on the eyes, nose, and mouth. Pay close attention to the proportions and placement of these features, as they contribute to the dog’s expression and overall likeness. Use light, gentle strokes to create the desired shape and details.
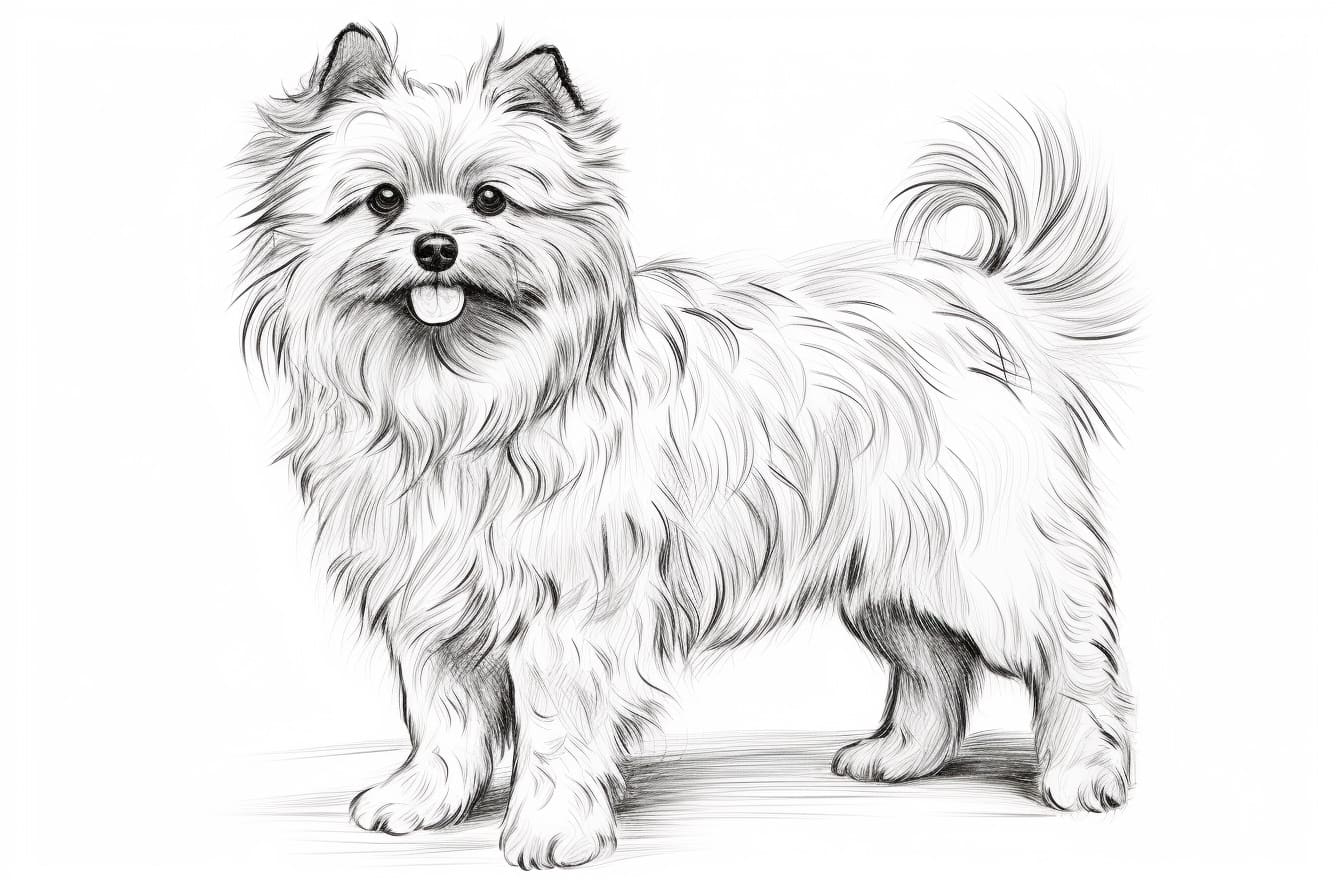
Step 3: Define the Fluffy Fur
Now it’s time to bring out the fluffiness of the dog’s fur. Start by lightly shading the areas where the fur appears darker, such as the ears, snout, and around the eyes. Use a soft pencil (4B or 6B) and small, circular motions to build up layers of shading. Gradually darken the areas that require more depth and volume.
Step 4: Add Texture and Details
To enhance the realism of the fluffy fur, create texture and detail. Use short, quick strokes to indicate the direction of the fur strands. Pay attention to the overall flow and pattern of the fur, as different breeds of dogs have varying textures. Add highlights and shadows to create dimension and make the fur appear more realistic.
Step 5: Refine the Features
Now that the fur is looking fluffy and realistic, it’s time to refine the facial features. Use a sharp pencil for this step to add crisp lines and intricate details. Pay attention to the dog’s unique characteristics, such as the shape of its eyes, the wrinkles on its forehead, or the fluff around its ears. Make small adjustments as necessary to capture the true essence of the dog.
Step 6: Finalize the Drawing
Take a step back and evaluate your drawing. Make any final adjustments to ensure the proportions, details, and overall composition are to your liking. Erase any stray lines or smudges as needed. If you’re satisfied with your drawing, darken the lines and shadows, and add any remaining details to complete the artwork.
Conclusion
Drawing a fluffy dog is a delightful and rewarding experience. Following these step-by-step instructions, you can create a charming and realistic depiction of your favorite furry friend. Remember to practice and be patient with yourself. With time and dedication, you’ll continue to improve your drawing skills and capture the essence of various dog breeds. So grab your pencils, reference photo, and let your creativity shine!