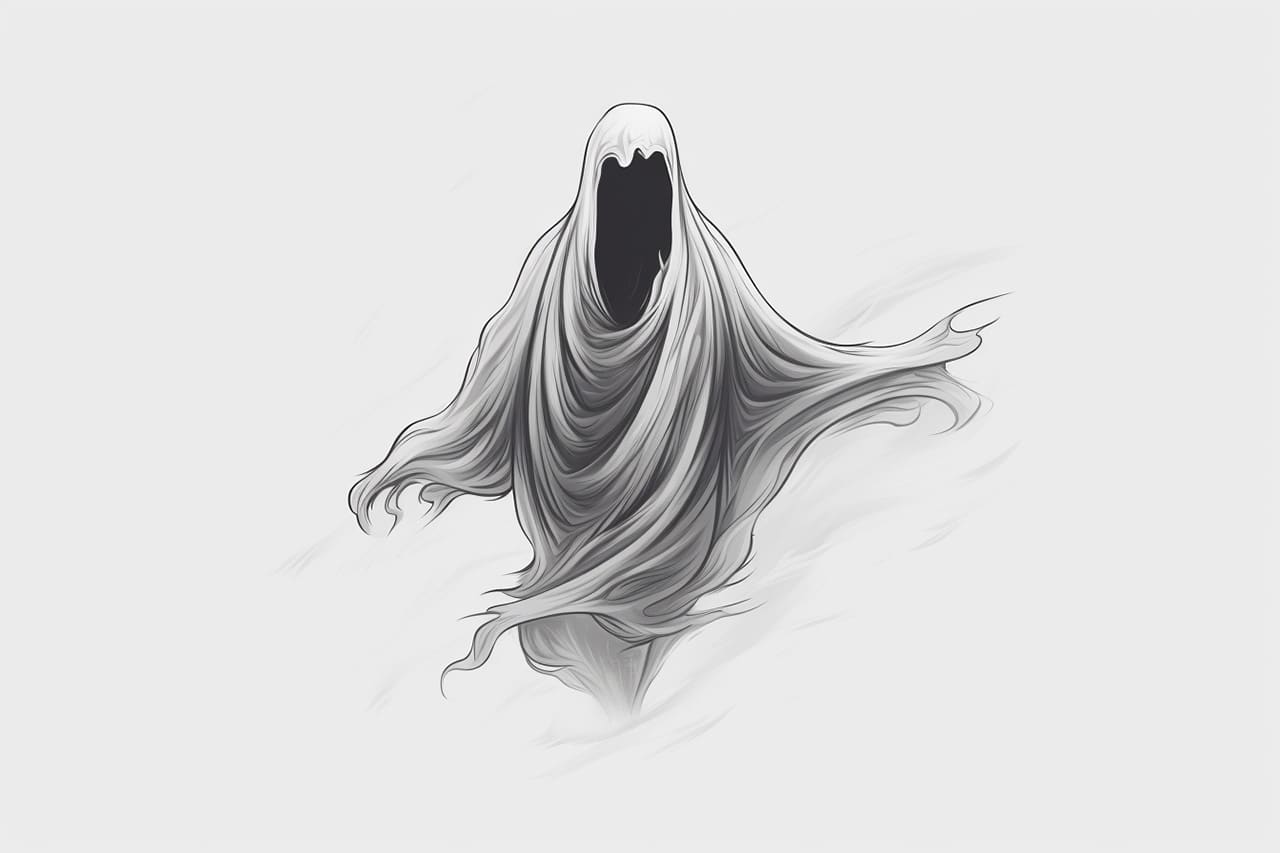
Welcome to this beginner-friendly drawing tutorial on how to draw a ghost. Whether you’re looking to create spooky Halloween decorations or simply want to explore your artistic skills, drawing a ghost can be a fun and rewarding experience. In this step-by-step guide, I will walk you through the process of drawing a ghost in a clear, concise manner, making it easy for anyone to follow along. So grab your pencil, paper, and eraser, and let’s get started!
Materials Required
To begin drawing a ghost, you will need the following materials:
- Pencil: A regular graphite pencil is ideal for sketching and outlining your ghost.
- Paper: Any paper will do, but a blank sketchbook or drawing paper is recommended.
- Eraser: An eraser will come in handy for correcting mistakes or adjusting your ghost drawing.
- Fine-tip Marker or Pen: You can use a marker or pen to trace over your pencil lines and add bold outlines to your ghost, giving it a clean, finished look.
- Coloring Tools (optional): If you wish to add color to your ghost drawing, you can use colored pencils, markers, or any other coloring tools.
Step 1: Sketch the Basic Shape
Start by lightly sketching a simple oval shape in the center of your paper. This will serve as the head of the ghost. It doesn’t need to be perfect, as we’ll be refining the shape later on.
Step 2: Add the Body
Next, draw two curved lines extending down from the bottom of the oval shape to create the body of the ghost. Make sure the lines are slightly wider at the bottom to give the illusion of a flowing, ethereal form.
Step 3: Outline the Arms
Extend two curved lines outward from the sides of the body to create the ghost’s arms. The lines should be slightly curved and taper towards the ends, resembling wispy, flowing arms. Feel free to adjust the length and shape of the arms to add your own personal touch.
Step 4: Draw the Lower Body
At the bottom of the ghost’s body, draw another curved line that wraps around to form the lower body. This line should be similar in shape to the upper body, but slightly wider to give the ghost a more flowing appearance.
Step 5: Sketch the Eyes and Mouth
Now it’s time to give your ghost some facial features. For a classic ghost look, draw two large oval-shaped eyes near the top of the head. Inside each eye, draw a smaller oval shape to represent the iris. Below the eyes, draw a simple curved line to form the ghost’s mouth. You can make the mouth happy, sad, or even slightly open to give your ghost some character.
Step 6: Refine the Ghost’s Shape
Using your initial sketch as a guide, go over the main outline of the ghost, refining and smoothing out any rough edges. Make the lines darker and more defined while erasing any unnecessary guidelines or overlapping lines.
Step 7: Add Details
To make your ghost drawing more interesting, you can add some details. For instance, you can draw small curved lines within the body and arms to create a wispy, ethereal texture. You can also give your ghost some personality by adding eyebrows, eyelashes, or even accessories such as a hat or bowtie. Be creative and have fun!
Step 8: Ink or Trace Over Your Drawing
Once you’re satisfied with your ghost drawing, it’s time to make it permanent. Use a fine-tip marker or pen to carefully trace over the pencil lines, creating bold outlines. Be patient and take your time to ensure clean, smooth lines. Allow the ink to dry completely before erasing any remaining pencil marks.
Step 9: Add Color (optional)
If you want to add color to your ghost drawing, now is the time to do so. You can use colored pencils, markers, or any other coloring tools of your choice. Consider using shades of white, gray, or pale blue to maintain a ghostly appearance. Experiment with different color combinations and shading techniques to bring your ghost to life!
Conclusion
Congratulations! You’ve successfully learned how to draw a ghost. By following this step-by-step guide, you’ve created a spooky and fun piece of artwork. Remember, practice makes perfect, so don’t hesitate to experiment with different variations and styles as you continue to develop your drawing skills. You can now use your ghost drawing as a standalone artwork or incorporate it into your Halloween decorations. Happy drawing!
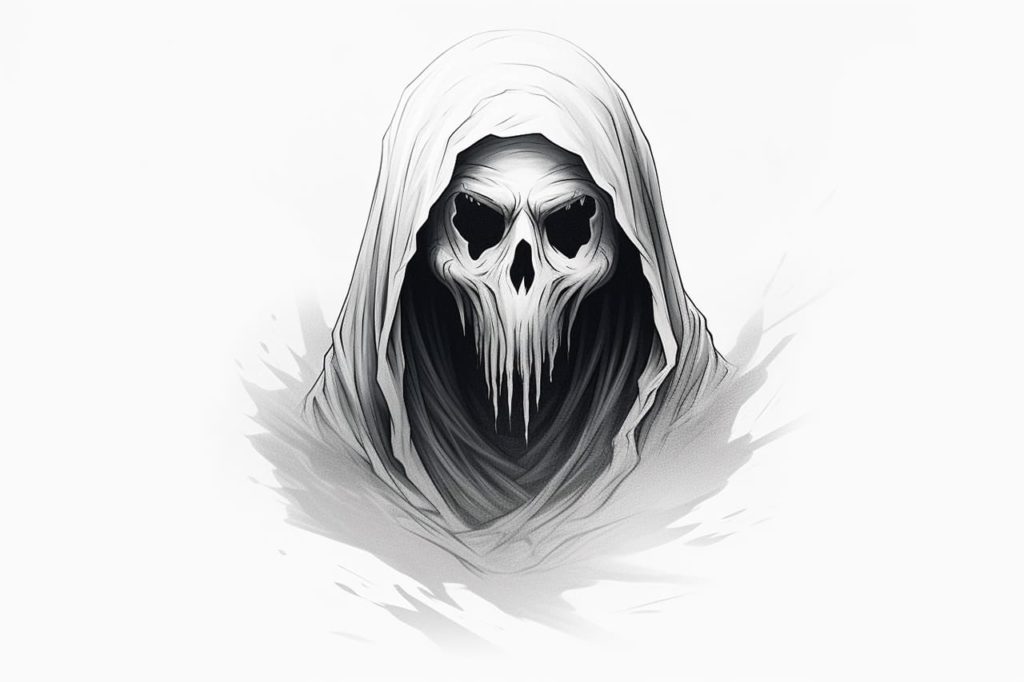
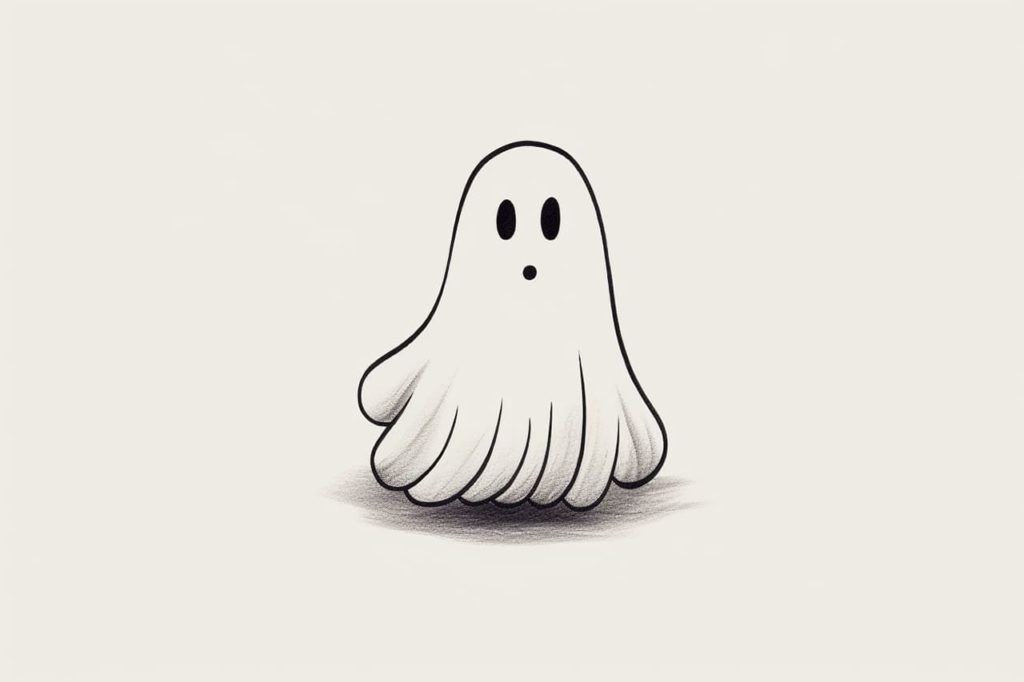
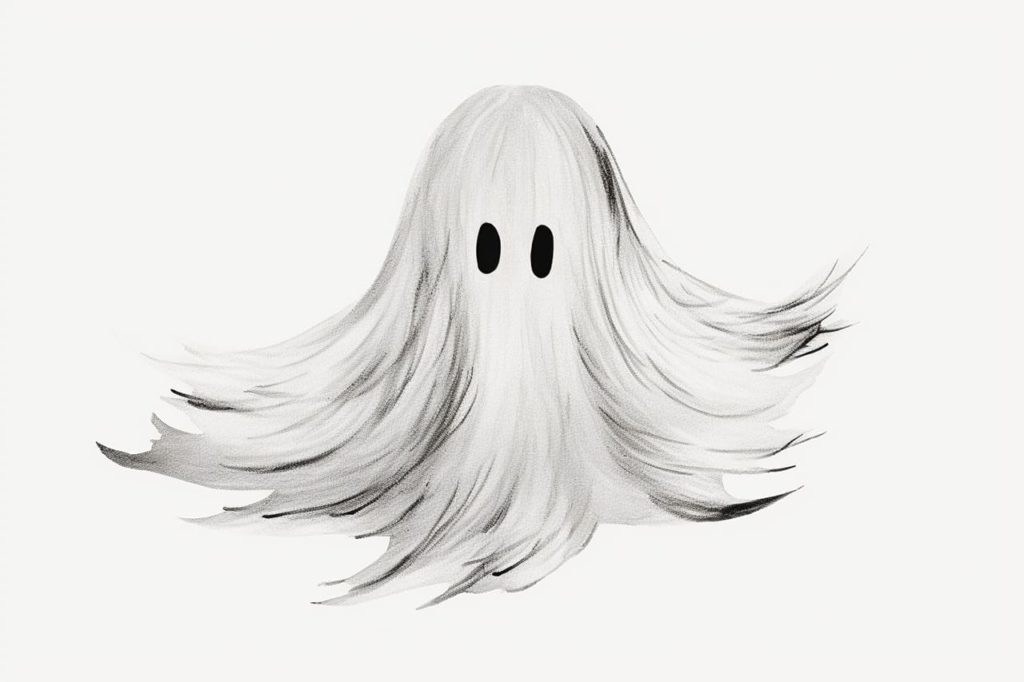
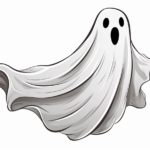
Gallery of Ghost Drawings