Welcome to this step-by-step guide on how to draw a canoe! In this article, I will walk you through the process of creating a realistic and detailed drawing of a canoe. Whether you are a beginner or an experienced artist, this tutorial will provide you with clear instructions on how to capture the essence of a canoe on paper. So grab your drawing materials and let’s get started!
Materials Needed
To draw a canoe, you will need the following materials:
- Pencil: Choose a pencil with a medium hardness (HB or 2B) for sketching and shading.
- Eraser: Have a soft eraser handy to correct any mistakes or make adjustments.
- Paper: Use a blank sheet of paper or a sketchbook that is suitable for pencil drawings.
- Ruler: A ruler will help you maintain straight lines and proportions.
Now that we have all the necessary materials, let’s dive into the step-by-step process of drawing a canoe.
Step 1: Draw the Basic Shape
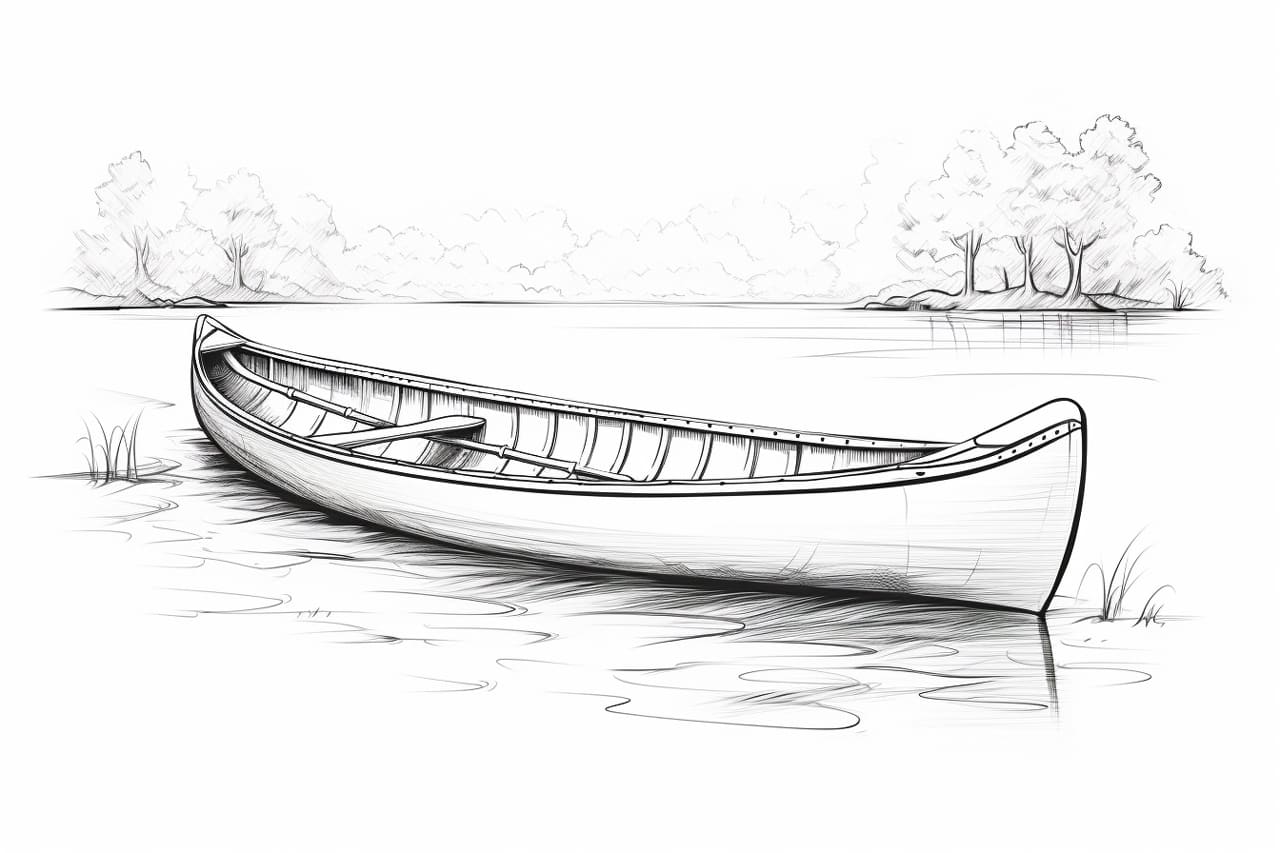
Start by lightly sketching a long, slightly curved shape on your paper. This shape will serve as the base for the canoe. Remember, at this stage, it is crucial to keep your lines light and easy to erase. You can use your ruler to ensure the shape is symmetrical and proportionate.
Step 2: Add Details to the Hull
Next, let’s focus on the hull of the canoe. Draw two curved lines at the bottom of the base shape, following its curvature. These lines will outline the bottom of the canoe. Then, draw two parallel lines on each side of the base shape, slightly curving outward. These lines will represent the sides of the canoe.
Step 3: Define the Bow and Stern
To create a more realistic look, draw a triangular shape at one end of the canoe to represent the bow. Make sure it is pointed and slightly curved upward. On the opposite end, draw a smaller triangle with a flat bottom to represent the stern.
Step 4: Sketch the Gunwales
The gunwales are the upper edges of the canoe. To draw them, start at the bow and follow the contours of the sides of the canoe. Draw two parallel lines that run along the length of the canoe, getting closer together towards the stern. Make sure the lines are slightly curved to match the shape of the canoe.
Step 5: Add Seats and Thwarts
Draw two parallel lines across the interior of the canoe to represent the seats. You can place them closer to the stern, leaving enough space for the paddlers. Next, draw two short lines perpendicular to the seats, intersecting with the gunwales. These lines are the thwarts that provide additional support.
Step 6: Detail the Hull
To add depth and texture to the canoe, draw a series of short, slightly curved lines along the sides of the hull. These lines represent the planks that make up the canoe’s construction. Pay attention to the perspective and spacing of these lines, making them denser towards the center and gradually fading towards the bow and stern.
Step 7: Draw the Paddles
Now that we have the canoe in place, let’s add some paddles. Draw two long, slender shapes on each side of the canoe, starting from the seats and extending beyond the bow. Each paddle should have a wider handle and a narrower blade. Make sure the paddles are symmetrical and parallel to each other.
Step 8: Refine the Details
Take a moment to review your drawing and make any necessary adjustments. Erase any unwanted lines or smudges and refine the shape of the canoe. Pay close attention to the curves, proportions, and overall symmetry. Add more shading and textures to enhance the realism of the drawing.
Conclusion
Congratulations! You have successfully learned how to draw a canoe. By following these step-by-step instructions, you have created a detailed and accurate representation of a canoe on paper. Remember to practice and experiment with different techniques to further improve your drawing skills. Now grab your pencils and start drawing more canoes or explore other subjects. Keep up the great work!