Welcome to this step-by-step tutorial on how to draw a gladiolus! Gladioli, also known as sword lilies, are stunning flowers that can add elegance and beauty to any drawing or artwork. Whether you are a beginner or an experienced artist, this guide will take you through each stage of creating a realistic gladiolus. So, grab your pencils, paper, and let’s get started!
Materials Required
Before we dive into the steps, let’s gather the materials you’ll need to complete this drawing:
- Paper: A smooth, high-quality drawing paper works best.
- Pencils: A range of pencils, including 2B, 4B, and 6B, for shading and adding depth.
- Eraser: A kneaded or gum eraser for making corrections and highlights.
- Blending tools: A blending stump or tortillon to create smooth transitions between tones.
- Reference image: Find a clear and detailed photo of a gladiolus flower to guide your drawing.
Now that you have everything you need, let’s begin our drawing journey!
Step 1: Sketch the Basic Shape
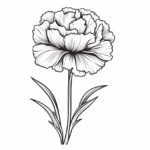
Start by lightly sketching the basic shape of the gladiolus. Begin with a straight vertical line for the stem and then draw a slightly curved line for the lower part of the flower’s central spike. Add a slightly curved line at the top for the tip of the spike. Don’t worry about perfection at this stage; we will refine the shape later.
Step 2: Add Petals
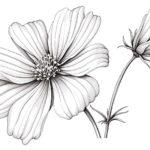
Now, let’s add the petals of the gladiolus. For the first layer of petals, draw a series of slightly curved lines extending from the tip of the spike. These lines should curve gently outward. Remember, gladiolus flowers have six petals, so make sure to include them all.
Step 3: Detail the Petals
Next, it’s time to add detail to the petals. Start by adding ridges to each petal. These ridges should follow the curve of the petal and give it a three-dimensional appearance. Continue adding these ridges to each petal, paying attention to the varying lengths and shapes.
Step 4: Create Depth
To give the gladiolus depth and dimension, we need to create shading. Begin by identifying the light source in your reference image. This will help you determine where the shadows will fall. Use a light pencil, such as a 2B, to lightly shade the areas that will be in shadow. Start with the petals that are on the lower layer and gradually build up the shading.
Step 5: Add More Layers of Petals
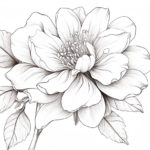
Now, let’s add more layers of petals to our gladiolus. Draw another layer of slightly curved lines, starting from the bottom of the spike. These lines should be longer than the previous layer and extend outward. Remember to curve them gently to maintain the natural flow of the flower.
Step 6: Detail the New Petals
Just like before, add ridges to the new layer of petals to give them volume and texture. Focus on creating variations in the length and shape of the ridges to make the gladiolus look more realistic.
Step 7: Refine the Shape
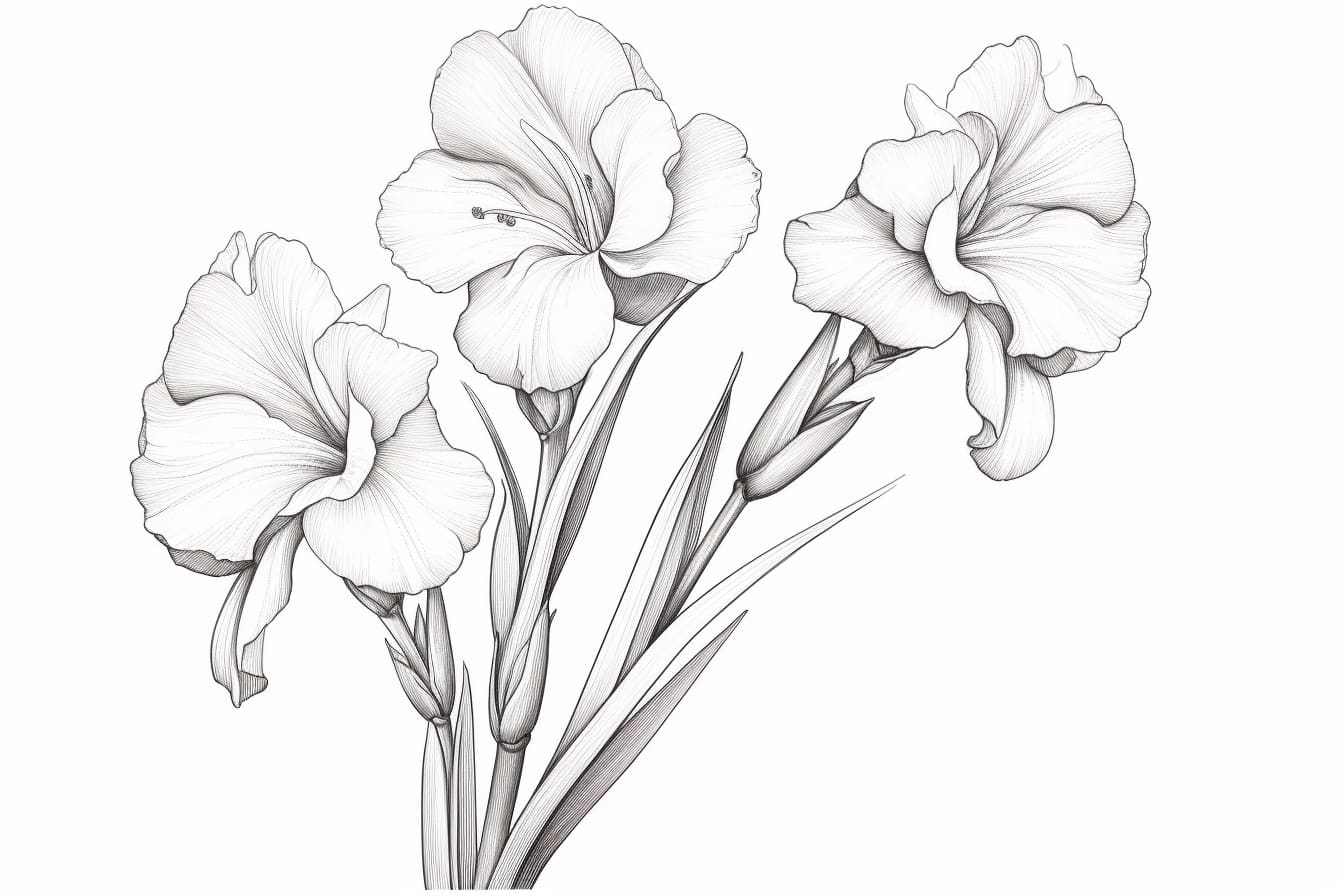
Take a step back and take a good look at your drawing so far. Now is the time to refine the shape of the gladiolus. Use an eraser to carefully remove any unnecessary guidelines or mistakes. Pay attention to the proportions and curves of the flower to ensure accuracy.
Step 8: Blend and Smooth
To create a seamless transition between the different tones and textures, use a blending stump or tortillon to gently blend and smooth the shading. This technique will soften any harsh lines and create a more realistic appearance.
Step 9: Final Details
It’s time to add the final touches to your gladiolus drawing. Take a sharper pencil, like a 6B, and darken the shadows and detail areas. You can also use the eraser to create highlights and add subtle texture to the petals. Take your time and observe your reference image to capture all the intricate details.
Conclusion
Congratulations! You have successfully learned how to draw a gladiolus. By following these step-by-step instructions, you have created a beautiful representation of this elegant flower. Remember to practice and experiment with different techniques to further enhance your artistic skills. We hope you enjoyed this tutorial and found it helpful in your artistic journey. Happy drawing!