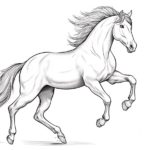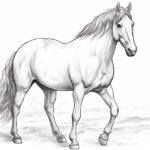
Drawing a horse jumping can be an exciting and challenging task for any artist. Capturing the grace and power of a horse in mid-air requires careful observation and attention to detail. In this step-by-step guide, I will walk you through the process of drawing a horse jumping, from the basic shapes to the final details. So grab your sketchbook and let’s get started!
Materials Required
To draw a horse jumping, you will need the following materials:
- Pencil: A graphite pencil of medium hardness (HB or 2B) is recommended for sketching the initial shapes.
- Eraser: A kneaded eraser or a soft vinyl eraser will allow you to correct any mistakes.
- Sketchbook or Drawing Paper: Choose a paper that is suitable for your preferred drawing medium.
- Reference Photo: Find a high-quality reference photo of a horse jumping to help guide you in capturing the correct proportions and details.
Now that you have gathered your materials, let’s begin drawing a horse jumping!
Step 1: Basic Shapes
Start by lightly sketching the basic shapes that make up the horse’s body. Begin with an oval for the horse’s head and a larger oval for its body. Connect these two shapes with a curved line to form the horse’s neck. Add a slightly curved line at the bottom of the body for the belly and a smaller oval at the end for the hindquarters.
Step 2: Legs and Hooves
Next, add the legs and hooves of the horse. Use straight lines to indicate the position and angle of each leg. Pay attention to the position of the legs in relation to the body and the ground. Draw simple rectangular shapes for the hooves at the bottom of each leg.
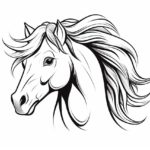
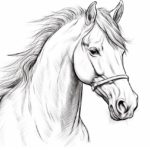
Step 3: Neck and Mane
Refine the shape of the neck by adding curves and tapering it towards the head. Add details to indicate the mane, which is the horse’s hair that falls along the neck. Use flowing lines to suggest the movement and direction of the mane.
Step 4: Tail and Ears
Draw the tail of the horse, which extends from the hindquarters. The tail should flow naturally and curve slightly as it hangs in the air. Add two small triangle shapes on top of the head for the ears.
Step 5: Eyes, Nose, and Mouth
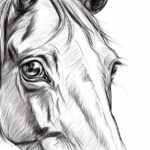
Add the facial features of the horse. Draw two ovals for the eyes, a small triangle for the nose, and a line for the mouth. Pay attention to the placement and proportions of these features to capture the horse’s expression.
Step 6: Muscles and Proportions
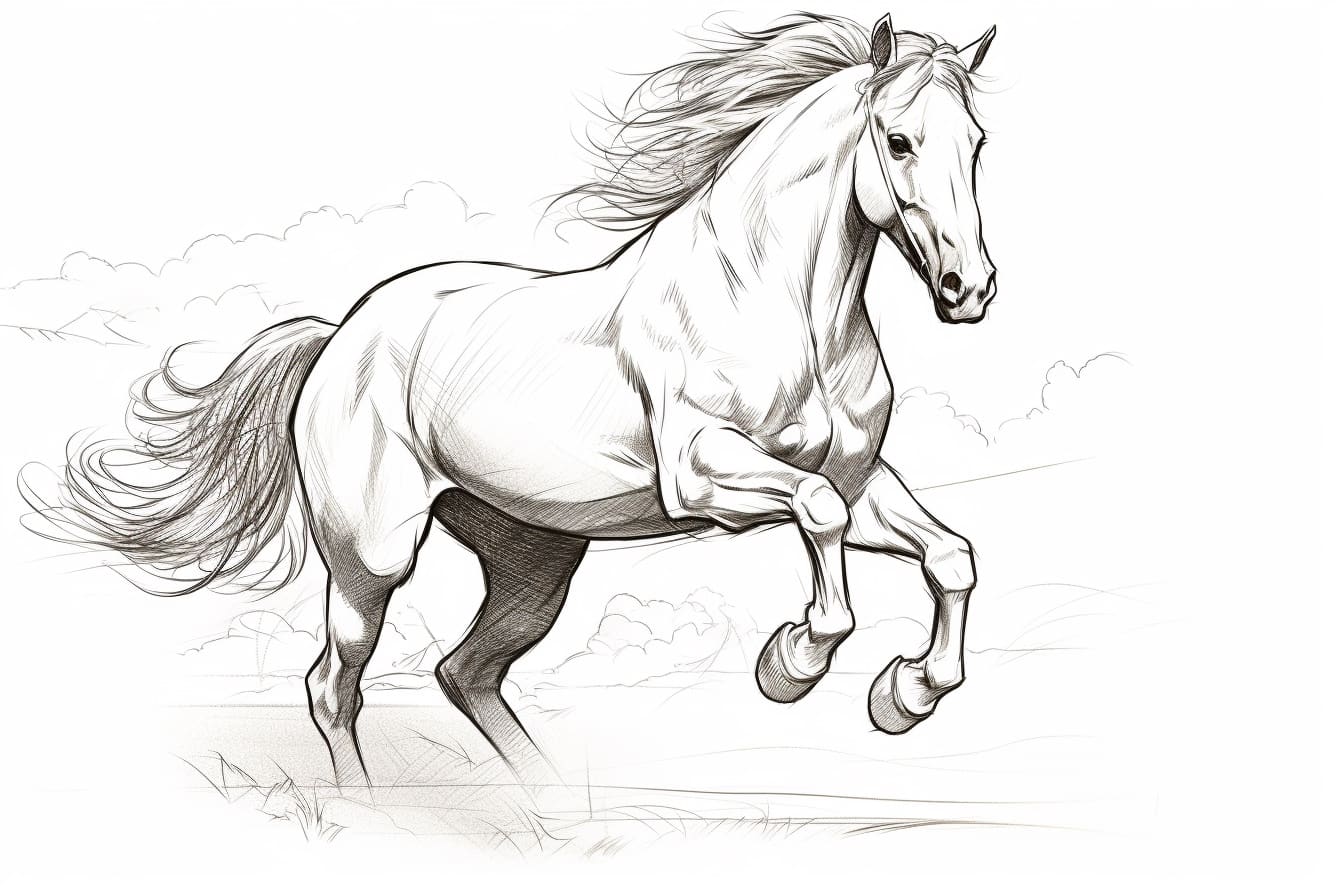
Now it’s time to add more detail and refine the proportions of the horse. Study the reference photo to observe the muscles and skeletal structure of a horse in mid-jump. Use curved lines to indicate the contours of the muscles and add shading to create depth and volume.
Step 7: Jockey and Tack
If desired, you can add a jockey on the horse’s back, along with the necessary saddles and reins. This will add an extra element of action and realism to your drawing. Draw the jockey in a riding position, with one hand holding the reins and the other in a balanced position.
Step 8: Final Details
Take a step back and evaluate your drawing so far. Look for any areas that need refinement or adjustments. Add any additional details such as the horse’s mane flowing in the wind, dirt kicked up by its hooves, or any other elements that will enhance the overall composition.
Conclusion
Drawing a horse jumping requires careful observation and attention to detail. By following these step-by-step instructions, along with the aid of a reference photo, you can capture the grace and power of a horse in mid-air. Remember to start with basic shapes, refine the proportions, and add the final details to bring your drawing to life. With practice and patience, you’ll be able to create stunning artwork of horses jumping. Now, go grab your pencils and start drawing!