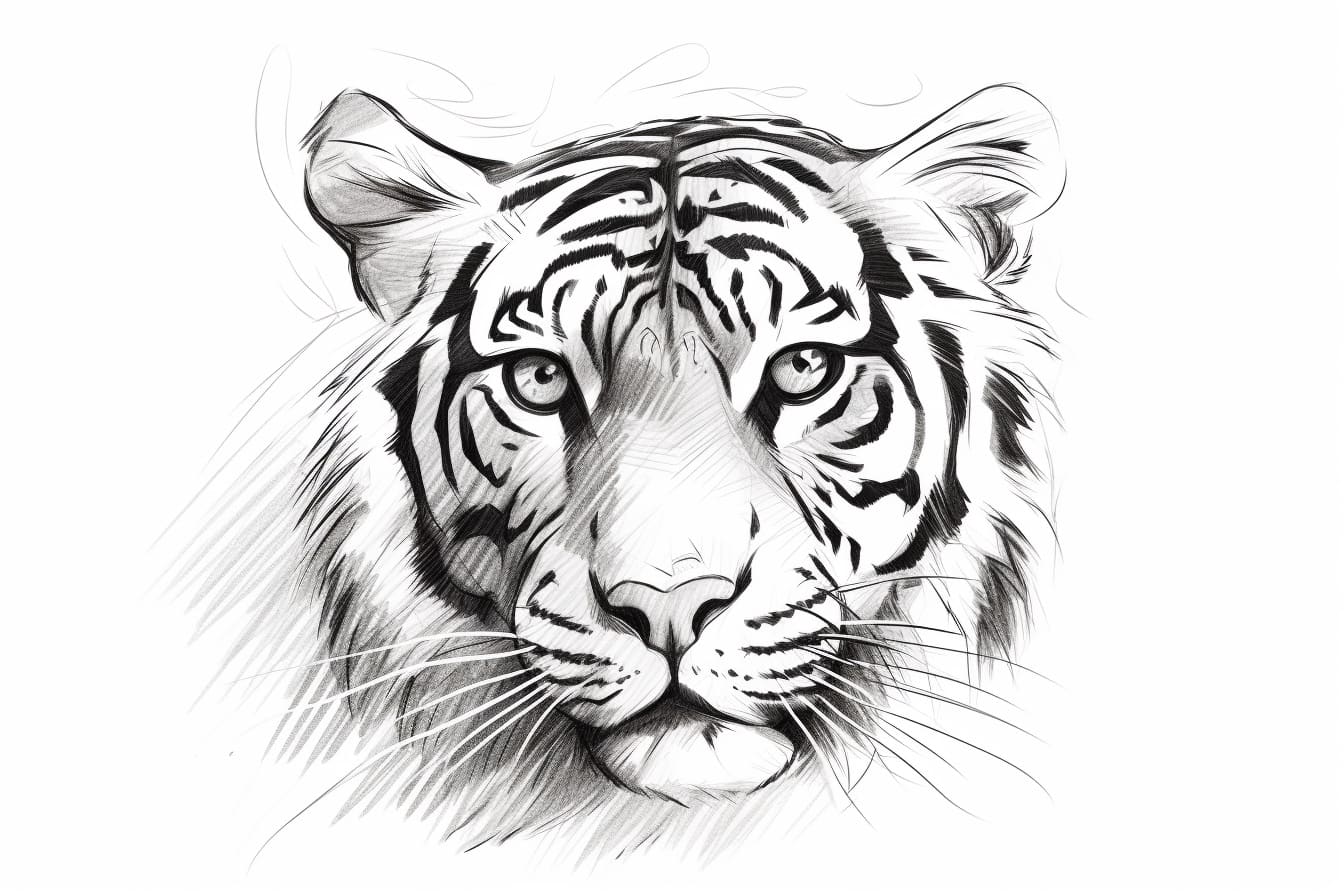
Have you ever been captivated by the beauty and intensity of a tiger’s eye? The intricate details and vibrant colors make it a fascinating subject to draw. In this step-by-step guide, I will walk you through the process of drawing a tiger eye, from the basic shapes to the intricate details that bring it to life. So grab your sketchpad and let’s get started!
Materials Required
Before we begin, let’s gather all the materials you will need to draw a tiger eye:
- Drawing paper: Choose a smooth and heavyweight paper that is suitable for pencil drawings.
- Pencils: HB or 2B for sketching, and a range of softer pencils such as 4B, 6B, and 8B for shading.
- Eraser: A kneaded eraser works best for removing mistakes and creating highlights.
- Blending tools: You can use blending stumps or tortillions to create smooth gradients and textures.
- Reference image: Find a clear and high-resolution image of a tiger eye to use as a reference.
Now that we have all the necessary materials, let’s dive into the steps of drawing a tiger eye!
Step 1: Sketch the Basic Shapes
Start by lightly sketching an oval shape on your drawing paper. This oval will serve as the outline of the tiger eye. Make sure to keep it proportionate to the size you desire. Within the oval, draw a smaller circle towards the top, representing the iris. Leave some space around the iris for the surrounding details.
Step 2: Define the Pupil
Inside the iris, draw a small circle to represent the pupil. This will be the darkest area of the eye. Make sure to leave a thin white border around the pupil to create a realistic effect.
Step 3: Add the Iris Details
The iris of a tiger eye often has intricate patterns and colors. Start by sketching thin, radial lines coming out from the pupil towards the edge of the iris. These lines should be curved and uneven to mimic the natural appearance. Don’t worry about making them perfect – the imperfections add to the realism. Use reference images to guide you in creating the correct pattern and colors for the tiger eye you’re drawing.
Step 4: Shade the Eye
Now it’s time to add depth and volume to the eye. Start by lightly shading the area around the iris using a soft pencil such as 4B. Gradually build up the darkness, focusing on creating a smooth gradient from the inner area of the eye to the outer edges. Use gentle, circular strokes to blend the shading and create a realistic transition between light and shadow.
Step 5: Create Highlights and Reflections
To make the tiger eye appear more lifelike, add highlights and reflections. Use an eraser to carefully remove some graphite from the areas where light hits the eye, such as the upper part of the iris and the bottom of the pupil. This will create the illusion of light bouncing off the surface of the eye and add depth to your drawing.
Step 6: Add Textures and Details
Now it’s time to add the intricate details that make the tiger eye unique. Use a combination of soft pencils, such as 6B and 8B, to create textures and darken certain areas. Pay close attention to the reference image and observe how the light interacts with the eye to create different tones and textures. Add fine lines, dots, and small shapes to mimic the details found in a real tiger eye.
Conclusion
Drawing a tiger eye can be a challenging yet rewarding experience. By following these step-by-step instructions and using the right materials, you can create a stunning and realistic representation of this majestic creature’s eye. Remember to take your time, observe the details, and have fun with the process. So, grab your pencils and start drawing your very own tiger eye masterpiece!