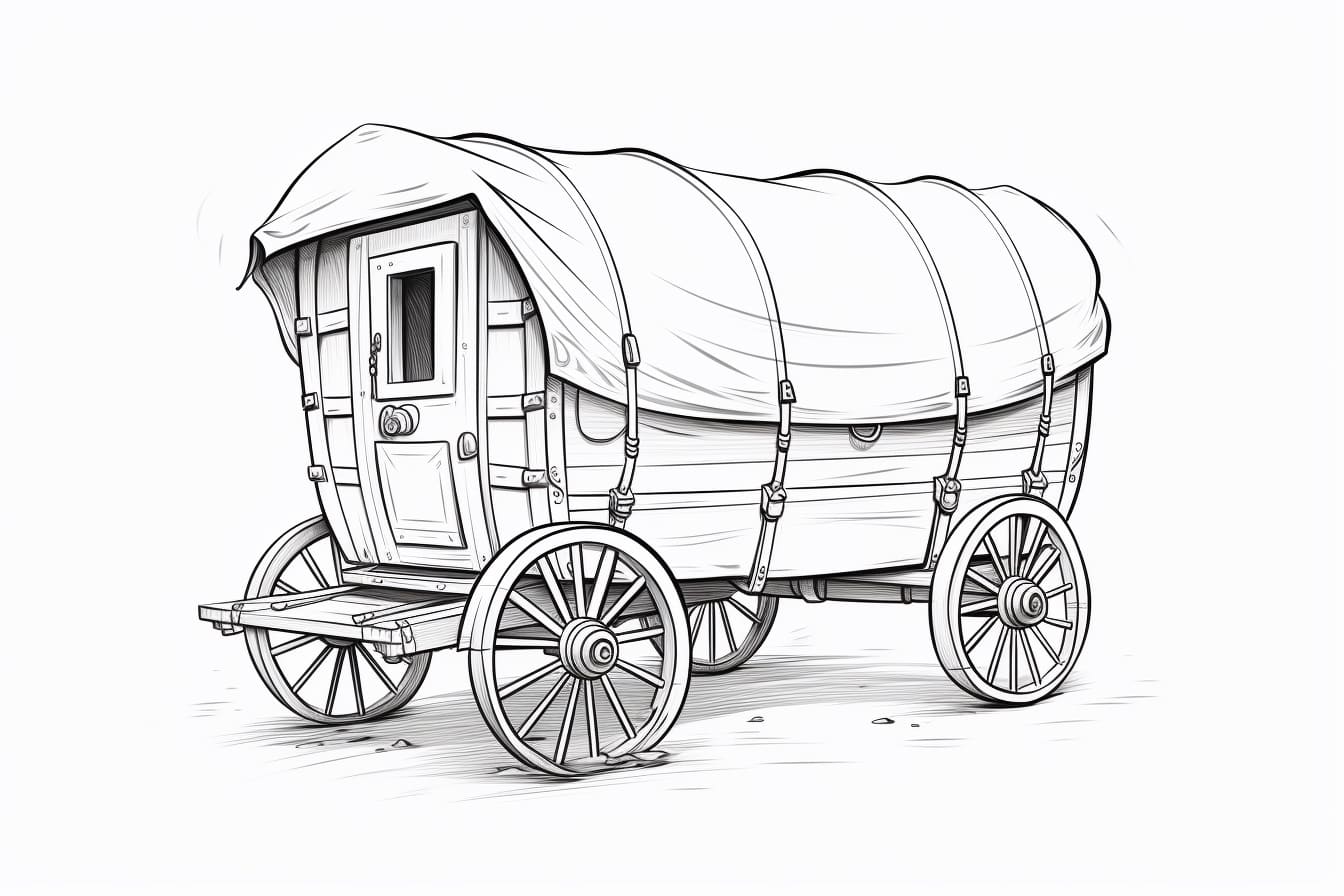
Are you interested in learning how to draw a covered wagon? Whether you’re an aspiring artist or just looking for a fun and creative activity, drawing a covered wagon is a great way to tap into your artistic skills. In this step-by-step guide, we will walk you through the process of drawing a covered wagon from start to finish. So grab your pencils and let’s get started!
Materials Required
Before we begin, make sure you have the following materials handy:
- Drawing paper or sketchbook
- Pencils (HB, 2B, 4B)
- Eraser
- Ruler or straight edge
- Reference image of a covered wagon (optional)
Step 1: Outline the Basic Shape
Start by lightly sketching the basic shape of the covered wagon. Use your ruler or straight edge to create straight lines for the top and bottom of the wagon. The bottom line should be slightly curved to give it a more rounded appearance. Remember, this is just the initial sketch, so keep your lines light and loose.
Step 2: Add the Wheels
Next, add the wheels to your covered wagon. Draw two circles on each side of the wagon, making sure they are evenly spaced. The wheels should appear partially hidden behind the wagon’s body. Use your ruler to create the spokes on the wheels, extending them from the center of the circles towards the outer edges.
Step 3: Define the Wagon Body
Now it’s time to define the body of the wagon. Use curved lines to outline the sides and front of the wagon, connecting them to the bottom line you drew in the first step. Pay attention to the perspective and angles to give your wagon a realistic look.
Step 4: Add Details
Add details to the body of the covered wagon to give it a more authentic appearance. Sketch in the wooden planks that make up the sides of the wagon, using short and slightly curved lines. You can also add decorative elements such as handrails or straps, depending on the style of the wagon you’re drawing.
Step 5: Draw the Cover
The next step is to draw the cover of the wagon. Use curved lines to create the shape of the cover, making sure it extends slightly above the top line of the wagon. Add some folds and wrinkles to make the cover look more realistic and add depth to your drawing.
Step 6: Refine the Wheels
Go back to the wheels and add more details. Darken the spokes and create a thicker rim around the outer edges of the wheels. You can also add bolts or other small details to make the wheels look more realistic.
Step 7: Finalize the Details
Take a step back and assess your drawing so far. Are there any areas that need more definition or refinement? Take the time to add any additional details that will enhance the overall look of your covered wagon. This could include things like the hitch, handles, or even small items stored on the wagon.
Conclusion
Congratulations! You have successfully drawn a covered wagon from start to finish. Drawing can be a rewarding and relaxing hobby, allowing you to express your creativity and imagination. By following these step-by-step instructions, you have learned how to create a realistic and detailed representation of a covered wagon. Remember to practice regularly, experiment with different techniques, and most importantly, have fun with your art!