Drawing objects can be a fun and creative way to express yourself artistically. In this step-by-step guide, we will walk through the process of how to draw a toilet. Don’t worry if you have little to no drawing experience, as we will break down each step in a clear and concise manner. So, grab your drawing materials and let’s get started!
Materials Required
Before we begin, make sure you have the following materials on hand:
- A pencil
- A sketchpad or drawing paper
- An eraser
- A ruler (optional for precise measurements)
- Colored pencils or markers (optional)
Step 1: Outline the Basic Shape
Start by lightly sketching an oval shape that will serve as the base of the toilet. This oval should be slightly elongated vertically, with rounded edges.
Step 2: Add the Back of the Toilet
Extend two straight lines upwards from the top corners of the oval shape. These lines will create the back of the toilet. Make sure they are parallel to each other and slightly curved.
Step 3: Draw the Seat
At the top of the back lines, draw a horizontal line that connects them. This line will form the top edge of the toilet seat. Next, draw a curved line beneath the top edge to create the shape of the seat. The seat should look like a half-oval that is open towards the front.
Step 4: Define the Tank Shape
Beneath the seat, draw a rectangle shape to represent the tank of the toilet. The tank should be narrower than the base and extend slightly beyond the back lines.
Step 5: Add Details to the Tank
Within the tank shape, draw a small rectangle near the top to represent the lid. Add a curved line below the lid to create the top of the tank. Then, draw a vertical line down the middle of the tank to divide it into halves.
Step 6: Sketch the Bowl
Beneath the tank, draw a curved line that connects the back lines of the base. This line will outline the front of the bowl. To complete the bowl shape, draw a curved line from the bottom of the front line to the bottom of the back lines.
Step 7: Refine the Toilet Bowl
Within the bowl shape, draw a smaller oval towards the back to represent the water pool. This oval should be slightly tilted and positioned towards the top of the bowl. Add a curved line at the bottom of the bowl to define the rim.
Step 8: Add Flushing Mechanism
Inside the tank, draw a small rectangle shape near the top to represent the flushing button or lever. You can also add a few additional details, such as bolts or pipes, to make the toilet look more realistic.
Step 9: Erase Unnecessary Guidelines
Carefully go over your drawing and erase any unnecessary guidelines. Use a clean eraser to gently remove the pencil marks, making sure not to smudge the drawing.
Step 10: Finalize and Add Details
Now that the basic structure is complete, it’s time to add some finishing touches and details. Use your pencil or colored pencils to shade and add depth to the different areas of the toilet. Pay attention to highlights and shadows to create a three-dimensional effect. You can also experiment with different textures and patterns to make your drawing more interesting.
Conclusion
Drawing a toilet may seem like a challenging task, but by following these step-by-step instructions, you can create a realistic and detailed representation. Remember to take your time and have fun with the process. With practice, your drawing skills will continue to improve. So, grab your drawing materials and start creating!
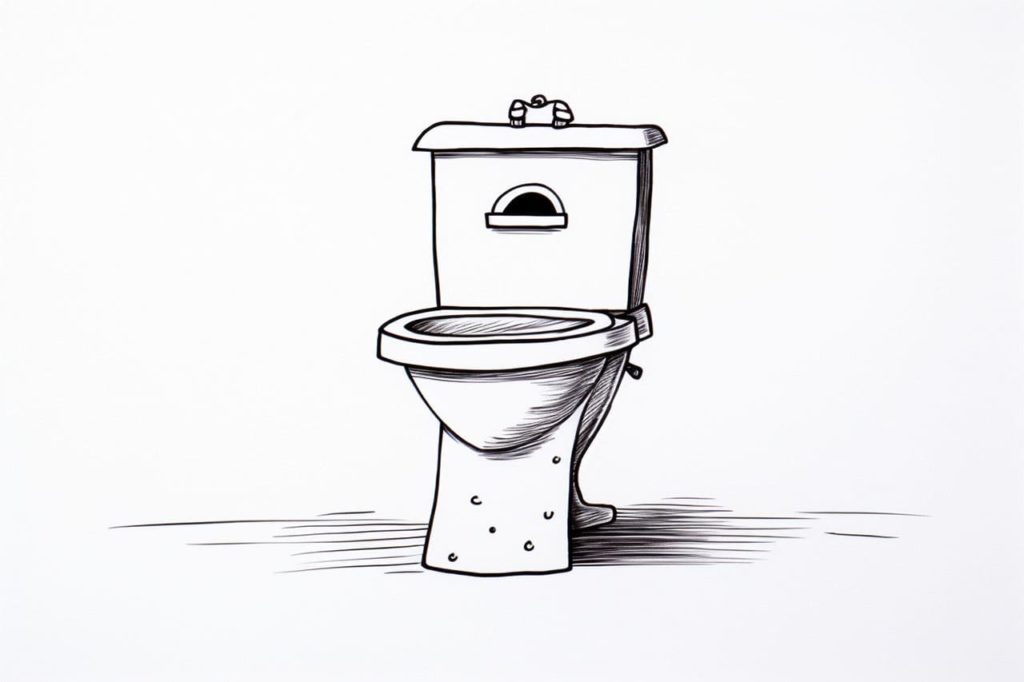
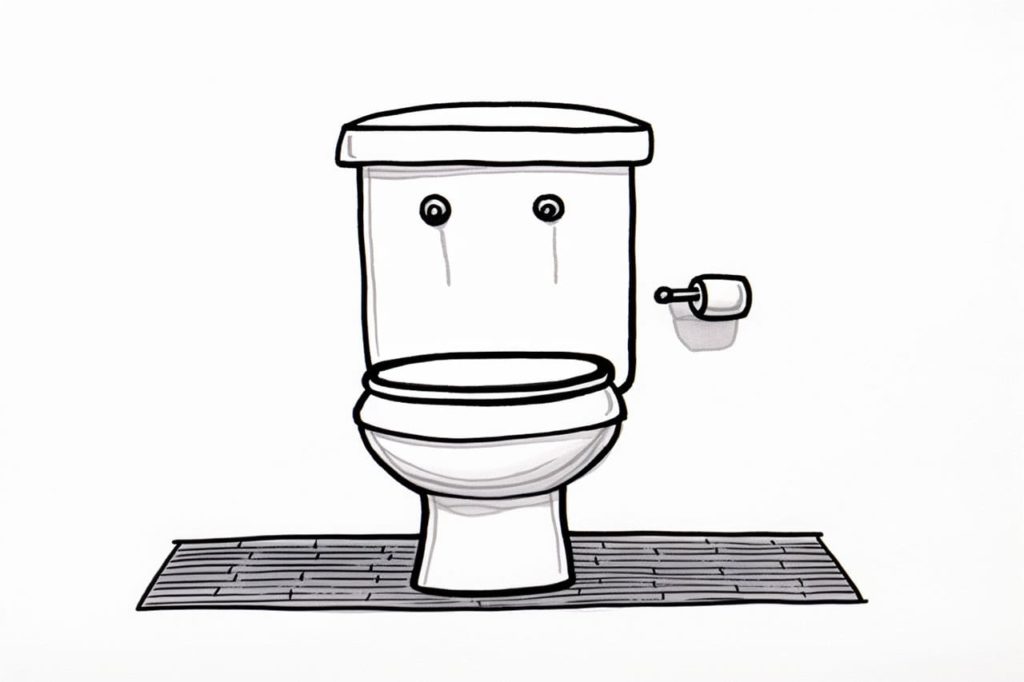
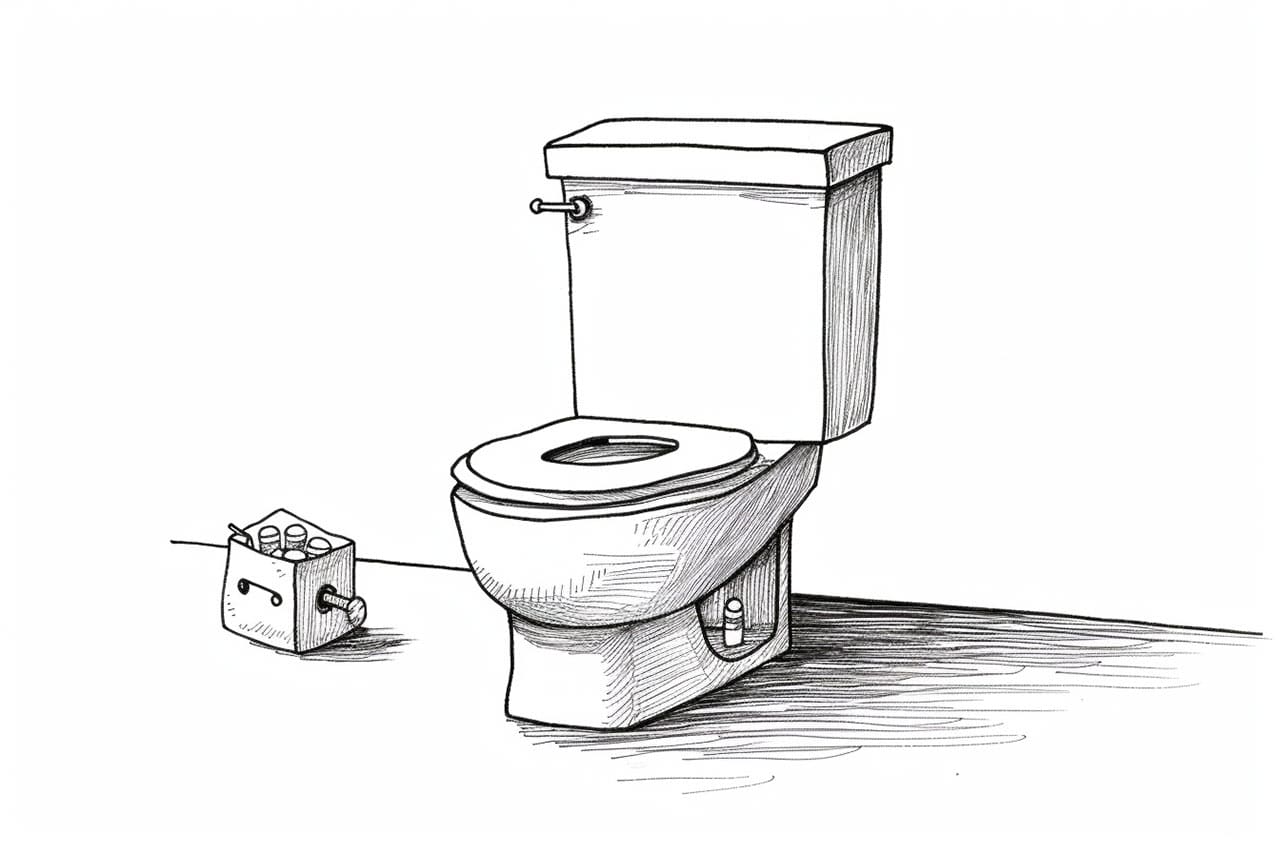
Gallery of Toilet Drawings