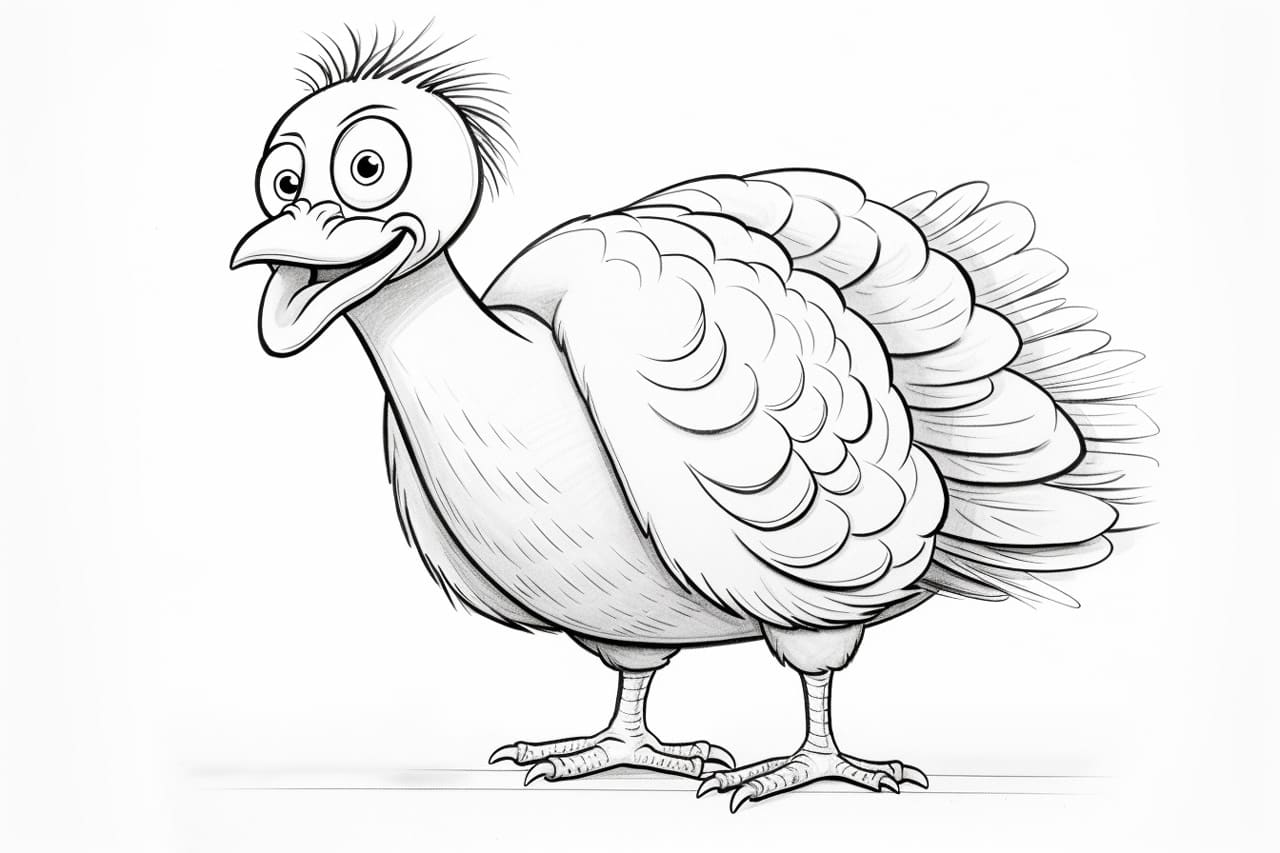
As we approach the Thanksgiving season, it’s a perfect time to learn how to draw a cartoon turkey. With a few simple steps, you can create a fun and festive turkey drawing that will impress your friends and family. In this tutorial, we will guide you through the process, giving you clear and concise instructions to help you bring your turkey to life on paper. So grab your pencils and let’s get started!
Materials Required:
To draw a cartoon turkey, you will need the following materials:
- Paper: Choose a high-quality drawing paper that is smooth and sturdy.
- Pencils: Get a range of pencils with different lead hardness, such as HB, 2B, and 4B.
- Eraser: You’ll need a good eraser to correct any mistakes along the way.
- Colored pencils or markers (optional): If you want to add colors to your turkey, have a set of colored pencils or markers handy.
Now that you have gathered your materials, let’s jump into the step-by-step process of drawing a cartoon turkey.
Step 1: Basic Outline
Start by lightly sketching a large oval shape in the center of your paper. This oval will serve as the turkey’s body. Next, draw a circle above the oval for the head. Connect the head to the body with a curved line. These basic shapes will provide a foundation for the rest of the turkey’s features.
Step 2: Eyes and Beak
Within the circle, you drew for the head, draw two round eyes. Leave a small space between them. Inside each eye, add a smaller circle for the highlight, giving the eyes a lively look. Just below the eyes, draw a triangular beak by adding two lines that meet at a point. This beak will help give your turkey a cheerful expression.
Step 3: Wattle and Snood
On the turkey’s head, add a wavy line that curves down from the beak. This line represents the wattle. Extend a curved line from the wattle, forming the snood, which should hang down over the beak. These features are common in male turkeys and will give your drawing authenticity.
Step 4: Feathers
Now it’s time to add some feathers to your turkey. Start by drawing a series of long, curved lines on both sides of the body. These lines should resemble the shape of a turkey’s feather. Don’t worry about making them perfect; a bit of irregularity adds character to your cartoon turkey. Continue adding feathers until you are satisfied with the overall look.
Step 5: Legs and Feet
Beneath the body, draw two curved lines that extend outward. These lines will represent the turkey’s legs. At the end of each leg, add three short, curved lines to form the feet. Turkeys have three toes, so make sure to capture this detail in your drawing.
Step 6: Details and Accents
To make your turkey drawing even more appealing, add some small details and accents. Within each eye, draw a smaller circle to represent the pupil. On the head, draw a few short, curved lines to indicate the feathers. Add a couple of curved lines on the body to create a separation between different sections of feathers. You can also add a few lines or dots to represent texture on the legs and feet.
Step 7: Coloring (optional)
If you want to bring your cartoon turkey to life with colors, grab your colored pencils or markers. Start by coloring the feathers in various shades of brown, keeping the center of each feather slightly lighter than the edges. You can use shades of red or orange for the wattle and snood. Fill in the eyes and feet with black, and don’t forget to leave a small white highlight in each eye.
Conclusion
Congratulations, you have successfully learned how to draw a cartoon turkey! Remember, practice makes perfect, so keep drawing and experimenting with different styles and techniques. Your turkey drawing will surely become a centerpiece of admiration during your Thanksgiving celebrations.
So gather your materials, follow these step-by-step instructions, and have fun creating your own unique cartoon turkey. Happy drawing!