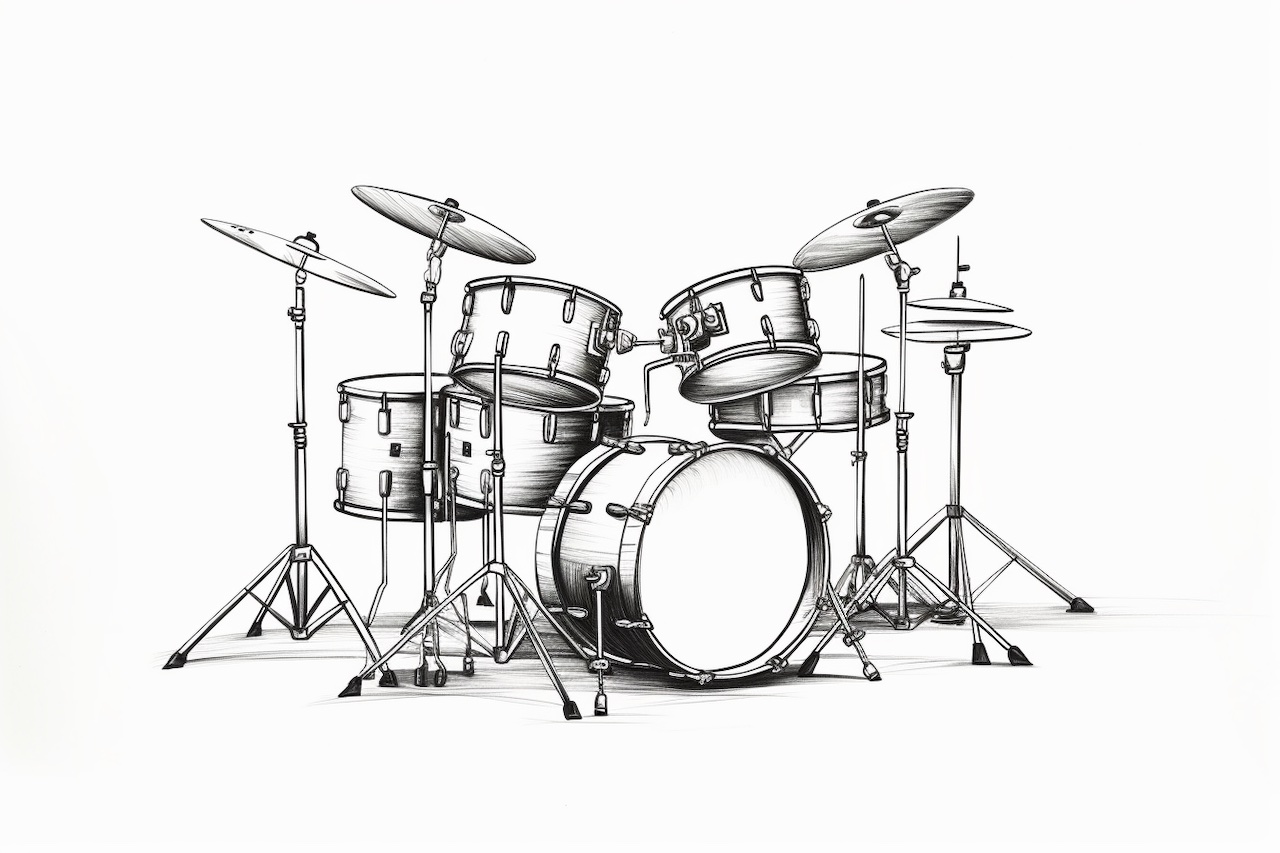
Welcome to this step-by-step guide on how to draw a drum set. Whether you are an aspiring artist or simply looking for a fun and creative project, drawing a drum set can be a rewarding experience. In this tutorial, we will break down the process into easy-to-follow steps, allowing you to create a realistic and detailed illustration of a drum set. So, let’s grab our drawing tools and get started!
Materials Required
Before we begin, let’s make sure we have all the necessary materials at hand. Here’s a list of what you’ll need:
- Drawing paper or sketchbook
- Pencil (preferably a range of H and B pencils)
- Eraser
- Ruler
- Fine-tipped black pen
- Colored pencils or markers (optional)
Now that we have our materials ready, let’s dive into the step-by-step process of drawing a drum set.
Step 1: Draw the Bass Drum
To start, we will draw the bass drum, which is the largest drum in a drum set. Begin by drawing a slightly elongated oval shape towards the bottom center of the paper. Make sure to leave some space above the oval for the rest of the drums.
Step 2: Add the Toms and Snare Drum
Next, we will draw the toms and snare drum. Position them above the bass drum, with the toms on either side and the snare drum in the center. Use circular shapes for the toms, and a slightly rectangular shape for the snare drum.
Step 3: Draw the Hi-Hat
Moving on, let’s draw the hi-hat, which is a set of two cymbals that are operated by a foot pedal. Draw two open circles on the left side of the drum set, one above the other. These circles will represent the top and bottom cymbals of the hi-hat.
Step 4: Sketch the Ride Cymbal
Now, let’s add the ride cymbal. Draw a large circle positioned above the toms on the right side of the drum set. This circular shape will represent the ride cymbal, which is often larger than the other cymbals in a drum set.
Step 5: Add the Crash Cymbal
Next, we will draw the crash cymbal, another important component of a drum set. Draw a smaller circle positioned above the ride cymbal, on the right side of the drum set. This circular shape will represent the crash cymbal.
Step 6: Draw the Drum Sticks
Moving on to the accessories, let’s draw the drum sticks. Draw two elongated shapes angled towards the drum set. Position them as if they are about to strike the snare drum.
Step 7: Refine the Drum Set
Now that we have the basic structure of the drum set, let’s refine our drawing. Use your pencil to add details such as the drumheads, lugs, and stands. Pay close attention to the proportions and shapes of each component, as this will add realism to your drawing.
Step 8: Add Shading and Texture (Optional)
If you want to take your drawing to the next level, you can add shading and texture. Use your range of pencils to create gradients and shadows, giving the drum set a three-dimensional look. You can also use your fine-tipped black pen to add finer details and outlines.
Conclusion
Congratulations! You have successfully drawn a drum set. By following these step-by-step instructions, you should now have an illustration that captures the essence of a drum set. Remember, practice makes perfect, so don’t be afraid to experiment and refine your drawing skills. With time and dedication, you can create even more intricate and detailed artworks. So, keep drumming and keep drawing!


