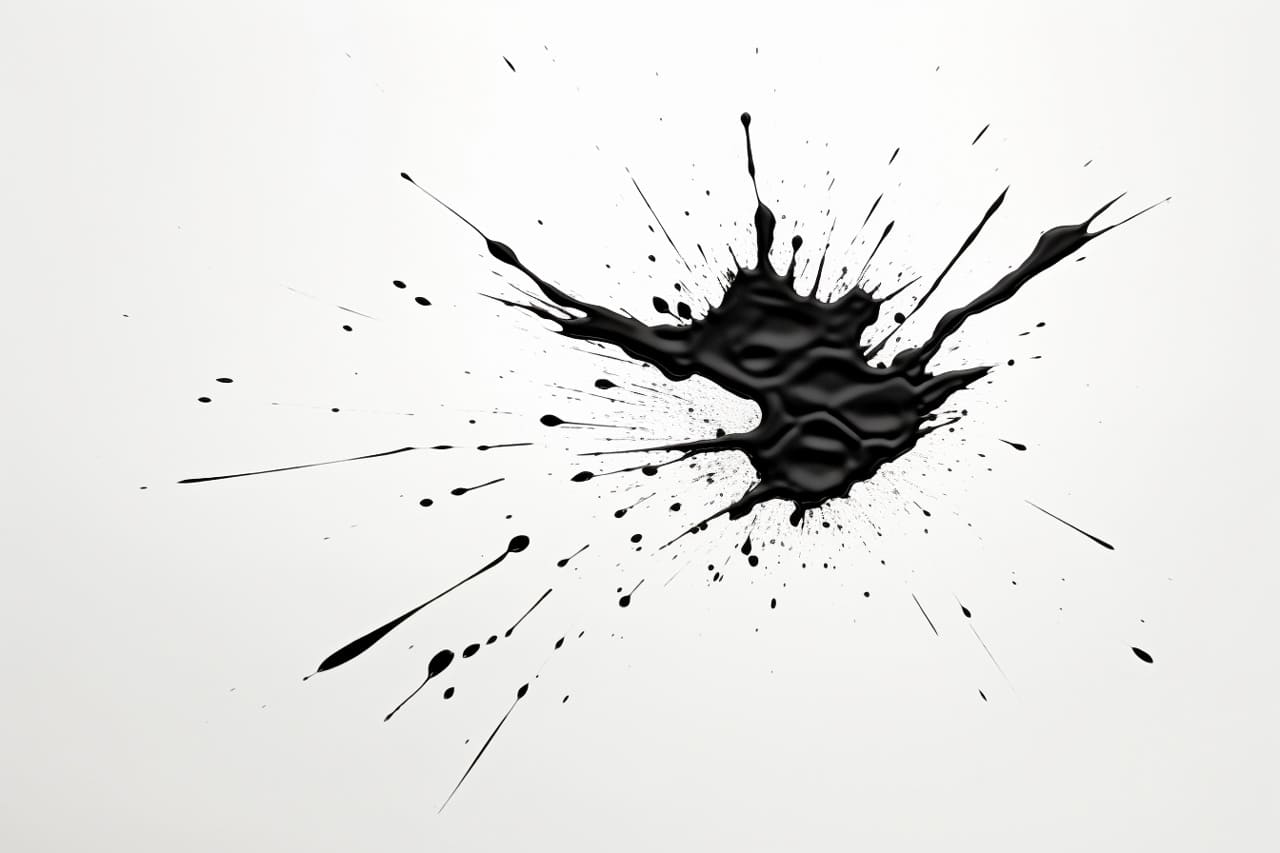
Welcome to this step-by-step guide on how to draw a splat! Whether you are a beginner or an experienced artist looking to add a playful touch to your artwork, drawing a splat can be a fun and creative way to express your skills. In this article, we will walk you through the process of drawing a splat in a clear, clean, and concise manner. So grab your drawing materials and let’s get started!
Materials Required
Before we begin, let’s gather the materials you will need to draw a splat. Fortunately, you won’t need many items for this particular drawing. Here’s what you’ll need:
- Drawing paper or sketchbook
- Pencil
- Eraser
- Fine tip black pen or marker (optional)
- Colored pencils or markers (optional)
Now that you have your materials ready, let’s move on to the steps for drawing a splat.
Step 1: Start with a Circular Shape
Begin by drawing a circular shape on your paper. This will serve as the base of your splat. The size of the circle is up to you, but make sure it’s large enough to allow room for the splat’s drips and splatters.
Step 2: Add Drips
Next, draw drips extending from the bottom of the circle, as if the splat is dripping down. These drips can be of various lengths and shapes, so feel free to get creative. You can make them wavy, curvy, or even straight. Remember, splats are supposed to be fun and spontaneous, so don’t worry too much about getting them perfect.
Step 3: Create Splatters
Now it’s time to add splatters around the circular shape. These splatters can be small or large, and you can place them randomly or in a more patterned manner. Experiment with different shapes and sizes to achieve a unique look. Feel free to overlap some of the splatters, as this will add depth and dimension to your drawing.
Step 4: Sketch Outline
Once you are satisfied with the arrangement of your splatters and drips, sketch an outline around them using a pencil. This will give your splat a more defined shape and help it stand out from the background. Take your time with this step and make sure you trace over all the important details.
Step 5: Refine the Outline
Now that you have a basic outline, go over it again and refine the shape of your splat. Make any adjustments necessary to ensure that your splat looks visually appealing and well-proportioned. You can do this by erasing any unwanted lines and redrawing them as needed.
Step 6: Ink the Drawing (Optional)
If you prefer a more finished look, you can use a fine tip black pen or marker to ink your drawing. This will create bold and crisp lines that will make your splat stand out even more. Be careful not to smudge the ink while working, as it can easily smear on the paper.
Step 7: Add Color (Optional)
To make your splat truly vibrant and eye-catching, you can add color using colored pencils or markers. Feel free to experiment with different color combinations and shading techniques. The choice of colors is entirely up to you, as splats can be colorful and playful or monochromatic and bold.
Conclusion
Congratulations! You have successfully learned how to draw a splat. This simple yet expressive drawing can be a great addition to your artwork and can add a touch of creativity and fun. Remember to let your imagination run wild and experiment with different shapes, sizes, and colors to create unique splats that reflect your personal style. So grab your materials and start splattering!


