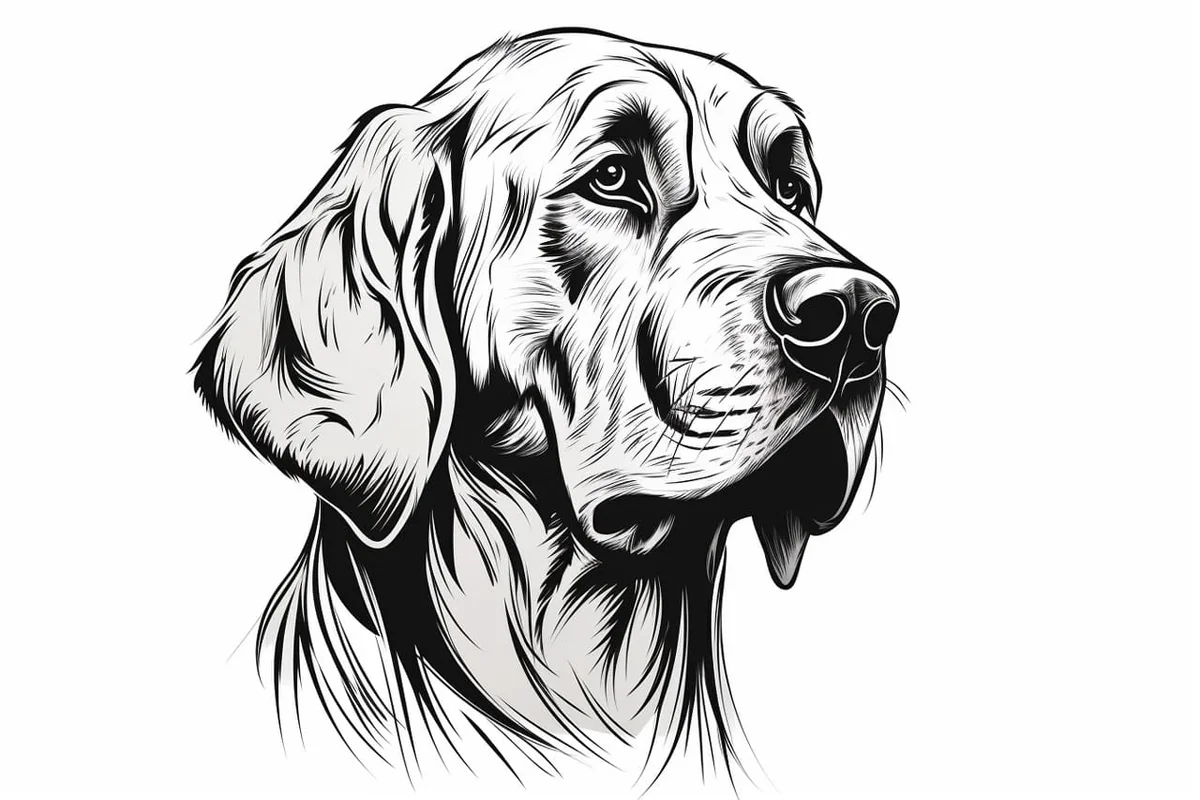
How to Draw a Dog Head
Learn how to draw with this step-by-step tutorial.
Materials You'll Need
- Drawing paper
- Pencil (HB or 2B)
- Eraser
- Blending stump
Welcome to our comprehensive step-by-step guide on how to draw a dog head! Whether you're just starting out on your artistic journey or you're a seasoned pro looking to refine your skills, this tutorial is designed to assist you in creating a realistic and captivating representation of a dog's head. Dogs possess unique and striking features, and by following these carefully structured instructions, you'll be able to capture their essence beautifully on paper.
In this guide, we will break down the drawing process into manageable steps that are easy to follow. You'll learn how to observe the subtle details in your reference photo and translate them into your artwork. We will use straightforward materials that you likely already have on hand, turning the potentially daunting task of drawing into an enjoyable and rewarding experience.
So, gather your pencils and paper, prepare your workspace, and embrace your creativity! Let's jump right in and unleash the artist within as we embark on this exciting drawing adventure together.
Materials Required
To begin, gather the following materials:
-
Pencils: You will need a range of pencils, from HB to 6B. A harder pencil like HB will be useful for lighter shading and details, while a softer pencil like 6B will allow for darker shading.
-
Paper: Use a good quality drawing paper that is suitable for your preferred drawing technique. A smooth surface is ideal for this tutorial.
-
Eraser: Have a kneaded eraser or a soft vinyl eraser on hand. These types of erasers are gentle on the paper and allow for easy corrections.
-
Blending tools: You can use a blending stump or a tortillon to blend and smudge the pencil marks for smoother shading.
-
Reference photo: Choose a clear reference photo of a dog head that you would like to draw. It is essential to have a reference to understand the features and proportions accurately.
Now that you have your materials ready, let's dive into the step-by-step process of drawing a dog head.
Step 1: Basic Guidelines
Begin by lightly sketching the basic guidelines for the dog head. Use a light pencil like HB for this stage. Start with an oval in the middle of the page, which will be the dog's snout. Add two circles on top of the oval, connecting them to create the skull shape.
Step 2: Outline the Snout
Refine the snout by adding more details. Observe your reference photo to determine the shape of the snout and its proportions. Sketch the outline of the snout, considering the width and length. Pay attention to the placement of the nostrils and the curve of the upper lip.
Step 3: Add the Eyes and Ears
Next, sketch the placement of the eyes and ears using the guidelines you created in Step 1. Observe the reference photo to properly position the eyes and ears. Dogs' eyes are usually almond-shaped, so sketch the eye shapes accordingly. The ears can vary depending on the breed, so make sure to study your reference photo to capture accurate details.
Step 4: Refine the Features
Once the basic shapes of the eyes and ears are in place, refine the features. Add the pupils, iris, and highlights to the eyes, bringing them to life. Pay attention to the details of the ears, such as the shape, texture, and any fur that may be present. Use light, confident strokes to depict the fur, emphasizing its direction and flow.
Step 5: Define the Nose and Mouth
Focus on the nose and mouth area. Observe your reference photo to accurately depict the shape of the nose, nostrils, and mouth. Dogs' noses can vary in size, so take note of this when drawing. Add shading to create depth and dimension, ensuring that the nose appears rounded and realistic.
Step 6: Shading and Texturing
Now it's time to add shading and texture to the drawing to make it more three-dimensional and realistic. Use a range of pencils, starting with a lighter one like HB and gradually moving to darker ones like 2B or 4B. Begin by shading the areas that appear darker in the reference photo, such as the areas around the eyes, under the nose, and around the mouth.
Step 7: Blending and Smudging
To achieve smoother shading and transitions, use a blending stump or tortillon to blend the pencil marks. Lightly blend the shaded areas, being careful not to overdo it. The goal is to create a soft and seamless look while retaining the texture and depth of the fur.
Step 8: Refine Details and Add Highlights
Take your time to refine the details of the dog's head. Pay close attention to the fur texture, adding individual hairs and defining the contours. Use an eraser to lighten specific areas and create highlights, such as on the nose or the fur around the eyes. This will bring a sense of realism to your drawing.
Tip: When drawing a dog's head, focus on breaking down the structure into simple shapes to capture its proportions accurately. Start by sketching a circle for the skull and a smaller oval for the snout, ensuring they are aligned correctly to represent the dog's perspective. Use a 2B pencil for your initial sketch to create light lines that can be easily erased or adjusted as you refine the features. Pay special attention to the placement of the eyes, nose, and ears; they can significantly alter the expression, so lightly mark their positions before committing to details. Finally, once you're satisfied with the outline, gradually build depth with shading using softer pencils like 4B and 6B, layering to create the illusion of fur and contours. Happy drawing!
Conclusion
Congratulations! You have successfully drawn a dog head using simple materials and step-by-step instructions. With patience and practice, your skills as an artist will continue to grow. Remember to use a reference photo, observe the details, and have fun with your artwork. Now go ahead and create more beautiful dog portraits!
Gallery of Dog Head Drawings


