Drawing is a wonderful form of self-expression and can be a great way to unleash your creativity. If you’re looking to add some flair to your character drawings, why not learn how to draw a hat on a person? Hats can add personality and style to your artwork, whether it’s a simple baseball cap or an elegant wide-brimmed hat. In this step-by-step guide, I’ll walk you through the process of drawing a hat on a person, so grab your pencils and let’s get started!
Materials Required
Before we begin, here are the materials you’ll need for this drawing tutorial:
- Paper: Choose a smooth surface to draw on. A sketchpad or drawing paper will work well.
- Pencils: You’ll need a range of pencils, including an HB or 2B for sketching and softer pencils like 4B or 6B for shading.
- Eraser: A kneaded eraser is ideal for removing any unwanted lines without smudging your drawing.
Now that you have your materials ready, let’s dive into the step-by-step process.
Step 1: Sketch the Basic Head Shape
Start by sketching a circle to represent the head of your person. This will serve as a guideline for the placement of the hat. Keep the lines light and loose, as you’ll be refining them later.
Step 2: Define the Hat Style
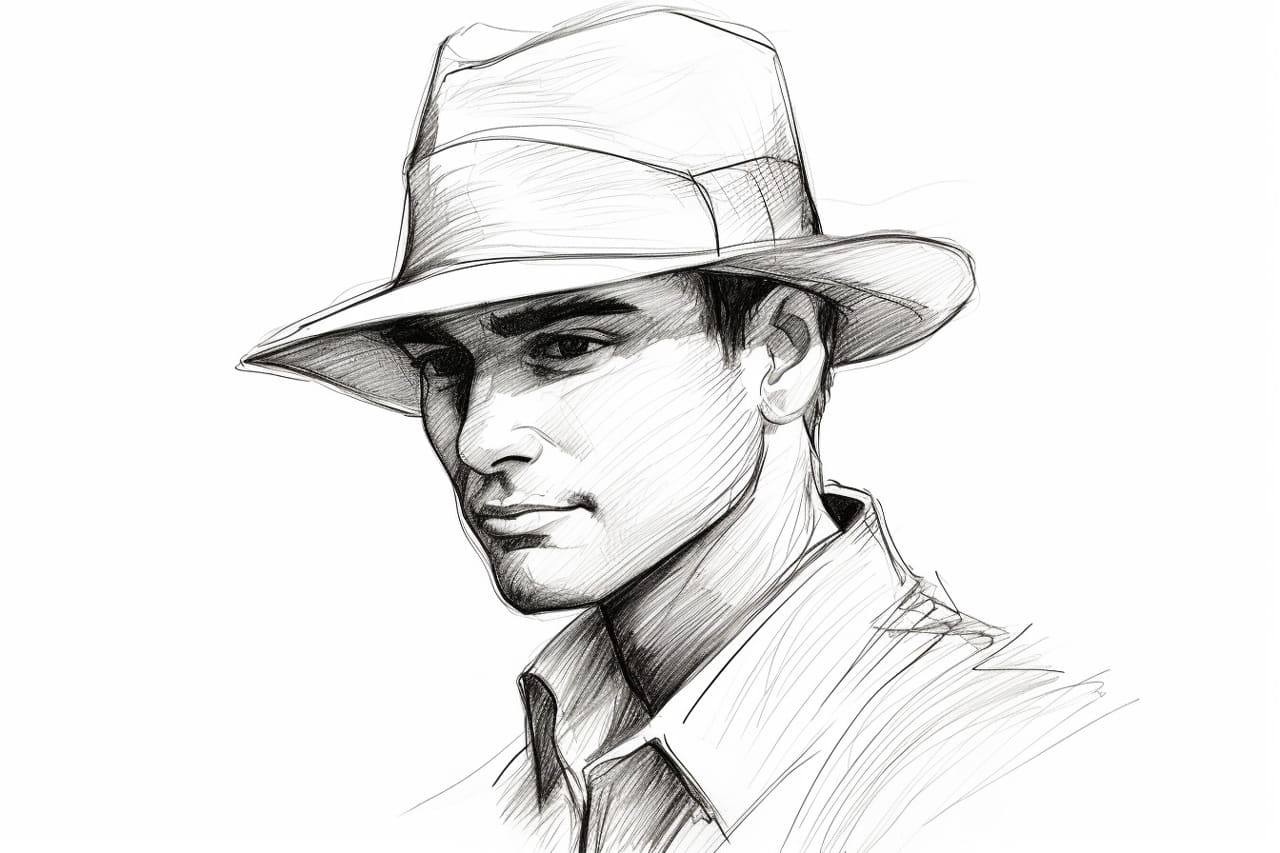
Next, decide on the style of hat you want to draw. It could be a baseball cap, a sun hat, a fedora, or any other style that catches your fancy. Imagine how the hat will sit on the head and which direction it will face. This will help you determine the angle and size of the brim.
Step 3: Draw the Brim of the Hat
Using your sketch as a guide, draw the brim of the hat. Start by lightly sketching a curved line around the head, following the shape you defined in the previous step. The brim’s width and shape will vary depending on the hat style. Make sure the brim looks balanced and proportional to the head.
Step 4: Add Depth to the Brim
To give the hat a three-dimensional look, add some depth to the brim. Imagine where the light source is coming from and add shading accordingly. Use darker pencil grades, such as 4B or 6B, to create shadows on the underside of the brim. Lightly shade the top of the brim to show its curvature.
Step 5: Draw the Crown of the Hat
Now it’s time to draw the crown of the hat. The crown is the part that sits on top of the head. Depending on the hat style, it may be a simple dome shape or have more intricate details. Use your sketch as a reference and draw the shape of the crown, making sure it fits well with the brim.
Step 6: Add Texture and Details
To make your hat drawing more realistic, add texture and details. If you’re drawing a baseball cap, for example, sketch the stitching lines on the front panel and add small details like the brand logo or a button on top. For a sun hat, you can add some folds and creases to show its fabric.
Step 7: Refine and Clean Up
Take a step back and evaluate your drawing so far. Make any necessary adjustments to the proportions, shape, or positioning of the hat. Use an eraser to clean up any unnecessary lines and refine the edges of the hat. If you’re satisfied with your drawing, you can move on to the final step.
Step 8: Add Shadows and Highlights
To give your hat more depth and dimension, add shadows and highlights. Determine where the light source is coming from and shade the appropriate areas. Use softer pencil grades for the shadows and a white pencil or eraser for the highlights. This will make the hat appear more realistic and three-dimensional.
Conclusion
Congratulations! You have successfully learned how to draw a hat on a person. With practice, you’ll become more confident in adding hats to your character drawings. Remember to experiment with different hat styles and have fun exploring various textures and details. Drawing hats can greatly enhance the overall look and feel of your artwork. So grab your pencils and keep honing your skills. Happy drawing!