Introduction
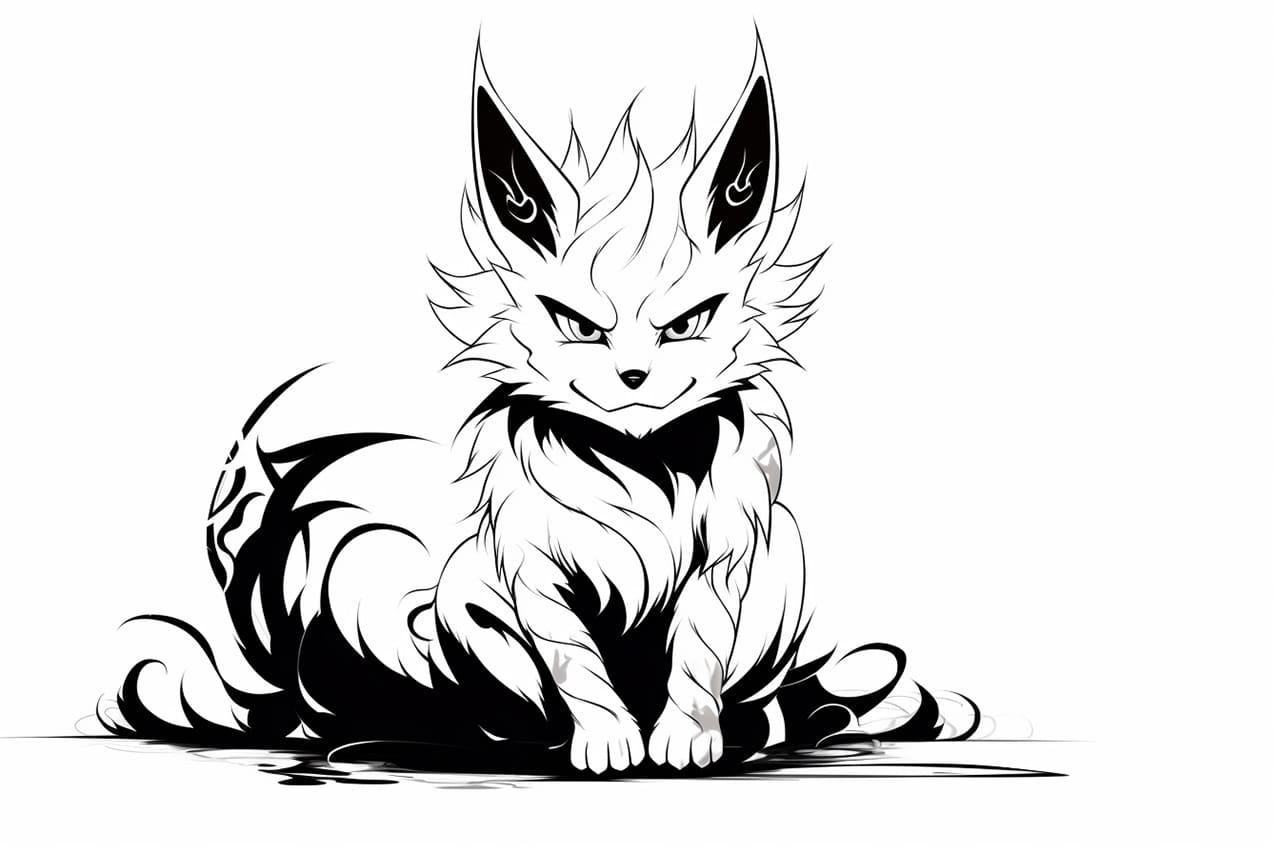
Welcome to this step-by-step guide on how to draw a kitsune, a mythical creature from Japanese folklore. Harness your artistic skills and learn the techniques to create a stunning depiction of this fascinating creature. By following these clear instructions, you’ll be able to capture the essence of the kitsune in your artwork. So let’s dive in and embark on this artistic journey!
Materials Required
Before we begin, ensure you have the following materials ready:
- Drawing paper or sketchbook
- Pencils (HB, 2B, 4B)
- Eraser
- Fine-tip markers or pens
- Colored pencils or watercolors (optional)
Now that we have everything we need, let’s get started!
Step 1: Basic Shape
Begin by drawing a large oval for the kitsune’s head. This will serve as the foundation for the rest of the drawing. Keep your lines light and loose, as this is just the initial sketch.
Step 2: Ears
On the top left and right sides of the oval, draw two pointy ears. Kitsune are often depicted with elegant triangular ears, so make sure to capture their shape accurately.
Step 3: Facial Features
Using light guidelines, draw two large eyes in the center of the head. Kitsune are known for their captivating eyes, so take your time to get them just right. Beneath the eyes, add a small triangular nose, and slightly above the eyes, draw a curved line to represent the brow.
Step 4: Mouth and Whiskers
Place a horizontal line across the face, slightly below the nose, to indicate the mouth. Remember that the mouth on a kitsune is often seen smiling or with a mischievous expression. To enhance the character of the kitsune, draw long, flowing whiskers on each side of the face.
Step 5: Fur Detailing
Start adding fur detailing to the head and ears. Kitsune are usually depicted with lush fur, so use small, curved strokes to create a sense of texture and depth. Take your time with this step, as it is important to make the fur look realistic and expressive.
Step 6: Neck and Body
Extend two lines down from the sides of the head to form the neck. Then, from the lower part of the neck, draw an elongated oval shape for the body. This will give your kitsune a graceful and elegant posture.
Step 7: Legs and Tail
Using curved lines, sketch out the front and hind legs of the kitsune. Pay attention to the proportions and positioning to maintain a balanced and harmonious composition. Finally, draw a long, fluffy tail extending from the back of the body. Kitsune are often portrayed with multiple tails, so feel free to add more if you desire.
Step 8: Detailing the Body
Refine the body’s shape by adding curves and contours that follow the natural flow of the kitsune’s form. Pay attention to the muscle structure and how it impacts the overall body shape. Add fur detailing to the body and tail, using the same techniques we used in Step 5.
Step 9: Finalizing the Face
Now it’s time to add the final touches to the kitsune’s face. Darken the eyes to make them stand out and add depth. You can also add eyelashes to enhance the expressive nature of the eyes. Fine-tune the shape of the nose and mouth, ensuring they align with the overall character of the kitsune.
Step 10: Adding Details
To bring your kitsune to life, add small details such as fur strands, highlights, and shadows. Use a combination of light and dark lines to create depth and dimension throughout the body. Take your time with this step, as the details will truly enhance the final artwork.
Conclusion
Congratulations! You have successfully learned how to draw a kitsune. By following this step-by-step guide, you have created a captivating artwork that captures the charm and allure of this mythical creature. Remember, drawing is all about practice, so don’t hesitate to experiment and refine your technique. Enjoy your artistic journey, and may your future artworks continue to inspire.


