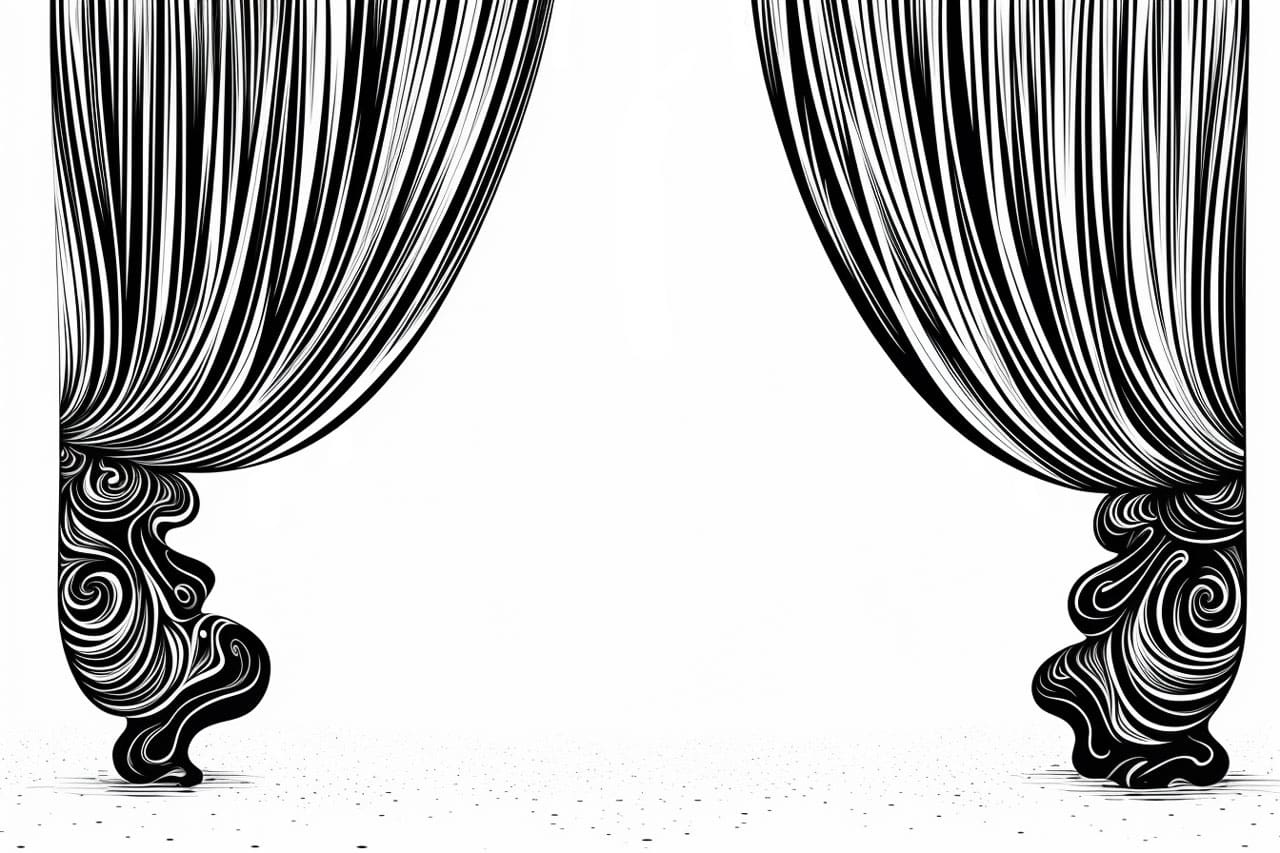
Drawing a curtain can add a touch of realism and depth to your artwork, whether it’s a still life composition or a detailed interior scene. By following these step-by-step instructions, you can learn how to draw a curtain that looks realistic and visually appealing. So, let’s get started!
Materials Required
Before we begin, gather the following materials:
- Drawing paper or sketchbook
- Pencils (HB and 2B are recommended)
- Eraser
- Ruler
- Soft blending tool (e.g., tortillon or blending stump)
- Reference image of a curtain (optional but helpful for accuracy)
Now that we have everything we need, let’s dive into the process of drawing a curtain!
Step 1: Rough Sketch
Start by lightly sketching the basic shape of the curtain. Determine the size and position on your paper. Use a ruler if you need straight lines. Remember, this initial sketch is just a rough guide, so don’t worry about perfection at this stage.
Step 2: Define the Folds
Using light, curved lines, begin defining the folds of the curtain. Observe your reference image or visualize how the fabric would naturally drape and fold. Keep in mind that curtains usually have multiple folds, so aim to create a sense of volume and movement.
Step 3: Add Texture
To make the curtain appear realistic, add texture to the fabric. Use short, gentle strokes to mimic the weave of the fabric. Pay attention to the direction of the strokes, following the flow of the folds. This step helps create depth and enhances the overall illusion of a curtain.
Step 4: Darken the Shadows
Identify the areas where shadows fall on the curtain. Darken these shadowed areas gradually, using a softer pencil (e.g., 2B). Apply more pressure to create darker tones. Be mindful of the direction and intensity of the light source when shading the shadows.
Step 5: Add Highlights
Now, let’s add highlights to the curtain to give it a three-dimensional appearance. Identify the areas where light hits the fabric directly or reflects off its surface. Leave those areas lighter by using a kneaded eraser to lift off some graphite. This technique helps to create realistic highlights and adds depth to the drawing.
Step 6: Refine and Blend
Take a step back and assess your drawing so far. Use an HB pencil to refine any areas that may need additional detail or adjustments. Pay attention to the smaller folds and subtle variations in shading. Once you’re satisfied, use a soft blending tool to gently blend the graphite, smoothening transitions between tones for a more polished look.
Step 7: Fine Details
Now it’s time to add some finer details to bring your curtain to life. Use a sharp pencil or a fine liner pen to emphasize creases, folds, and any intricate patterns or designs. Be careful not to overdo it; the goal is to enhance the drawing subtly.
Step 8: Final Touches and Accents
Review your drawing once more and make any necessary final touches or adjustments. Take this opportunity to add additional accents, such as loose threads, curtains rings, or tassels. These small details can elevate the realism and overall appeal of your curtain drawing.
Conclusion
Congratulations! You have successfully learned how to draw a realistic curtain. By following these step-by-step instructions, you can now confidently create stunning curtain drawings that add depth and sophistication to your artwork. Remember to practice regularly to improve your skills and experiment with different styles and techniques.
Drawing a curtain may seem challenging at first, but with patience and practice, you will develop the ability to capture the texture, folds, and details that make a curtain come to life on paper. So, grab your materials and start drawing! Enjoy the creative process and let your imagination soar.