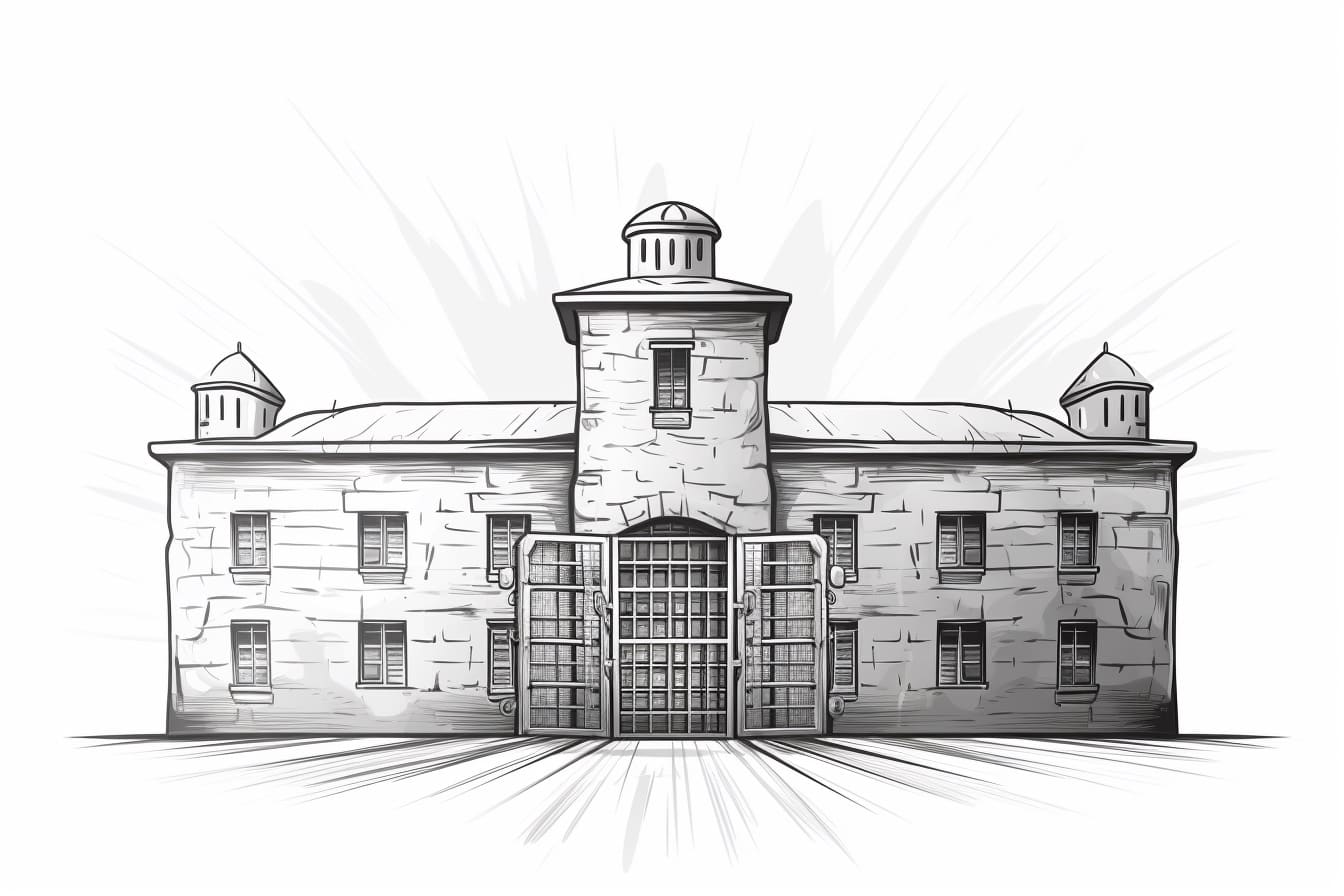
Drawing a jail can be an interesting and challenging task for artists of all skill levels. Whether you’re looking to create a realistic depiction or a more imaginative interpretation, this step-by-step guide will help you bring a jail to life on paper. In this article, you will learn the techniques and tips necessary to capture the essence of a jail in your artwork. So grab your pencil and paper, and let’s get started!
Materials Required
Before we begin, let’s gather the materials you will need:
- Drawing paper or sketchbook
- Pencil (preferably a mechanical pencil or a set of pencils ranging from 2B to 6B)
- Eraser
- Ruler
- Fine-tipped black pen or marker (optional)
Now that you have your materials ready, let’s dive into the steps of drawing a jail.
Step 1: Start with the Base Outline
Begin by lightly sketching a rectangular shape on your paper to represent the overall structure of the jail. Use your ruler to ensure that the lines are straight and aligned properly. This shape will serve as the foundation for the rest of your drawing.
Step 2: Add the Bars
Inside the rectangular shape, draw vertical lines to represent the bars of the jail cell. These lines should be evenly spaced and parallel to each other. Make sure to leave enough space between the bars to create a realistic effect. If you prefer a more stylized look, you can experiment with different thicknesses and shapes for the bars.
Step 3: Draw the Door
At one end of the rectangular shape, draw a vertical line to represent the jail cell door. Add horizontal lines across this line to create the appearance of a barred door. You can also add a lock or handle to make it more realistic. Remember to keep it in proportion with the rest of the jail.
Step 4: Add Details to the Bars
To add depth and realism to your jail cell bars, darken the areas between the bars with parallel, horizontal lines. This shading technique will create the illusion of shadows and give the bars a three-dimensional look. Be sure to pay attention to the direction of the light source to make the shading consistent throughout the drawing.
Step 5: Sketch the Surroundings
Now that the jail cell is complete, let’s work on the surroundings. Draw a wall behind the jail cell by extending the vertical lines of the rectangular shape. You can also add additional bars and windows to create a more complex jail structure. Remember to use your ruler to maintain straight lines and proper proportions.
Step 6: Add Texture and Details
To make your drawing more interesting and realistic, add texture and details to the walls and other elements of the jail. You can achieve this by lightly shading areas with your pencil, creating a hatched or crosshatched pattern. Additionally, you can draw bricks or stones on the walls to give them a rough texture. Pay attention to the small details, such as cracks or graffiti, to add character to your drawing.
Step 7: Finalize the Drawing
Once you are satisfied with the main structure and details of your jail, go over the lines with a fine-tipped black pen or marker to make them more defined. This step is optional but can give your drawing a clean and polished look. After inking, erase any remaining pencil lines, and your jail drawing is complete!
Conclusion
Drawing a jail can be a rewarding artistic exercise that allows you to challenge yourself and explore different techniques and styles. By following the step-by-step instructions outlined in this article, you can create a realistic or imaginative jail drawing that showcases your artistic skills. Remember to experiment, have fun, and make the drawing your own.
Now that you have learned how to draw a jail, it’s time to put your newfound skills to the test. Grab your materials, get creative, and start bringing your jail drawing to life on paper!