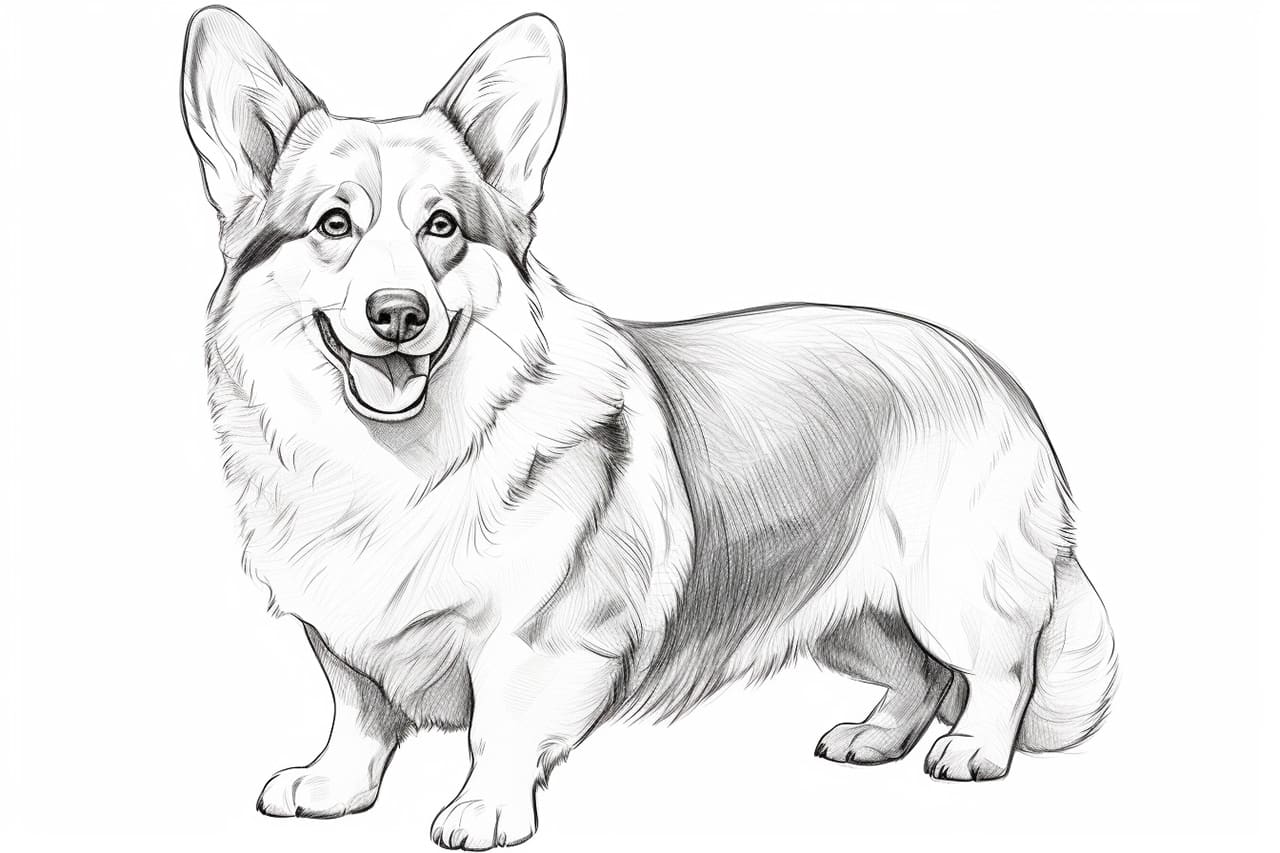
Welcome to this step-by-step guide on how to draw a corgi! In this article, I will provide clear and concise instructions to help you create an adorable and accurate drawing of this beloved dog breed. Whether you are a beginner or an experienced artist, this guide is designed to assist you in capturing the essence of a corgi’s unique features. So, let’s get started!
Materials Required
Before we begin, let’s gather the materials you will need to draw a corgi:
- Drawing paper
- Pencil
- Eraser
- Fine-tip black marker or pen
- Colored pencils or markers (optional)
- Reference photo of a corgi (to ensure accurate proportions and details)
Now that you have your materials ready, let’s dive into the step-by-step process of drawing a corgi.
Step 1: Outline the Body
Start by lightly sketching a horizontal oval shape, tilted slightly to one side, to represent the corgi’s body. This oval will serve as a guide for the overall shape of the corgi.
Step 2: Add the Head and Snout
From the top part of the oval, sketch a smaller oval shape for the head. Make sure it overlaps slightly with the body. Next, add a rectangular shape below the head to represent the snout. Ensure that the snout is angled slightly downward.
Step 3: Define the Ears and Facial Features
Using curved lines, sketch the corgi’s ears on either side of the head. Corgis are known for their pointy ears, so make sure to emphasize that characteristic. Then, add two small dots for the eyes, a small triangle shape for the nose, and a curved line for the mouth.
Step 4: Outline the Legs and Tail
Extend four curved lines downward from the body to represent the corgi’s legs. Corgis have short legs, so keep that in mind when drawing the proportions. Next, draw a slightly curved line extending from the back of the body to represent the tail.
Step 5: Add Details to the Face and Body
Refine the shape of the head by adding some fur details around the ears. Add the corgi’s eyebrows using small curved lines above the eyes. Then, draw a small circle inside each eye and shade it in to create the pupils. For the body, add some fur lines to give a sense of texture.
Step 6: Refine the Features and Add Fur
Erase any unnecessary guidelines and darken the outlines of the corgi’s features. Add more fur details throughout the body using short, curved strokes. Pay attention to the direction of the fur to make your drawing look more realistic.
Step 7: Color Your Drawing (Optional)
If you prefer to add color to your drawing, now is the time to bring it to life! Corgis often have a combination of brown, white, and black fur, but feel free to get creative with different color variations. Use colored pencils or markers to carefully fill in the shapes and add shading for depth.
Conclusion
Congratulations! You have successfully learned how to draw a corgi. By following the step-by-step instructions provided in this guide and using your creativity, you were able to create a charming depiction of this beloved breed. Remember, practice makes perfect, so don’t hesitate to try drawing corgis in different poses or environments. Keep exploring, refining your skills, and enjoying the beautiful art of drawing.