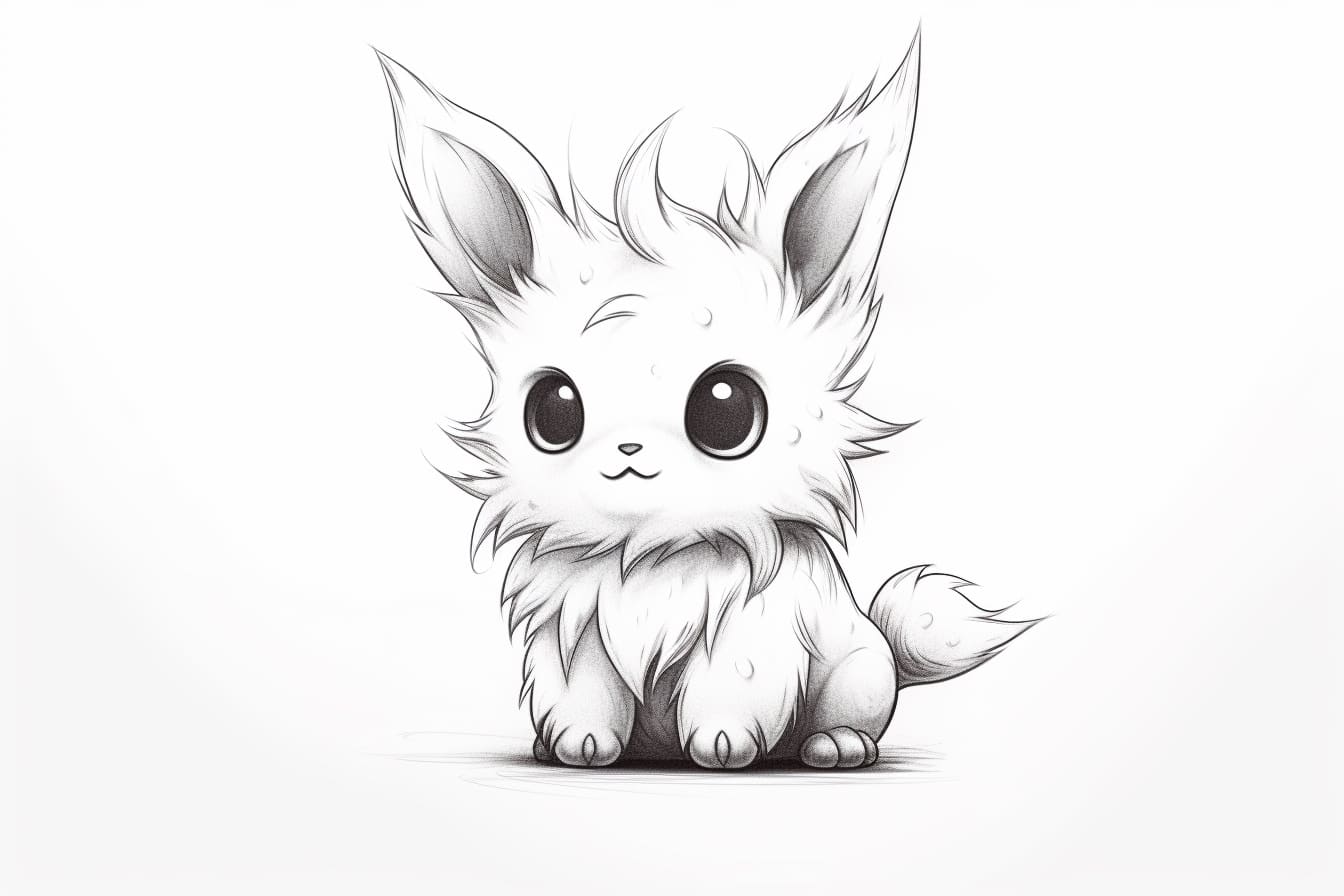
Plushies, also known as soft toys or stuffed animals, are cuddly and adorable companions that bring joy to people of all ages. Whether you want to create a customized plushie design or simply explore the world of plushie art, learning how to draw a plushie can be a fun and rewarding experience. In this step-by-step guide, we will walk you through the process of drawing a plushie from scratch. So grab your drawing materials and let’s dive in!
Materials Required:
To get started, you will need the following materials:
- Drawing paper or sketchbook
- Pencils (preferably a range of different hardness)
- Eraser
- Fine-tip markers or pens
- Colored pencils or markers (optional)
Now, let’s begin the journey of bringing a plushie to life on paper!
Step 1: Brainstorm and Research
Before you begin drawing, it’s essential to brainstorm and research different plushie designs. Look for inspiration online or in books, explore various plushie shapes, sizes, and animals. Take note of the unique features that make each plushie special. This will help you to develop your own creative ideas for your drawing.
Step 2: Start with Basic Shapes
Begin by lightly sketching the basic shapes that will form the body of your plushie. Plushies often have a round or oval-shaped body, with a smaller head and limbs. Use simple geometric shapes like circles, ovals, and rectangles to outline the main parts of your plushie. Don’t worry about getting the proportions perfect at this stage; this is just a rough guideline.
Step 3: Refine the Outline
Once you have the basic shapes in place, start refining the outline of your plushie. Use a darker pencil or pen to create a more defined outline, adding details such as ears, tail, or paws. Pay attention to the proportions and try to capture the overall shape and character of your plushie.
Step 4: Add Facial Features
Now it’s time to give your plushie a face! Plushies often have large, expressive eyes that bring them to life. Draw two oval shapes for the eyes, leaving a little space in between for the nose. Add a small triangular shape or a dot for the nose, and a smiling mouth to give your plushie a friendly expression. Experiment with different eye shapes and mouth positions to give your plushie a unique personality.
Step 5: Details and Textures
To make your plushie drawing more realistic and interesting, add some details and textures. For example, you can draw small stitches along the edges to mimic the seams of a real plushie. Use short, curved lines to create a fur-like texture or add patterns and designs to your plushie’s body. Don’t be afraid to get creative and let your imagination guide you!
Step 6: Coloring and Shading
Now that your plushie drawing is complete, it’s time to add some color! Choose colors that complement your plushie’s design and personality. Use colored pencils, markers, or even watercolors to bring your drawing to life. Start by applying the base colors, then gradually add shading and highlights to create depth and dimension. Pay attention to light sources and shadows to make your plushie look more three-dimensional.
Step 7: Final Touches
Take a step back and assess your drawing. Are there any areas that need refinement or additional details? Use an eraser to clean up any stray lines or smudges. Add any final touches, such as accessories or background elements, to complete your plushie drawing.
Conclusion
Congratulations! You have successfully learned how to draw a plushie from scratch. By following these step-by-step instructions, you can create your own adorable plushie designs. Remember, drawing is a skill that improves with practice, so don’t be discouraged if your first attempt doesn’t turn out exactly as planned. Keep experimenting, exploring, and refining your techniques, and before you know it, you will be creating stunning plushie drawings that bring joy to yourself and others.


