Welcome to this step-by-step guide on how to draw a Christmas Nativity Scene. The Nativity Scene is a classic symbol of the birth of Jesus and is often displayed during the holiday season. You can create your own beautiful Nativity Scene by following these simple instructions. So, grab your drawing materials and let’s get started!
Materials Required
To begin this drawing, you will need the following materials:
- Paper: Use good-quality drawing paper or sketchbook paper. The size is up to you, but a standard 8.5×11 inch paper works well.
- Pencil: Grab a couple of pencils with different lead weights, such as HB and 2B. These will allow you to create varied line thicknesses.
- Eraser: Keep an eraser handy for eliminating any mistakes or unwanted lines.
- Fine-tip markers or pens: These will be used for inking your drawing if you choose to do so.
- Colored pencils or markers: These are optional, but they can bring your Nativity Scene to life with vibrant colors.
Now that your materials are ready let’s begin drawing the Christmas Nativity Scene!
Step 1: Sketch the Basic Shapes
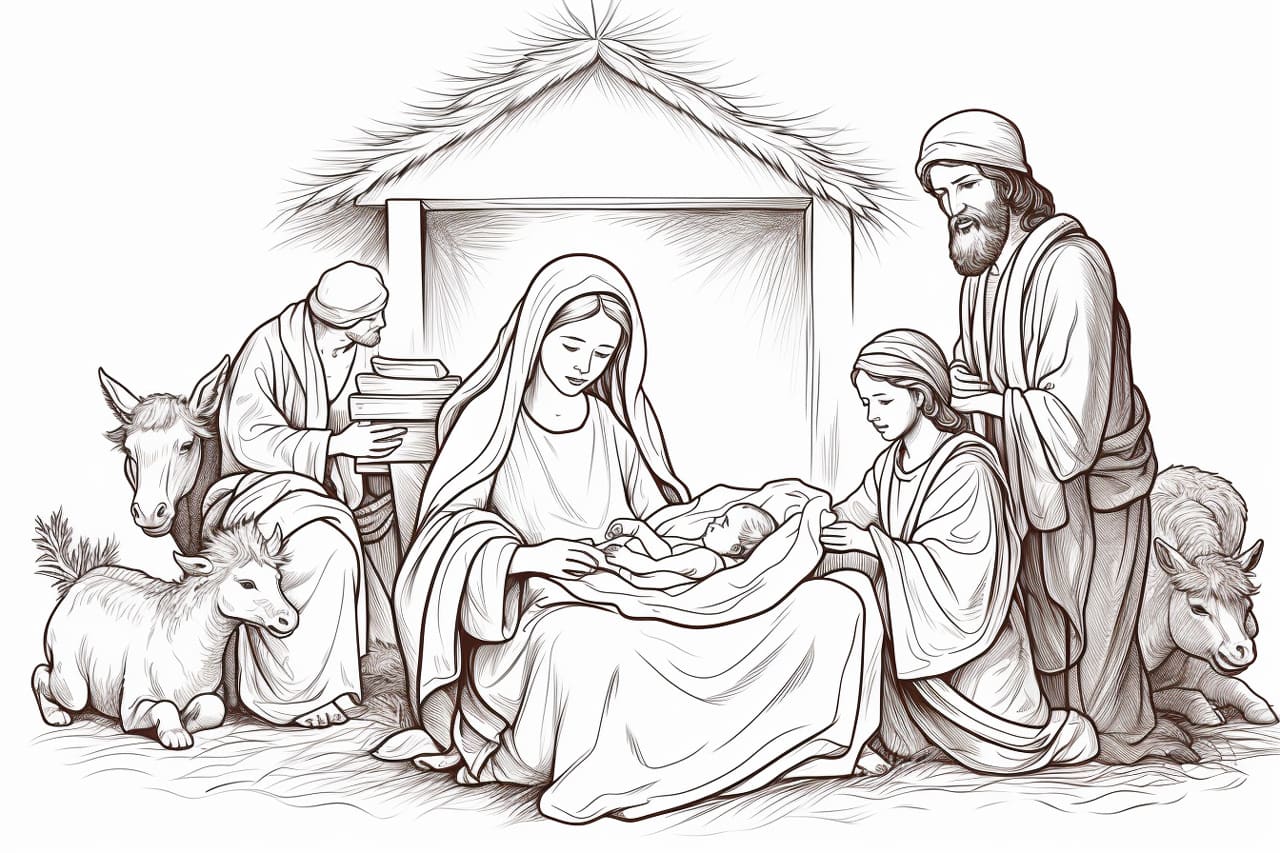
Start by lightly sketching the basic shapes of the characters in the Nativity Scene. Begin with the outline of the stable, typically represented as a wooden structure with a sloping roof. Next, sketch the basic shapes of Mary, Joseph, and Baby Jesus. Remember to keep the lines light and loose; these are just guidelines for the final drawing.
Step 2: Add Details to the Stable
Now, add more details to the stable. Sketch the wooden beams, the side walls, and the door. You can also add some straw or hay peeking out of the stable. Use references if needed to ensure accuracy.
Step 3: Refine the Characters
Refine the shapes of Mary, Joseph, and Baby Jesus. Please pay attention to their proportions and facial features. Add details such as the expressions on their faces, the clothing folds, and any accessories they may have.
Step 4: Draw the Three Wise Men
Next, draw the Three Wise Men. Start with their basic shapes and then add details to their robes, crowns, and gifts they are carrying. Position them so they seem to kneel or present their gifts to Baby Jesus.
Step 5: Sketch Other Characters
Now, sketch other characters, such as shepherds, angels, and animals. Add details like wings for the angels, staff for the shepherds, and animal fur texture. Remember to consider their positions about the main characters and the stable.
Step 6: Finalize the Outline
Once you are satisfied with the placement and proportions of all the elements, refine the outline of the entire scene. Darken the lines you want to keep, erasing any unnecessary guidelines.
Step 7: Add Shadows and Highlights
To add depth to your drawing, including shadows and highlights is essential. Observe your light source and imagine where shadows would fall. Shade those areas slightly darker and leave the areas where the light hits as highlights.
Step 8: Ink Your Drawing (Optional)
You can ink your drawing using fine-tip markers or pens if you prefer a more defined look. Review the final outline and details, allowing the ink to dry before erasing any pencil marks.
Step 9: Color Your Drawing (Optional)
Lastly, if you wish to add color to your Nativity Scene, use colored pencils or markers. Be mindful of color choices to create a harmonious and festive atmosphere. Apply multiple layers for a more vibrant effect.
Conclusion
Congratulations on successfully drawing your Christmas Nativity Scene! By following these step-by-step instructions, you have created a beautiful representation of the birth of Jesus. Display your artwork proudly or gift it to a loved one to share the joy of the holiday season. Remember, practice makes perfect, so keep drawing and experimenting with different techniques. Happy holidays!