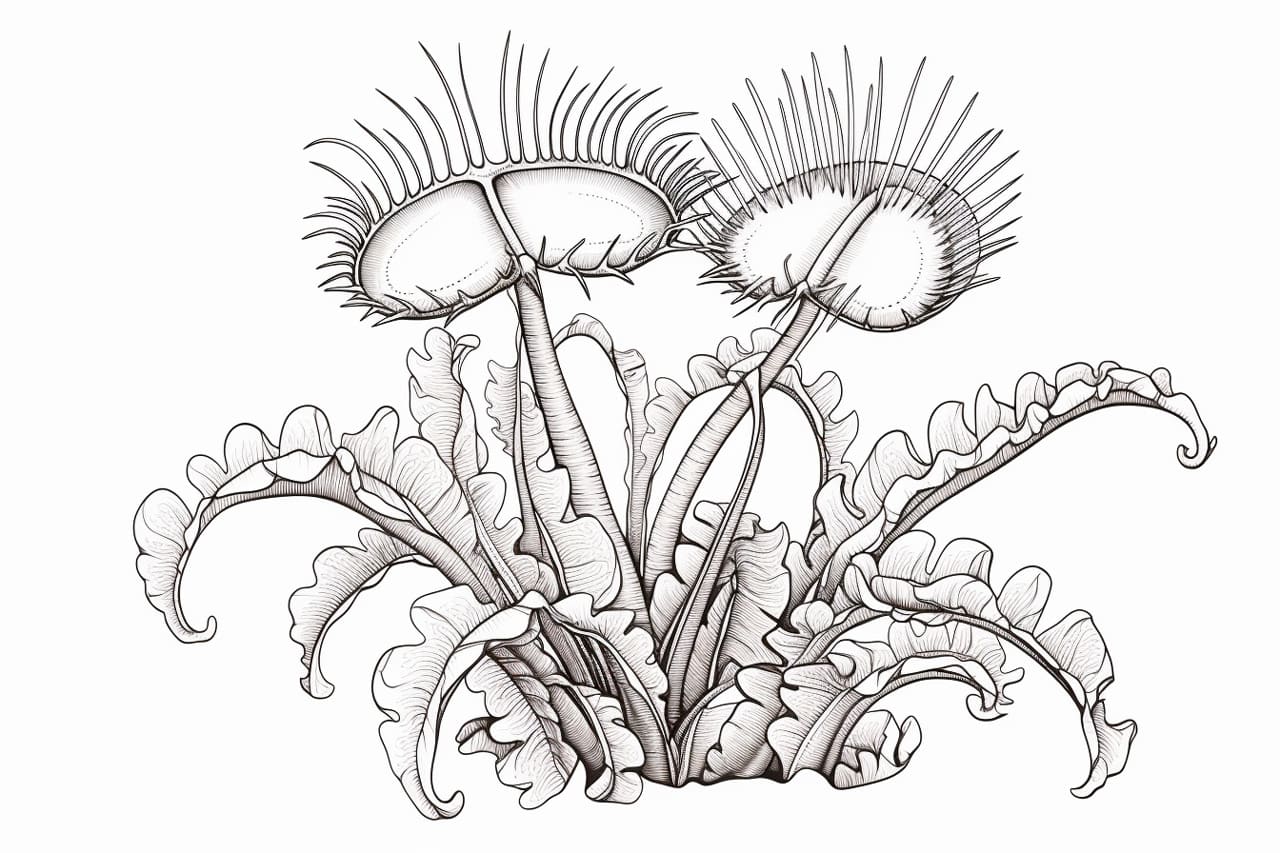
In this tutorial, you will learn step-by-step how to draw a Venus Fly Trap plant. Whether you are a beginner or an experienced artist, this guide will provide clear and concise instructions to help you create a beautiful and detailed drawing. So grab your pencils and let’s begin!
Materials Required
To draw a Venus Fly Trap, you will need the following materials:
- Drawing paper: Choose a smooth and sturdy paper suitable for pencil drawings.
- Pencils: Use a range of graphite pencils (HB, 2B, 4B) for shading and detailing.
- Eraser: Have a kneaded eraser handy for corrections and lightening areas.
- Sharpener: Keep a pencil sharpener nearby to maintain a sharp point.
- Ruler: Use a ruler for measuring and creating straight lines, if needed.
- Reference Image: Find a clear and detailed reference image of a Venus Fly Trap to guide your drawing process.
Now that you have gathered all the necessary materials, let’s move on to the step-by-step instructions.
Step 1: Outline the Basic Shape
Begin by lightly sketching the basic shape of the Venus Fly Trap. Start with a vertical line in the center of your paper to indicate the stem. Then, draw two curved lines that gradually widen at the top to form the shape of the trap. Add a smaller curved line on either side of the stem to represent the leaves.
Step 2: Draw the Trap Shape
Next, focus on drawing the trap of the Venus Fly Trap. Start by outlining the triangular shape of the open trap at the top of the plant. Add small teeth along the edges of the trap, as these are characteristic features of the Venus Fly Trap. Make sure the teeth are sharp and pointy.
Step 3: Add the Inner Details
Now, draw the inner details of the Venus Fly Trap. Inside the trap, sketch a line across the middle, dividing it into two halves. Then, draw small lines or dots on each half to represent the trigger hairs. These hairs are crucial for the plant’s mechanism to close the trap when activated.
Step 4: Create the Leaf Structure
Moving on to the leaves, add curved lines across each leaf to represent the veins. These veins help the leaves support the weight of the trap. Make the veins less pronounced towards the outer edges of the leaves. Remember to keep your lines light and sketchy at this stage.
Step 5: Add Texture and Shading
Now it’s time to add texture and shading to make your Venus Fly Trap drawing more realistic. Begin by adding darker lines along the edges of the trap and leaves to give them a three-dimensional appearance. Shade the areas inside the trap with cross-hatching, creating a slightly darker tone.
Step 6: Refine the Details
Refine the details of the Venus Fly Trap by adding more depth and definition. Observe your reference image closely and enhance the shape of the trap, teeth, leaves, and veins. Add fine lines and small details to mimic the texture of the plant. Erase any unwanted lines or mistakes using a kneaded eraser.
Step 7: Darken the Shadows
To create depth and make your drawing pop, darken the shadows in your Venus Fly Trap drawing. Identify areas where the light hits the plant the least, such as the crevices between the trap’s teeth and the undersides of the leaves. Use a softer graphite pencil (4B) for this step.
Step 8: Final Touches and Highlights
As you near the completion of your drawing, add final touches and highlights to enhance the overall look. Use an eraser to carefully lighten certain areas, such as the upper parts of the trap and leaves, to create highlights and add contrast. Pay attention to the details and make any necessary adjustments.
Conclusion
Congratulations! You have successfully learned how to draw a realistic Venus Fly Trap plant. By following these step-by-step instructions, you have created a detailed drawing that captures the unique features of this fascinating plant. Remember to practice regularly and experiment with shading techniques to further improve your skills. Enjoy the process of drawing and have fun exploring other botanical subjects!


