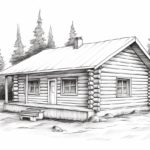
As an expert artist and drawing instructor, I will guide you through the steps of how to draw a cabin. Follow along with these clear, clean, and concise instructions to create your very own cabin masterpiece.
Materials Required:
To begin, gather the following materials:
- Paper
- Pencil
- Eraser
- Ruler
- Fine-tipped pens or markers (optional)
- Colored pencils or markers (optional)
Now that you have all the necessary materials, let’s dive into the steps of drawing a cabin.
Step 1: Sketch the Basic Shape of the Cabin
Start by drawing a rectangle to represent the main structure of the cabin. Use your ruler to ensure straight lines and right angles. This rectangle will act as the foundation of the cabin.
Step 2: Add a Roof
Extend two lines diagonally from the top corners of the rectangle to form the roof. The angle and slope of the roof are up to your preference. You can make it steep or gently sloping. Again, use the ruler to help you achieve accurate lines.
Step 3: Incorporate Doors and Windows
Decide on the placement of the doors and windows on your cabin. For the door, draw a rectangle shape along one side of the cabin. For the windows, use small squares or rectangles on the walls. The number and size of the windows are entirely up to you. Feel free to be creative!
Step 4: Add Details to the Cabin
Now it’s time to add some character to your cabin. Draw small details, such as wooden beams, bricks, or stones, on the walls to bring the cabin to life. Consider adding a chimney, flower boxes, or any other decorative elements that suit your vision.
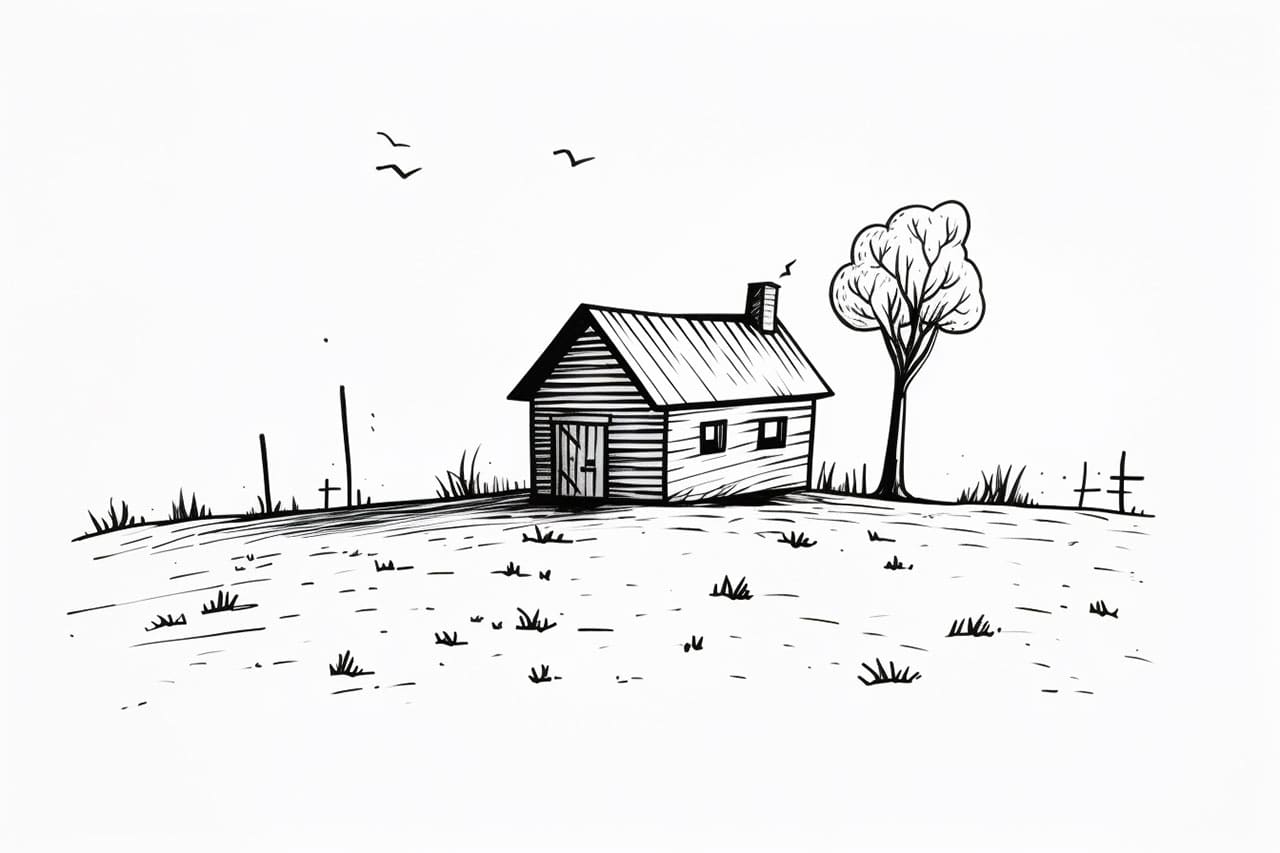
Step 5: Draw the Surroundings
A cabin won’t look complete without its surroundings. Sketch the basic landscape around the cabin, such as trees, bushes, or a path leading to the front door. These additional elements will enhance the overall composition of your drawing.
Step 6: Refine Your Sketch
Take a moment to step back and look at your sketch as a whole. Make any necessary adjustments or corrections to ensure the proportions and details are accurate. Erase any unnecessary lines and smudges to clean up the drawing.
Step 7: Add Shading and Textures
To add depth and dimension to your cabin drawing, consider adding shading and textures. Shade the areas where shadows would naturally fall, such as beneath the roof overhang or on the sides of the cabin. Use cross-hatching or stippling techniques to create textures on the walls or roof.
Step 8: Finalize with Ink (Optional)
If you prefer a more finished and polished look, you can go over your pencil lines with fine-tipped pens or markers. This step is optional but can add crispness and definition to your drawing. Take your time and be patient during this phase.
Step 9: Add Colors (Optional)
If you want to bring your cabin to life with colors, now is the time to use colored pencils or markers. Select colors that resonate with the surroundings you envisioned for your cabin. Experiment with different color variations to achieve your desired mood and atmosphere.
Conclusion
Congratulations! You have successfully learned how to draw a cabin. By following these step-by-step instructions, you have created a beautiful cabin drawing from scratch. Remember, drawing is a journey, and each artwork you create is a unique expression of your creativity.
Continue practicing and exploring different techniques to further develop your artistic skills. With time, dedication, and patience, you will continue to grow as an artist.
So grab your materials and start drawing your very own cabin masterpiece today!