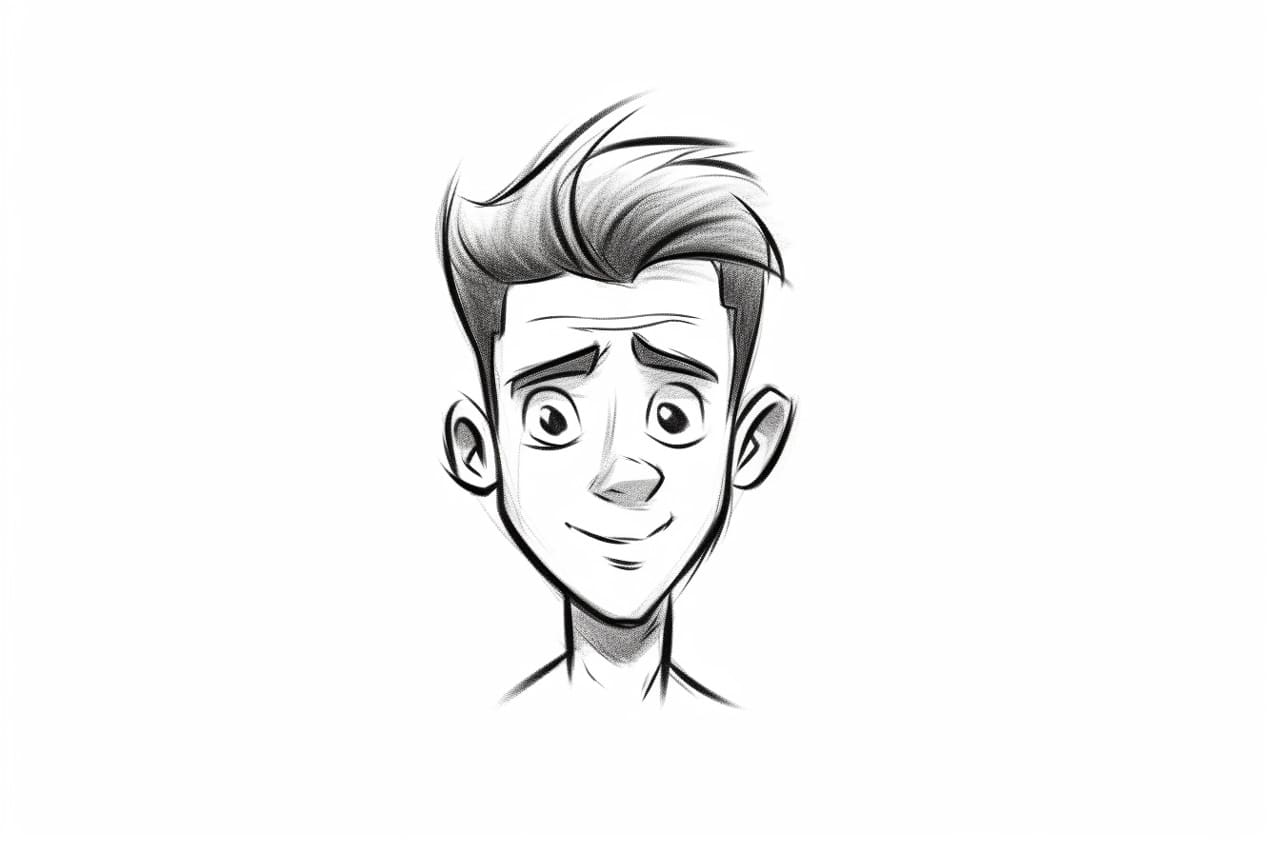
Welcome to this step-by-step guide on how to draw a cartoon head. Whether you are a beginner or an experienced artist, mastering the art of drawing cartoon heads can be a fun and rewarding endeavor. In this tutorial, you will learn the fundamental steps to create a cartoon head that is full of personality and charm. So let’s get started!
Materials Required
Before we dive into the process of drawing a cartoon head, let’s gather the materials you will need:
- Pencil: A medium or soft graphite pencil will work best for sketching and initial lines.
- Eraser: A good quality eraser is essential for correcting mistakes and refining your drawing.
- Paper: Choose a smooth and sturdy paper that can handle pencil marks without smudging.
- Colored pencils or markers (optional): If you want to add color to your cartoon head, have some colored pencils or markers ready.
Now that you have your materials ready, let’s move on to the step-by-step process.
Step 1: Start with Basic Shapes
To begin, sketch a circle or an oval shape on your paper. This will serve as the foundation for the head. Keep in mind that the size of the shape will determine the proportions of your cartoon character. Experiment with different sizes to find the look you desire.
Step 2: Add Facial Guidelines
Next, draw a vertical line intersecting the circle. This line will help you place the facial features symmetrically. To ensure proper placement, draw a horizontal line across the middle of the circle as well. These guidelines will act as a reference as you proceed.
Step 3: Define the Jawline and Chin
Using the basic shape you created in step 1, start adding more definition to the face. Sketch the jawline by extending a curved line from each side of the circle. Then, connect these lines at the bottom to form the chin. The shape of the jawline can vary depending on the character you want to create. Experiment with different styles to give your cartoon head a unique look.
Step 4: Outline the Eyes
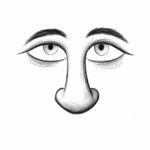
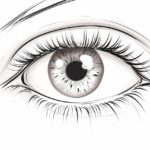
Moving on to the facial features, draw two large oval shapes along the horizontal guideline, positioned symmetrically on either side of the vertical guideline. These ovals will serve as the basis for the eyes. Feel free to adjust the shape and size of the eyes to achieve different expressions or character designs.
Step 5: Add the Nose
Just below the middle of the vertical guideline, draw a small triangle shape to represent the nose. The size and style of the nose can vary greatly depending on the style of cartoon you are drawing. Play around with different shapes and sizes to find the look that suits your character.
Step 6: Sketch the Mouth
Beneath the nose, draw a curved line to represent the mouth. The shape and size of the mouth can significantly impact the expression and personality of your cartoon character. Experiment with different mouth shapes to convey different emotions or characteristics.
Step 7: Define the Ears
On either side of the head, roughly aligned with the eyes and the nose, sketch the ears. Ears can be as simple as curved lines or more detailed, depending on your preference. Take your time to position and shape the ears until you are satisfied with the overall look.
Step 8: Refine the Facial Features
Now that you have the basic facial features in place, it’s time to refine and add more details to your cartoon head. Use lighter lines to define the shape of the face, paying attention to any unique characteristics you want to emphasize. Take your time to add subtle details such as eyebrows, eyelashes, or even freckles if desired. These details will bring your cartoon head to life.
Step 9: Add Hair or Hat
To complete the look of your cartoon head, you can add hair or a hat. If you choose to draw hair, consider the style that best suits your character’s personality. Experiment with different hairdos, be it short, long, curly, or straight. If you prefer a hat instead, draw it on top of the head, ensuring that it fits well with the overall shape of the head.
Conclusion
Congratulations! You have successfully learned how to draw a cartoon head. Remember, practice is key to improving your skills, so don’t be afraid to try different styles and experiment with various facial expressions. With time and dedication, you will develop your unique cartooning style. Enjoy the process and have fun creating your own cartoon characters.

