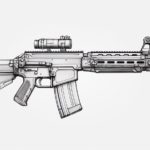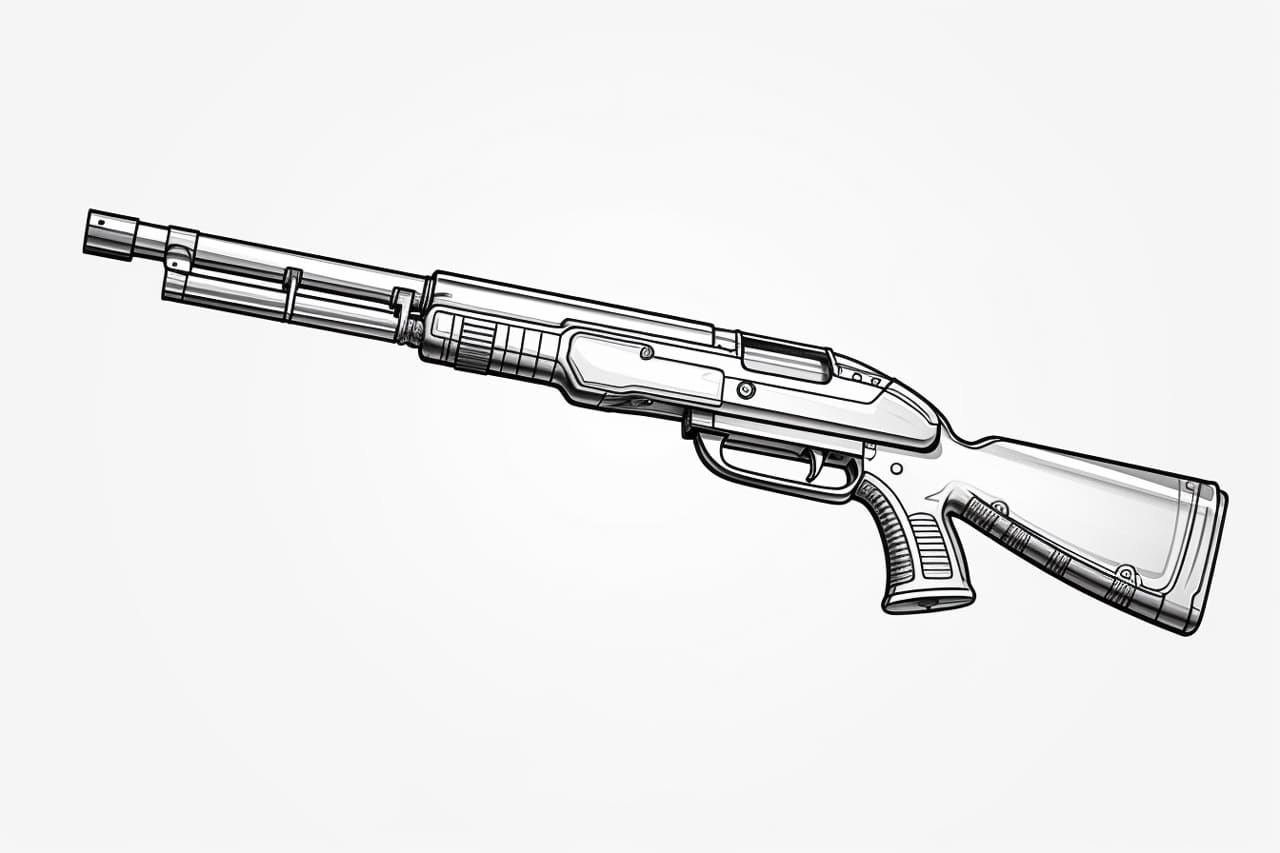
Welcome to this step-by-step guide on how to draw a shotgun. Whether you are an aspiring artist or a drawing enthusiast, this tutorial will help you create a realistic representation of a shotgun. Drawing a shotgun can be a challenging task due to its complex structure and intricate details. But fear not! With a little patience and practice, you’ll be able to create an impressive drawing of this powerful firearm. So let’s get started!
Materials Required
Before we begin, gather the following materials:
- Pencil
- Eraser
- Drawing paper
- Fine tip markers or pens
- Ruler
- Reference image of a shotgun (optional but helpful)
Now that you have everything you need, let’s dive into the step-by-step process of drawing a shotgun!
Step 1: Outline the Basic Shape
Begin by lightly sketching the basic shape of the shotgun. Start with a long, vertical rectangle to represent the barrel. Then, draw a smaller rectangle perpendicular to the first one, which will serve as the stock. These two rectangles should slightly overlap at the bottom, as the barrel extends past the stock.
Step 2: Adding the Trigger Guard and Trigger
Next, add the trigger guard just below the stock. It should be a small curved shape that protrudes from the stock towards the front of the shotgun. Inside the trigger guard, draw a small rectangle shape to represent the trigger.
Step 3: Sketching the Details of the Barrel
Now, let’s focus on the barrel of the shotgun. Start by drawing a smaller rectangle shape towards the front of the barrel, which will serve as the muzzle. Above the muzzle, draw a slightly curved line to represent the front sight.
Moving towards the back of the barrel, draw a series of parallel lines to indicate the textured surface of the shotgun. These lines should extend from the muzzle to the stock.
Step 4: Adding the Stock Details
To draw the details of the stock, start by adding a curved line on the top of the stock to create the comb. Then, draw another curved line below it to represent the recoil pad. These lines should follow the shape of the stock and give it a more three-dimensional appearance.
Step 5: Refining the Outline
Now that the basic structure is in place, it’s time to refine the outline of the shotgun. Use your pencil to darken the lines that form the major parts of the firearm, such as the barrel, stock, and trigger guard. Pay attention to any curves or angles and try to capture the overall shape as accurately as possible.
Step 6: Adding Texture and Details
To make your drawing more realistic, it’s important to add texture and details to the shotgun. Use small curved lines to indicate the grooves on the barrel and stock. Pay close attention to the reference image, if you have one, to make sure you capture the texture accurately.
Additionally, add any engravings or markings that may be present on the shotgun. These can be small details that add to the overall authenticity of your drawing.
Step 7: Erasing Guidelines
At this point, you can erase any guidelines or construction lines that are no longer needed. Be careful not to erase any essential parts of the drawing, such as the outline or important details. Use a gentle touch with your eraser to avoid smudging or damaging the paper.
Step 8: Inking the Drawing
Once you are satisfied with the pencil sketch, it’s time to ink your drawing using fine tip markers or pens. Start by outlining the entire drawing, emphasizing the major lines and details. Then, carefully fill in the darker areas of the shotgun, such as the barrel and stock, to create contrast.
Allow the ink to dry completely before erasing any remaining pencil marks. This will ensure that your drawing looks clean and professional.
Step 9: Adding Shadows and Highlights
To give your drawing more depth and dimension, add shadows and highlights. Identify the light source in your drawing and imagine where shadows would fall on the shotgun. Use hatching or cross-hatching techniques to create shading in these areas.
In contrast, use white or a light-colored pencil to add highlights to the reflective surfaces of the shotgun. This will make it appear more three-dimensional and lifelike.
Step 10: Final Touches
Lastly, take a step back and evaluate your drawing. Look for any areas that need refinement or adjustment. Add any additional details or touches that you feel will enhance the overall appearance of the shotgun.
Congratulations! You have successfully drawn a realistic representation of a shotgun. With practice, you’ll continue to improve your skills and create even more impressive drawings.
Conclusion
Drawing a shotgun may seem daunting at first, but by breaking it down into simple steps, you can achieve great results. In this tutorial, we have covered the process of drawing a shotgun from start to finish, including outlining the basic shape, adding details, inking, and adding shadows and highlights.
Remember, practice makes perfect. As you continue to draw, you’ll develop your unique style and improve your ability to capture the essence of any subject. So grab your materials, follow the steps, and have fun exploring the world of drawing shotguns!