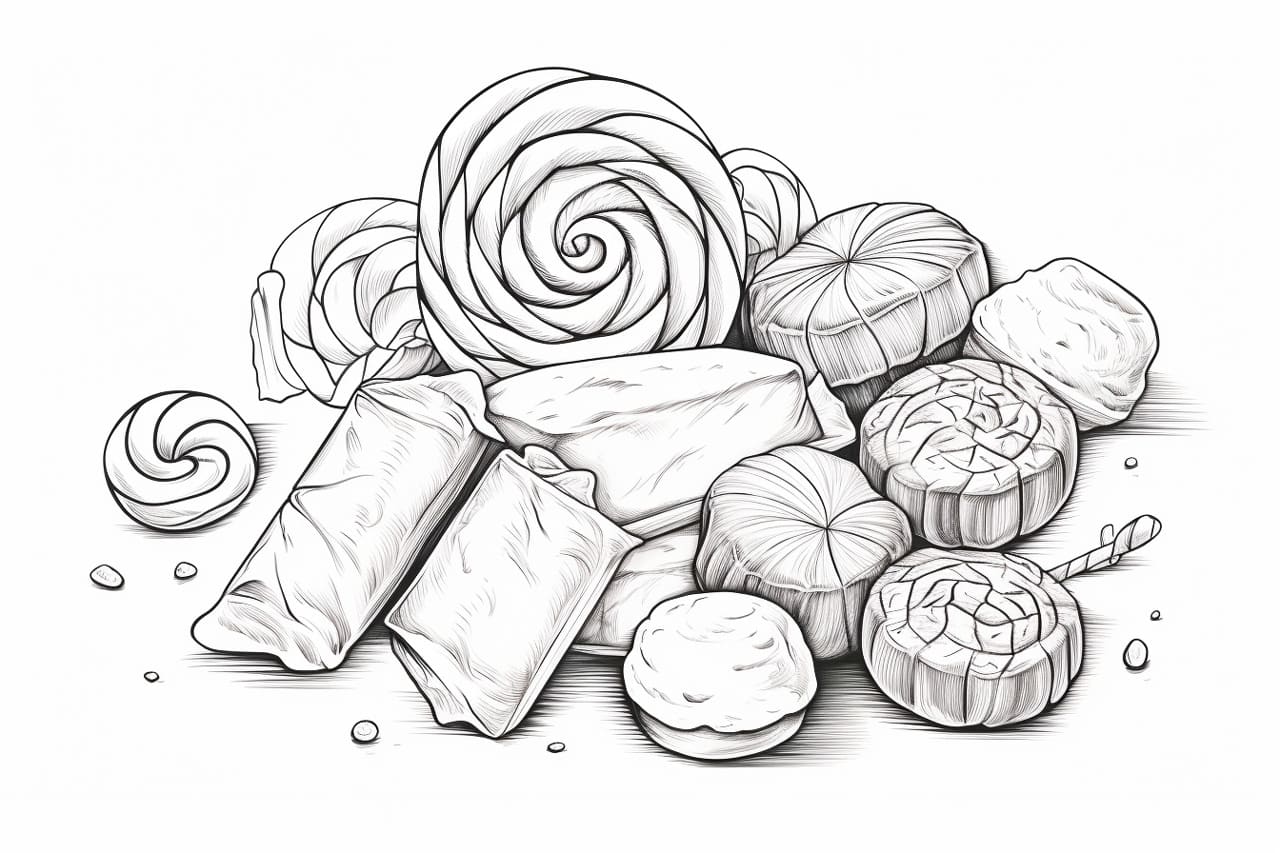
Are you a fan of sweet treats and sugary delights? Would you like to capture the deliciousness of a candy on paper? Look no further, as this step-by-step guide will walk you through the process of drawing a candy. With a few simple techniques and a dash of creativity, you’ll be able to create a mouthwatering masterpiece. So, let’s get started!
Materials Needed
Before we begin, gather the following materials:
- A pencil
- Eraser
- Drawing paper
- Colored pencils or markers (optional)
Now that you have everything you need, let’s dive into the process of drawing a candy.
Step 1: Sketch the Outline
Start by lightly sketching the basic shape of your candy on your drawing paper. You can choose any shape you like – a round lollipop, a rectangular chocolate bar, or even a quirky candy cane. Keep your lines loose and fluid, as you can refine them later.
Step 2: Add Details
Once you have the basic outline of your candy, it’s time to add some details. Think about the texture and pattern of your candy. Is it smooth or has a textured surface? Does it have stripes, dots, or any other distinctive features? Add these details with light, gentle strokes. Don’t worry about perfection at this stage; we can always refine later.
Step 3: Define the Shadows
Shadows play a vital role in making your candy look three-dimensional and realistic. Determine the direction of your light source and imagine where the shadows would fall on your candy. Use your pencil to darken those areas accordingly. This will give your candy depth and make it pop off the page.
Step 4: Refine the Outline
Now, take a closer look at the outline of your candy and refine it. Clean up any messy or uneven lines, making sure they flow smoothly. Pay attention to the curves and edges of your candy, ensuring they are well-defined and symmetrical.
Step 5: Add Highlights
To make your candy appear glossy and shiny, add highlights to the surface. Identify the areas that would catch the most light and lightly shade them with your pencil. This will create a contrast and make your candy look more realistic.
Step 6: Color Your Candy (Optional)
If you prefer a more colorful representation of your candy, now is the time to bring out your colored pencils or markers. Select the appropriate colors and carefully fill in your candy, paying attention to the details and shading. Blend the colors smoothly for a polished look.
Conclusion
Congratulations! You have successfully learned how to draw a candy. By following these step-by-step instructions and letting your artistic flair shine through, you can create a delectable candy drawing that will tantalize the eyes. Remember to have fun and experiment with different shapes, colors, and textures. So, grab your pencil and let your creativity run wild as you create your very own confectionery masterpiece!