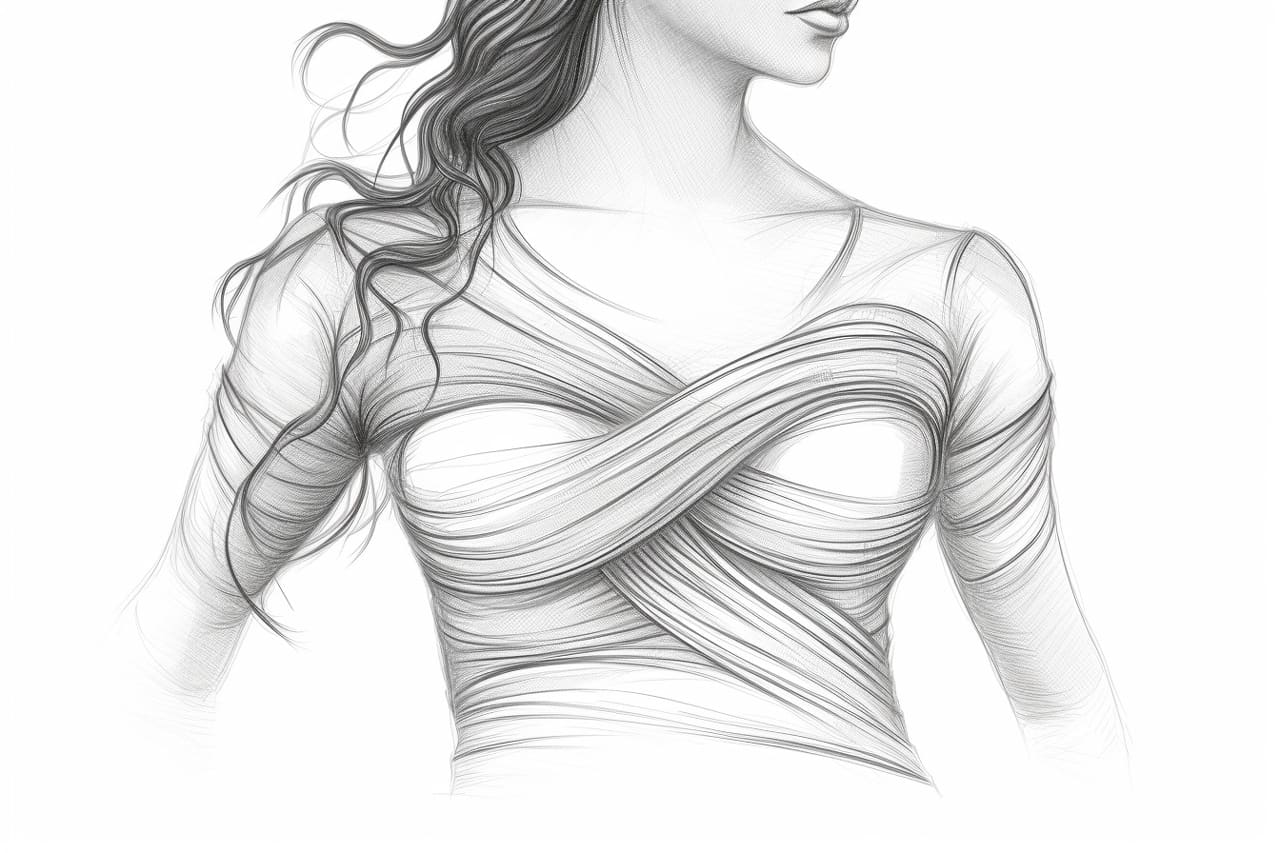
Drawing the human figure can be quite challenging, especially when it comes to capturing the intricate details of the female form. The torso is a vital part of the body, and mastering its proportions and shapes is essential for creating realistic and aesthetically pleasing artwork. In this step-by-step guide, we will explore the process of how to draw a female torso, providing you with the fundamental techniques to bring your drawings to life.
Materials Required
Before we begin, gather the following materials:
- Paper: Use a smooth and heavyweight drawing paper to ensure durability and a better texture for your artwork.
- Pencils: Invest in a set of good quality graphite pencils with a range of hardness, such as HB, 2B, 4B, and 6B.
- Eraser: Choose a soft kneaded eraser for easier manipulation and gentle removal of pencil marks.
- Blending Stump: A blending stump or tortillon is useful for creating smooth transitions and blending tones in your drawings.
- Pencil Sharpener: Keep your graphite pencils sharp and ready for precise lines.
- Reference Material: Find images or photographs of female torsos to use as a visual guide during the drawing process.
Now that you have your materials ready, let’s dive into the steps of drawing a female torso.
Step 1: Sketching the Basic Forms
Start by lightly sketching a line to represent the central axis of the torso. This line will serve as a guide for placing the head, shoulders, and pelvic area. Then, draw two oval shapes on top of the line to represent the ribcage and pelvis. These basic forms will serve as the foundation for the torso’s structure.
Step 2: Defining the Ribcage and Pelvis
Next, refine the ribcage and pelvis by adding more detail. The ribcage should take on a slight hourglass shape, curving slightly inward at the waistline. Add the individual ribs by lightly sketching curved lines that extend from the center of the ribcage. For the pelvis, draw two bowl-like shapes on either side of the central axis, making sure they are symmetrical and proportionate to the ribcage.
Step 3: Establishing the Spine and Shoulders
Now, it’s time to add the spine and shoulders to the torso. Draw a straight line from the base of the skull, following the central axis, down to the pelvis. This line represents the spine and provides a guideline for the back muscles. Next, sketch the shoulders as two rounded triangular shapes that sit on top of the ribcage. Ensure that the shoulders are aligned with the center of the ribcage and are of equal size.
Step 4: Outlining the Breasts
The placement and shape of the breasts can vary depending on factors such as age and body type. To depict the breasts, draw two rounded shapes at the upper part of the ribcage. Remember that breasts are not static; they can appear differently based on the pose and perspective of the drawing. Observe your reference material for guidance on breast placement and size.
Step 5: Adding the Arms
Start sketching the arms by lightly drawing the upper arm bones, also known as the humerus. These bones connect the shoulders to the elbows. Then, add the lower arm bones, or ulna and radius, by sketching their basic shapes. Pay attention to the position and proportions of the arms in relation to the torso. Remember that one arm may be raised or bent, creating a more dynamic pose.
Step 6: Shaping the Waist and Hips
Now, focus on defining the waist and hips. The waist is the narrowest part of the torso and typically curves inward. Enhance the curvature of the waistline, making sure it aligns with the center of the ribcage. For the hips, draw two gently curved lines that extend from the sides of the pelvis. These lines should slope slightly downward and meet at a point in the center, forming the triangle-shaped area of the pelvis.
Step 7: Adding Muscle Definition
To make the torso look more realistic, it’s important to add muscle definition. Start by lightly sketching the main muscle groups, such as the pectoralis major for the chest and the rectus abdominis for the abdomen. Pay attention to how these muscles curve and overlap, creating natural contours and shadows. Use your reference material to guide you in capturing the specific details of these muscle groups.
Step 8: Refining the Details
Refine the details of the torso by adding smaller muscle groups, such as the serratus anterior, external obliques, and the deltoids. These details will further enhance the structure and definition of the torso. Take the time to observe your reference material and capture the subtle variations in muscle tone and form.
Step 9: Adding Shading and Texture
To give your drawing depth and dimension, add shading and texture. Start by identifying the primary light source in your reference material. Use a lighter touch with your pencil to indicate areas that are directly hit by the light, and increase the pressure as you move to areas that receive less light. Consider using a blending stump to soften and blend the tones, creating a smooth transition between light and shadow.
Step 10: Final Details and Refinements
In this last step, focus on adding the final details and refinements to your drawing. Pay attention to smaller elements such as subtle muscle fibers, skin texture, and any additional features like tattoos or birthmarks. Take your time to ensure accuracy and realism in these details, using reference material as a guide.
Conclusion
Drawing a female torso may seem daunting at first, but with patience, practice, and attention to detail, you can develop the skills needed to capture its beauty. By following the step-by-step instructions outlined in this guide, you will be well on your way to creating stunning and realistic artwork. Remember to pay close attention to proportions, muscle definition, and the overall shape of the torso. With time and dedication, you can master the art of drawing the female torso.