Welcome to this step-by-step tutorial on how to draw a taxi! Whether you are a beginner or an experienced artist, this guide will help you create a detailed and realistic representation of this iconic mode of transportation. So, let’s get started!
Materials Required
Before we begin, gather the following materials:
Having these materials ready will ensure a smooth and enjoyable drawing experience. Now, let’s dive into the process of drawing a taxi!
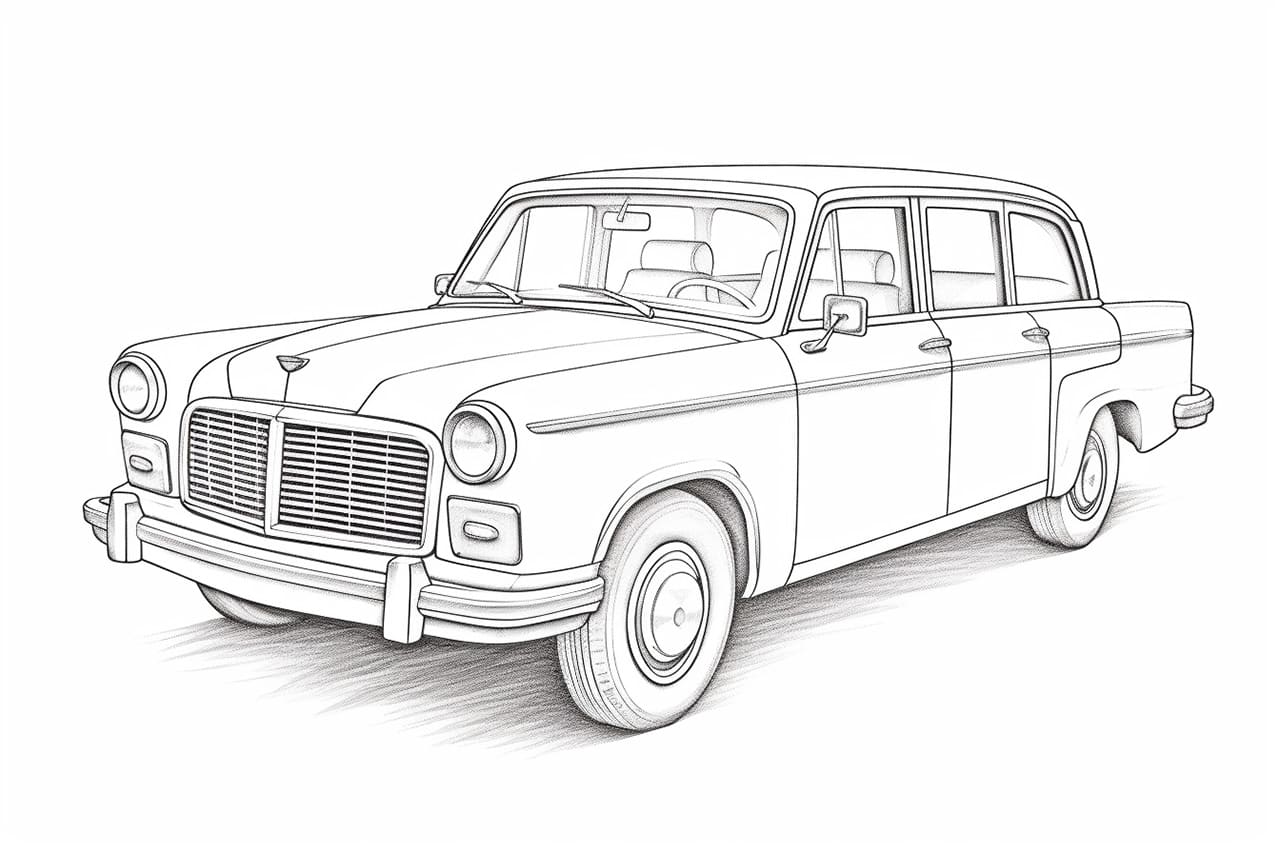
Step 1: Outline the Main Shape
Start by lightly sketching a rectangle to outline the body of the taxi. This rectangle will serve as the foundation for your drawing. Make sure to leave some space for the windows and wheels. The proportions do not need to be exact at this stage, as we will refine them later.
Step 2: Draw the Windows
Within the main shape, sketch the windows of the taxi. Taxis typically have a large rectangular window on the side and a smaller, curved window at the front. Take your time to ensure the shapes are proportionate and symmetrical. Once you are satisfied with the window outlines, darken them slightly.
Step 3: Add the Wheels
Next, draw the wheels of the taxi. Place two circles towards the bottom of the rectangle, slightly protruding outwards. These circles will represent the tires. To give them a more realistic look, add smaller circles inside them to indicate the rims.
Step 4: Outline the Details
Now it’s time to add more details to your drawing. Pay attention to the headlights, side mirrors, and handles on the doors. Take a close look at reference images or real taxis to accurately depict these features. Remember to keep your lines light and loose at this stage, as you can always make adjustments later.
Step 5: Refine the Shape
With the basic outline and details in place, it’s time to refine the shape of the taxi. Use your pencil to adjust the proportions, ensuring that the body, windows, and wheels all look well-balanced. Take your time to make any necessary corrections until you are satisfied with the overall shape.
Step 6: Ink Your Drawing
Once you are happy with the pencil sketch, trace over the final lines with a fine-tipped pen or marker. This will give your drawing a clean and polished look. Start by outlining the main shape of the taxi, then proceed to add details such as the windows, wheels, and other features. Erase any remaining pencil lines once the ink has dried.
Step 7: Add Color (Optional)
If you wish to add some color to your drawing, now’s the time! Use colored pencils or markers to bring your taxi to life. Taxis are often seen in bright yellow colors, but feel free to choose any color scheme that appeals to you. Remember to apply colors gradually, starting with lighter shades and gradually building up to darker tones.
Conclusion
Congratulations on completing your taxi drawing! By following these step-by-step instructions, you have created a realistic representation of this iconic vehicle. Remember, practice makes perfect, so keep honing your skills and exploring other subjects to draw. Enjoy the process and have fun with your artistic journey!