Drawing glass can be a challenging task for artists. Its transparent and reflective nature requires careful observation and attention to detail. In this step-by-step guide, we will explore how to draw a broken glass in a way that captures its unique characteristics and adds a touch of realism to your artwork.
Materials Required
To draw a broken glass, you will need the following materials:
- Drawing paper: Choose a smooth and sturdy paper that can handle pencil or ink without smudging or tearing.
- Pencils: Have a range of pencils with different lead hardness, such as 2H, HB, and 2B, to achieve a variety of tonal values.
- Eraser: Opt for a soft eraser that won’t damage the paper when removing unwanted pencil marks.
- Ruler: A straight ruler will come in handy for drawing accurate shapes and straight lines.
- Blending stump: Use a blending stump or a tortillon to create smooth transitions and soften edges in your drawing.
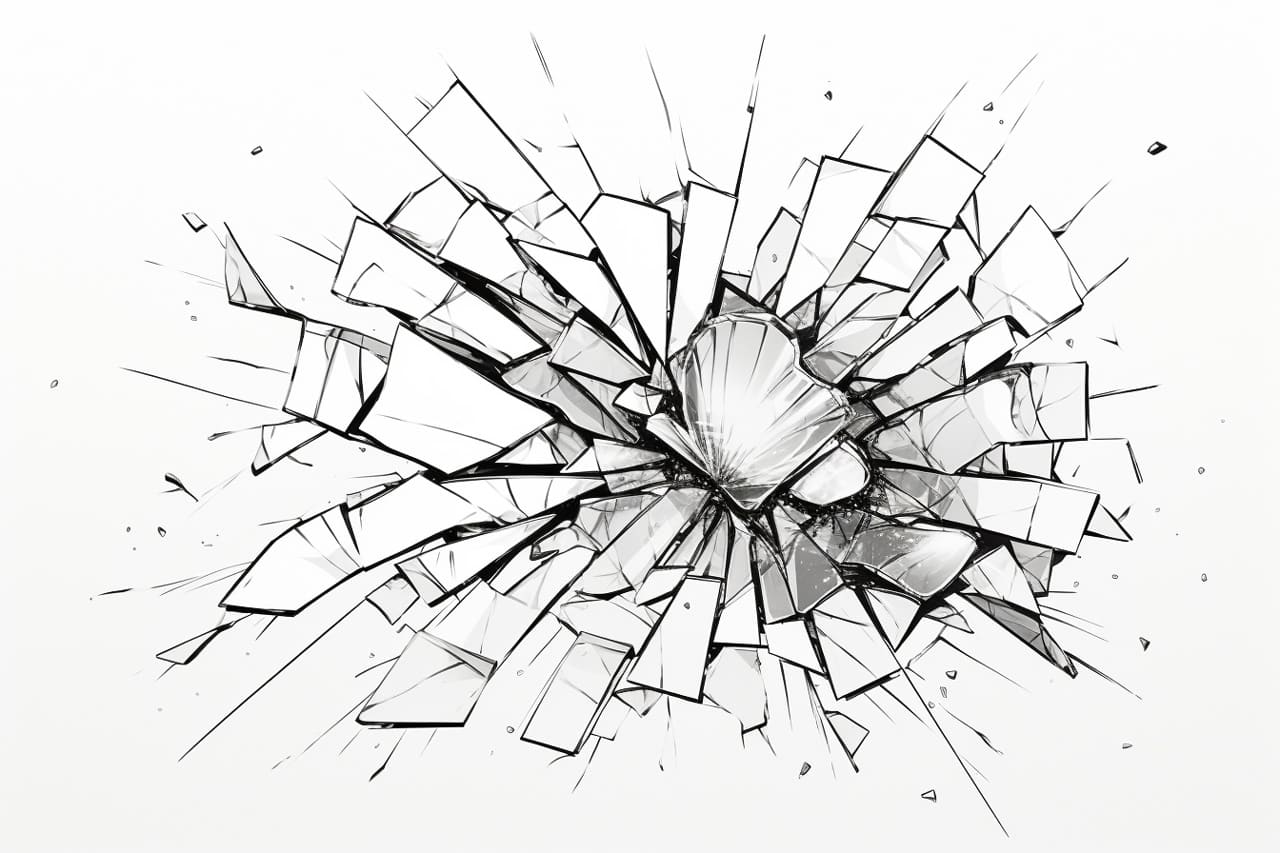
- Reference image: Find a high-quality reference image of a broken glass to guide you throughout the drawing process.
Step 1: Sketch the Basic Shape
Start by lightly sketching the basic shape of the broken glass on your drawing paper. Use simple geometric shapes, such as rectangles and triangles, to outline the main body of the glass. The broken edges can be represented by irregular lines that indicate fractures in the glass.
Step 2: Define the Reflections
Observe the reference image carefully to identify the reflections on the glass surface. These reflections will add depth and dimension to your drawing. Using a 2H or HB pencil, lightly sketch the reflection lines, making sure to follow the contours of the glass. Keep your lines faint, as you will darken them later.
Step 3: Add Shadows and Highlights
Next, focus on adding shadows and highlights to your drawing. Lightly shade the areas where the glass casts shadows, using a softer pencil like 2B. Pay close attention to the direction of the light source in your reference image to ensure accurate shading. Leave some areas untouched to represent highlights where the light hits the glass surface.
Step 4: Develop Tonal Values
To make your broken glass drawing more realistic, work on developing the tonal values. Gradually build up the darker areas by layering multiple pencil strokes. Use a range of pencils with different lead hardness to achieve a smooth transition between light and dark values. Pay close attention to the subtle changes in tonal values on the broken edges of the glass.
Step 5: Refine the Broken Edges
Spend some time refining the broken edges of the glass. Use a combination of soft and hard pencil strokes to create a sense of irregularity and fragmentation. Observe the reference image closely to capture the intricate patterns of the broken glass. Remember to keep your strokes light and adjust the pressure as needed to achieve the desired effect.
Step 6: Introduce Texture
To add texture to your broken glass drawing, focus on creating the illusion of cracks and fractures. Use short, jagged lines to represent these cracks, making sure to follow the shape and direction of the fractures. Vary the length and width of the lines to capture the irregularity of the broken glass. Softly blend the lines with a blending stump to create a more seamless appearance.
Step 7: Finalize the Details
In this step, zoom in on the smaller details of the broken glass. Pay attention to any glass shards or debris within the broken edges. Use your reference image to guide you in capturing the intricacies of these details. Refine the shading, highlights, and reflections to enhance the overall realism of your drawing.
Step 8: Clean Up and Adjust
Take a step back and evaluate your drawing as a whole. Look for any areas that may require further adjustments or cleaning up. Use an eraser to carefully remove unwanted marks and smudges, but be cautious not to damage the paper or erase essential parts of your drawing. Make any necessary tweaks to ensure the broken glass appears visually appealing and accurate.
Conclusion
Drawing a broken glass can be a challenging yet rewarding endeavor. By following these step-by-step instructions, using the right materials, and paying close attention to detail, you can create a realistic depiction of broken glass in your artwork. Remember to take your time, practice regularly, and enjoy the process of capturing the unique qualities of this complex subject matter.
So, take out your pencils, paper, and reference image, and let’s start drawing a captivating broken glass today!