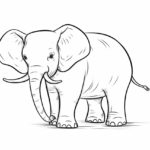
Welcome to this step-by-step tutorial on how to draw an African elephant. Elephants are majestic creatures with unique features, and capturing their essence in a drawing can be both challenging and rewarding. In this guide, I will walk you through the process of drawing an African elephant, focusing on its distinctive body shape, tusk, and wrinkled skin. So, let’s get started and bring these incredible animals to life on paper!
Materials Required
Before we begin, let’s gather the materials you’ll need for this drawing:
- Drawing paper or sketchbook
- Pencils (HB, 2B, and 4B)
- Eraser
- Blending stump or cotton swabs
- Reference image of an African elephant (optional but recommended)
Make sure to have these materials handy before you start, as they will greatly assist you in creating a realistic and detailed drawing of an African elephant.
Step 1: Sketch the Basic Shapes
Begin by lightly sketching the basic shapes that make up the elephant’s body. Start with a larger circle for the head, followed by a smaller one for the body. Connect the circles with a curved line to create the neck. Next, sketch the legs using long, curved lines and add rectangular shapes for the ears. Remember, these are just basic guidelines, so keep your lines light and flexible.
Step 2: Refine the Body Shape
Using the basic shapes as a guide, refine the body shape of the African elephant. Use curved lines to add volume and contour to the body, making it appear three-dimensional. Pay close attention to the proportions, as elephants have a distinctively large body in relation to their head. Take your time with this step, as getting the body shape right is crucial to achieving a realistic result.
Step 3: Draw the Head and Ears
Focus on the elephant’s head and ears in this step. Sketch the eyes using two oval shapes, placing them slightly apart. Add detail by drawing small, almond-shaped pupils within the eyes. Extend the head shape into a trunk and taper it towards the end. For the ears, use your reference image to guide you in capturing their unique shape. Elephants have large, fan-shaped ears that are essential for cooling their bodies in warm climates.
Step 4: Add the Tusks and Facial Features
African elephants are known for their impressive tusks. Draw the tusks as long, curved lines extending from the sides of the trunk. Pay attention to their size and shape, as they can vary between elephants. Next, add details to the face by drawing the elephant’s mouth and wrinkles. Elephants have deep creases on their faces, so use curved and intersecting lines to represent these wrinkles. Take your time and add as much detail as you like to bring out the character in your drawing.
Step 5: Refine the Legs and Feet
Refine the legs and feet of the elephant by adding more shape and definition. Elephants have thick, pillar-like legs, so use curved lines to give them a solid appearance. Pay attention to the joints and muscles, as they contribute to the overall structure of the legs. Add the feet by drawing large, oval shapes at the bottom of each leg. Elephants have four toes on their front feet and three on their back feet, so make sure to represent this accurately.
Step 6: Add Texture and Details
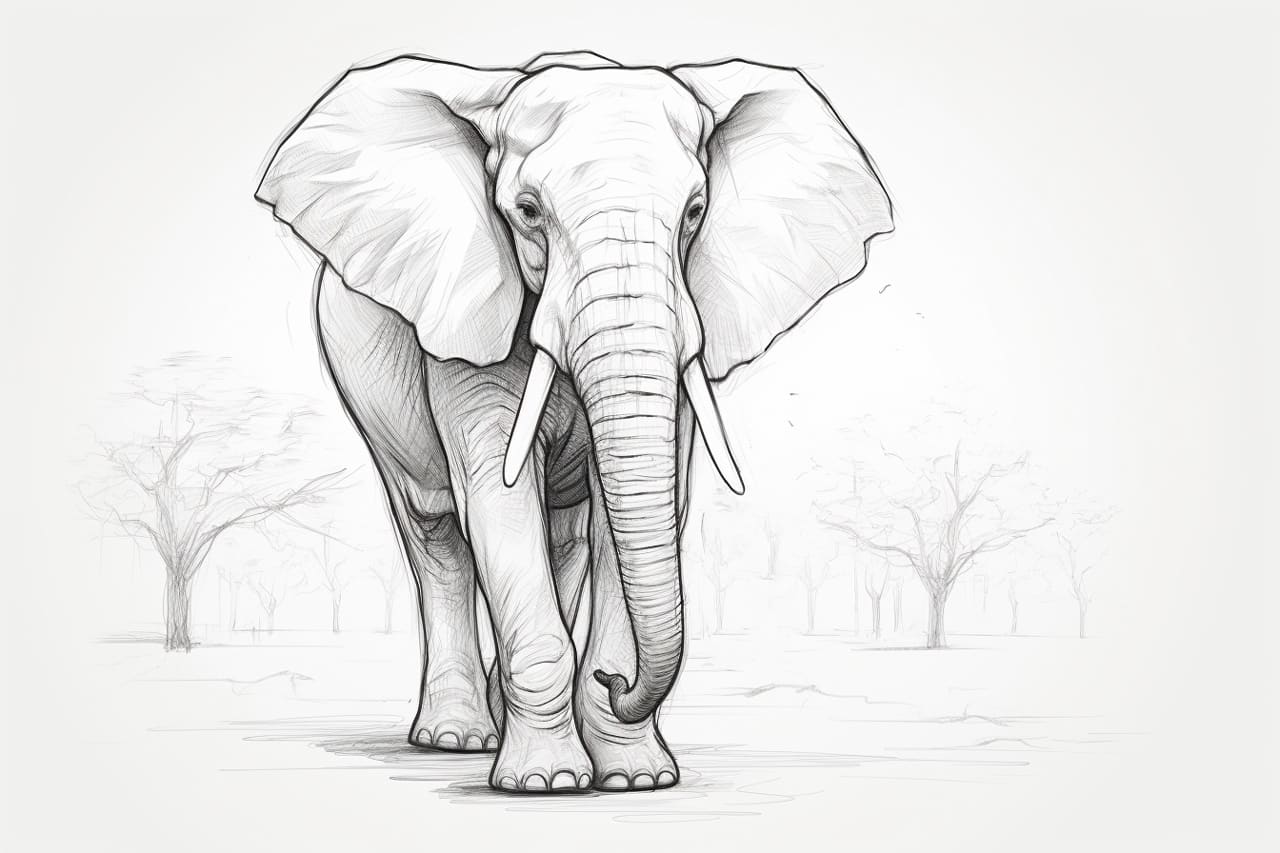
An important aspect of drawing an African elephant is capturing the texture and details of its skin. Start by lightly shading the body using your HB pencil. Then, use a blending stump or cotton swab to blend the shading and create a smoother texture. Add more definition to the wrinkles and folds by using a 2B or 4B pencil to create darker lines. Be patient with this step, as building up the texture and details is what will bring your drawing to life.
Step 7: Finalize the Drawing
To finalize your drawing, go over the lines and details one more time to ensure accuracy and clarity. Erase any unnecessary guidelines or sketch lines that are no longer needed. Take a step back and assess your drawing as a whole, making any final adjustments or additions as necessary. Congratulations, you have successfully drawn an African elephant!
Conclusion
Drawing an African elephant is a wonderful way to explore your artistic skills and appreciate the beauty of nature. By following these step-by-step instructions, you have learned how to capture the distinctive features of an African elephant, from its large body and tusks to its wrinkled skin. Remember, practice makes perfect, so don’t be discouraged if your first attempt is not exactly as you envisioned. With time and dedication, you will continue to improve and create stunning drawings of these magnificent creatures.
So, grab your pencils and paper, and let your creativity flow as you embark on the artistic journey of drawing an African elephant!