Are you eager to learn how to draw bubble letters? Creating bubble letters can be a fun and artistic way to enhance your drawings, posters, or even greeting cards. In this step-by-step guide, I will walk you through the process of how to draw a bubble letter S, providing clear and concise instructions. Whether you are a beginner or have some experience in drawing, this tutorial will help you master the art of creating captivating bubble letters.
Materials Required:
Before we dive into the steps, let’s make sure you have all the necessary materials. Here’s what you will need:
- A pencil
- A sheet of paper
- An eraser
- A ruler (optional, but helpful for straight lines)
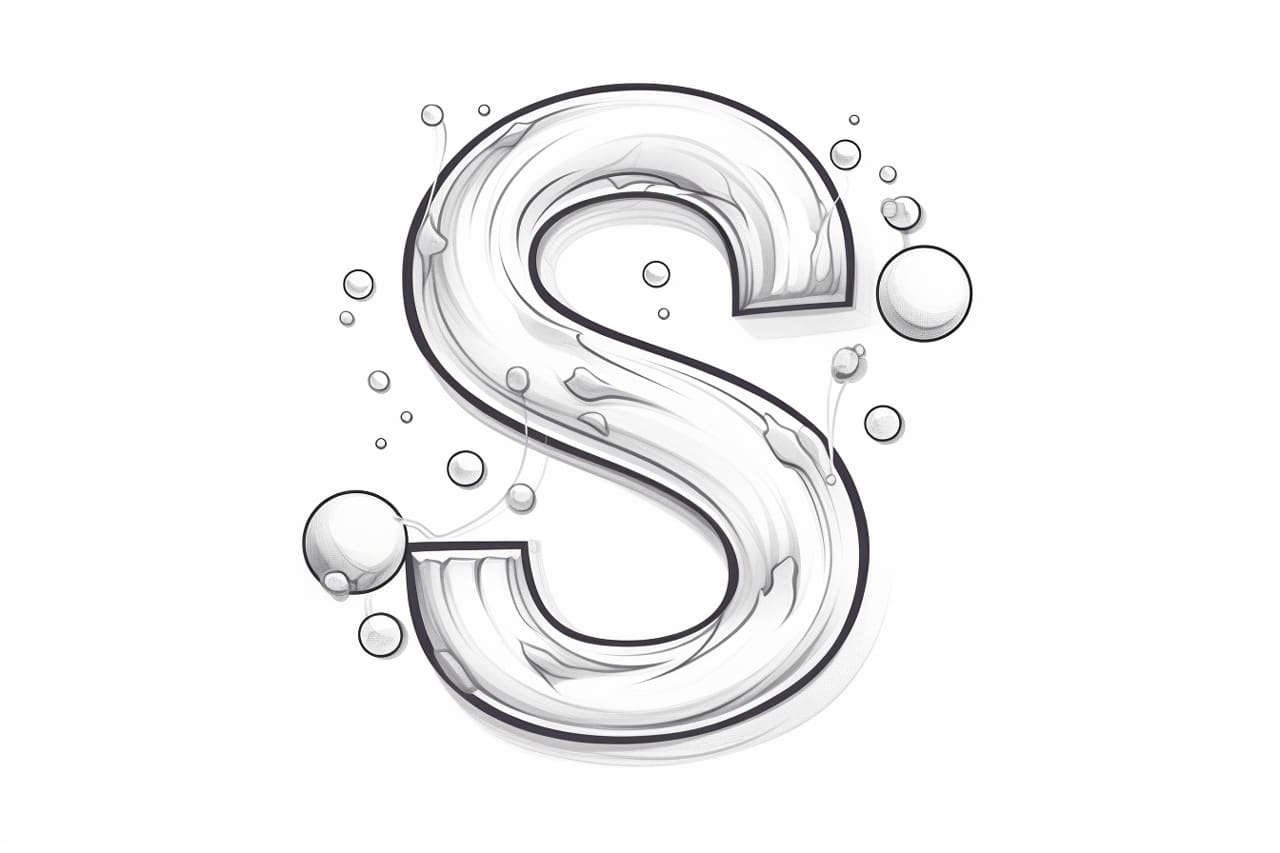
Now that you have all the materials ready, let’s begin by creating the outline of the bubble letter “S.”
Step 1: Sketch the Outline
Start by sketching a simple letter “S” shape on your paper using a pencil. You can make the “S” as curvy or straight as you like. Keep in mind that bubble letters often have rounder and more exaggerated shapes, so feel free to add more curves.
Step 2: Add Thickness to the Outline
Next, we will add thickness to the outline of the letter “S.” Begin by drawing another line parallel to the original outline, about 0.5 to 1 centimeter away. The distance can vary depending on how thick you want your bubble letters to be. Make sure the lines are evenly spaced throughout.
Step 3: Connect the Lines
To complete the outline, connect the parallel lines at the top and bottom of the letter “S.” This will create a solid shape for your bubble letter.
Step 4: Create the Inner Line
Within the letter “S,” draw another line that follows the same curves as the outer outline. This inner line will represent the thickness of the bubble. Make sure it is consistently spaced from the outer lines.
Step 5: Fill in the Bubble
Now it’s time to give the letter “S” its bubbly appearance. Start at the top of the letter and slowly fill in the space between the outer outline and the inner line. As you fill in the bubble, make the lines curvier and rounder. This will create a three-dimensional effect.
Step 6: Refine the Shape
Take a step back and evaluate your letter “S.” If you notice any uneven or inconsistent lines, use your eraser to carefully adjust them. Refine the curves and make sure the bubble remains consistent throughout the letter.
Step 7: Add Shadows (Optional)
To add depth and dimension to your bubble letter “S,” you can incorporate shadows. Shade the areas where the bubble overlaps itself or appears to have a darker side. This will create a more realistic and visually appealing effect.
Step 8: Finalize the Drawing
Once you are satisfied with the shape and shading of your bubble letter “S,” go over the lines with a darker pencil or a pen. This will make the letter stand out and give it a more defined look. Be confident in your lines and let your creativity shine!
And there you have it! You have successfully drawn a captivating bubble letter “S.” With practice, you can apply these techniques to create bubble letters for any other letter of the alphabet.
Conclusion
Drawing bubble letters can be a delightful way to add an artistic touch to your artwork. By following the step-by-step instructions provided in this guide, you have learned how to draw a bubble letter “S” with ease. Remember to have fun and experiment with different styles and sizes. The more you practice, the more confident you will become in creating unique and captivating bubble letters.
So, grab your materials, get your creative juices flowing, and start drawing bubble letters today!