Do you have a passion for golf and love to express your creativity through art? Drawing a golf course can be a fun and rewarding project that allows you to combine your interests. Whether you want to capture the beauty of a particular course or create your own imaginative design, this step-by-step guide will help you bring your vision to life. So, grab your pencils and let’s get started on this artistic journey!
Materials Required
Before we dive into the steps, let’s gather the materials you’ll need to complete this project. Here’s a list of what you’ll require:
- Sketchpad or drawing paper
- Pencils (preferably ranging from 2H to 6B)
- Eraser
- Ruler or straight edge
- Compass
- Colored pencils or markers (optional)
- Reference images of golf courses (optional)
Now that you have everything you need, let’s begin creating a stunning golf course drawing!
Step 1: Determine the Layout
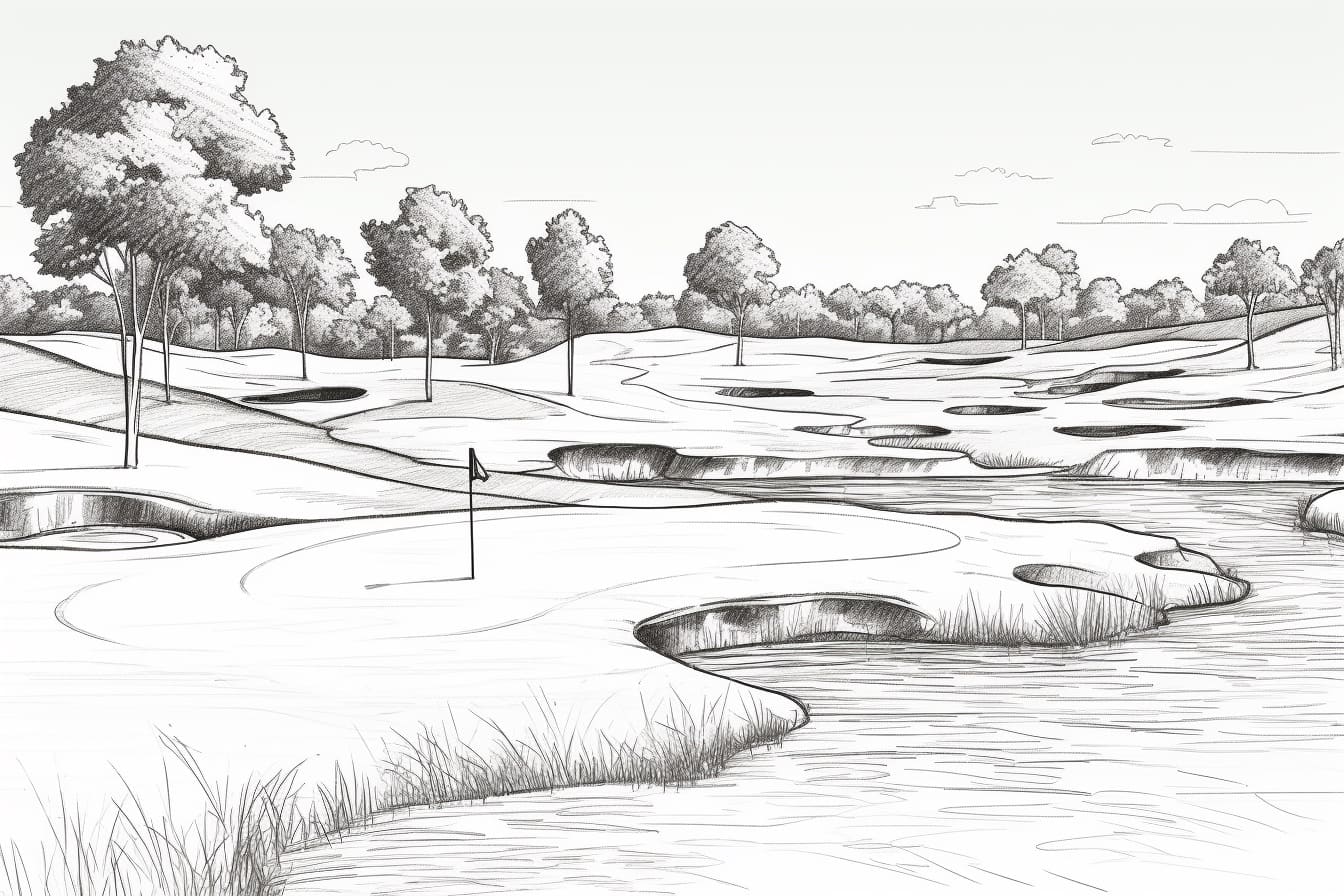
Start by visualizing the layout of your golf course. Will it be a traditional 18-hole course, or will you create your own unique design? Consider the placement of fairways, greens, hazards, and water features. Sketch a rough outline on your paper using light pencil strokes to define the boundaries of the course. Remember, this is just the initial sketch, so don’t worry about adding too much detail at this stage.
Step 2: Map out the Fairways
Using your ruler, draw straight lines to represent the fairways. Keep in mind that fairways are generally wider than other areas, so make the lines broad and spacious. You can use a lighter pencil, such as a 2H or HB, to ensure that the lines are easily distinguishable from other elements in the drawing.
Step 3: Add the Greens and Bunkers
Next, mark the positions of the greens and bunkers. Greens are typically circular or oval-shaped, so use your compass to draw these shapes accurately. Bunkers, on the other hand, come in various shapes and sizes. Use your artistic judgment to create visually appealing bunker designs that complement the overall layout of the course.
Step 4: Incorporate Water Hazards
If your design includes water hazards such as lakes or ponds, this is the step to add them. Use smooth, flowing lines to represent the edges of the water bodies. You can also create realistic reflections by adding curved lines near the shorelines. Remember to be mindful of the scale and proportion of the water hazards in relation to the rest of the course.
Step 5: Outline Trees and Foliage
Golf courses are often surrounded by lush greenery, so it’s essential to include trees and foliage in your drawing. Use a combination of curved and straight lines to outline the foliage areas. Vary the thickness of the lines to add depth and dimension. Don’t be afraid to get creative and experiment with different tree shapes and sizes to make your drawing visually appealing.
Step 6: Add Depth and Texture
To make your golf course drawing more realistic, it’s important to incorporate depth and texture. Use shading techniques to give the fairways, greens, and bunkers a three-dimensional appearance. Start by identifying the light source in your composition and use lighter pencil strokes on the areas that receive direct light. Gradually increase the pressure on your pencil to create darker tones in areas that are in shadow or have more texture.
Step 7: Fine Details and Enhancements
Now that you have the basic structure of your golf course, it’s time to add finer details and enhancements. Pay attention to the smaller elements that make a golf course unique, such as sand rakes, flags, tee markers, and golf carts. These details will add authenticity to your drawing and make it more captivating.
Step 8: Bring Your Drawing to Life with Color (optional)
If you want to take your drawing to the next level, consider adding color to bring it to life. Colored pencils or markers can be used to add vibrancy and realism to your art piece. Study reference images of golf courses to help you choose appropriate colors for the fairways, greens, bunkers, water hazards, and foliage.
Conclusion
Drawing a golf course allows you to combine your love for golf and art into a single project. By following these step-by-step instructions, you can create a stunning representation of your favorite golf course or let your imagination run wild and design your dream course. Remember to be patient, and have fun throughout the process. So, grab your materials and start sketching your own golf course masterpiece today!