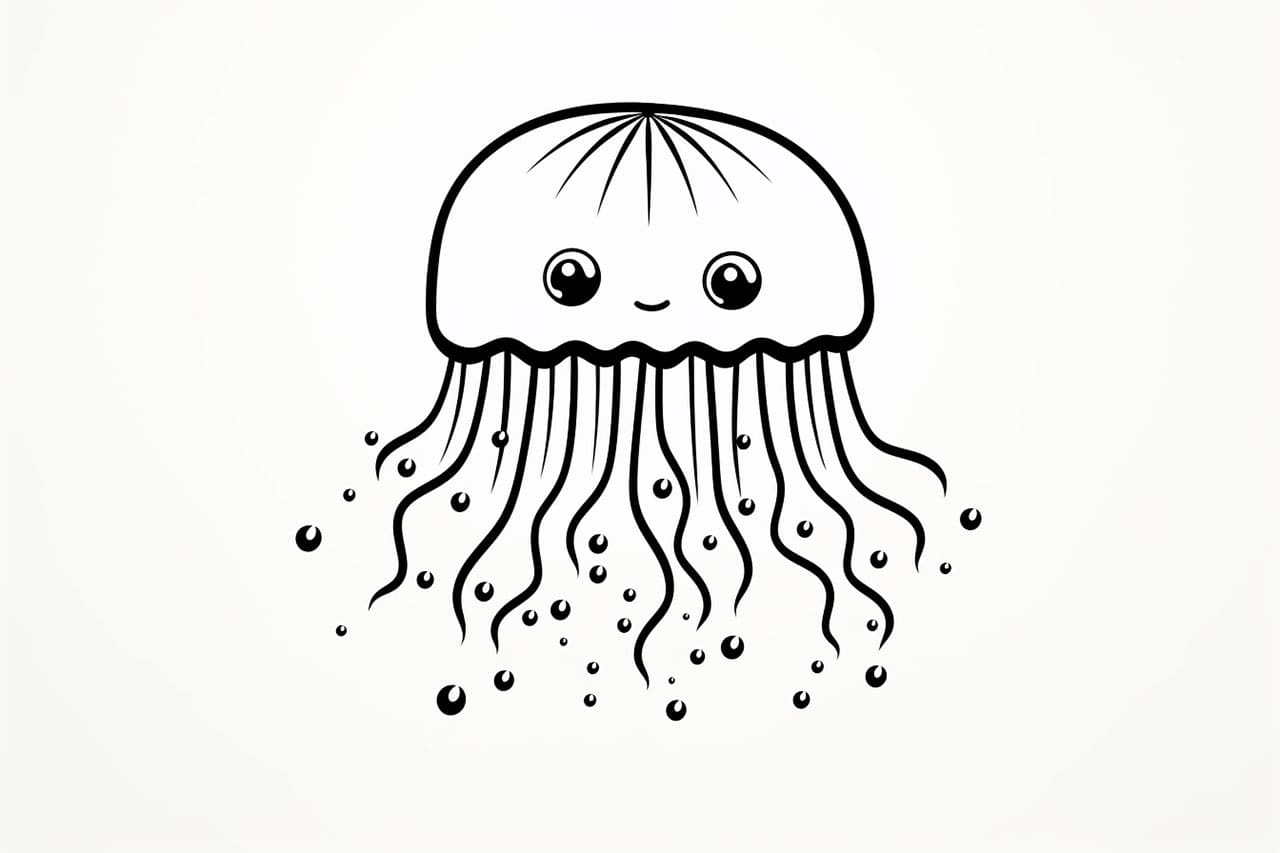
Welcome to this step-by-step tutorial on how to draw a jellyfish! Jellyfish are fascinating creatures with their graceful movements and ethereal appearances. In this article, we will guide you through the process of drawing a jellyfish, starting with the basic outline and adding captivating details. So, let’s dive into the world of art and learn how to bring these beautiful creatures to life on paper!
Materials Required
Before we begin, let’s gather the materials needed for this drawing tutorial. You will need:
- Drawing paper or sketchbook
- Pencil
- Eraser
- Fine-tip black marker or pen
- Colored pencils or markers (optional)
Now that you have all the necessary materials, let’s get started!
Step 1: Basic Outline
Begin by lightly sketching the basic shape of the jellyfish. Start with a slightly curved vertical line in the center of your paper. This line will serve as the body of the jellyfish. At the bottom of the line, draw a small curve for the bell or umbrella-shaped body of the jellyfish.
Step 2: Tentacles
Next, let’s draw the tentacles. From the bottom of the bell, draw a series of long, curved lines extending downwards. You can vary the length and direction of these lines to make the jellyfish look more dynamic and realistic. Remember, jellyfish tentacles can be quite long and flowing, so don’t hesitate to make them as elaborate as you like.
Step 3: Bell Details
Now, let’s add some details to the bell of the jellyfish. Draw wavy lines along the edges of the bell to give it a more intricate texture. You can also add some curved lines inside the bell to suggest its translucent nature. Take your time with this step, as these details will contribute to the overall beauty of your jellyfish drawing.
Step 4: Eyes and Mouth
Jellyfish have simple eyes and mouths, so let’s add those in this step. Draw two small, circular shapes near the top of the bell to represent the eyes. For the mouth, draw a small curved line in the center of the bell, below the eyes. Keep the features minimalistic, as jellyfish have subtle facial expressions.
Step 5: Adding Patterns
Jellyfish often have intricate patterns on their bodies, so let’s add some interesting details. Draw various shapes, lines, or dots on the surface of the bell. You can be creative here and experiment with different patterns and designs. These added details will make your jellyfish drawing more visually appealing.
Step 6: Finalize the Outline
Now that we have the basic form and details, it’s time to finalize the outline of our jellyfish drawing. Go over the sketch with a pen or a fine-tip marker, tracing the lines that you want to keep. Be careful and deliberate while doing this, as it will give your jellyfish a more polished and finished look. Once you have finished tracing, let the ink dry completely, and erase any remaining pencil marks.
Step 7: Color Your Jellyfish (optional)
If you want to add some vibrant colors to your jellyfish drawing, now is the time to do so. Using colored pencils or markers, carefully fill in the various parts of the jellyfish. Feel free to use any color palette you like. Experiment with different shades and blending techniques to create a visually striking jellyfish.
Conclusion
Congratulations on completing your jellyfish drawing! By following these step-by-step instructions, you have learned how to draw a jellyfish from scratch. From the basic outline to the intricate details, each step has contributed to the creation of a beautiful jellyfish artwork. Remember to enjoy the process and allow yourself to be creative with your own unique style. Happy drawing!


