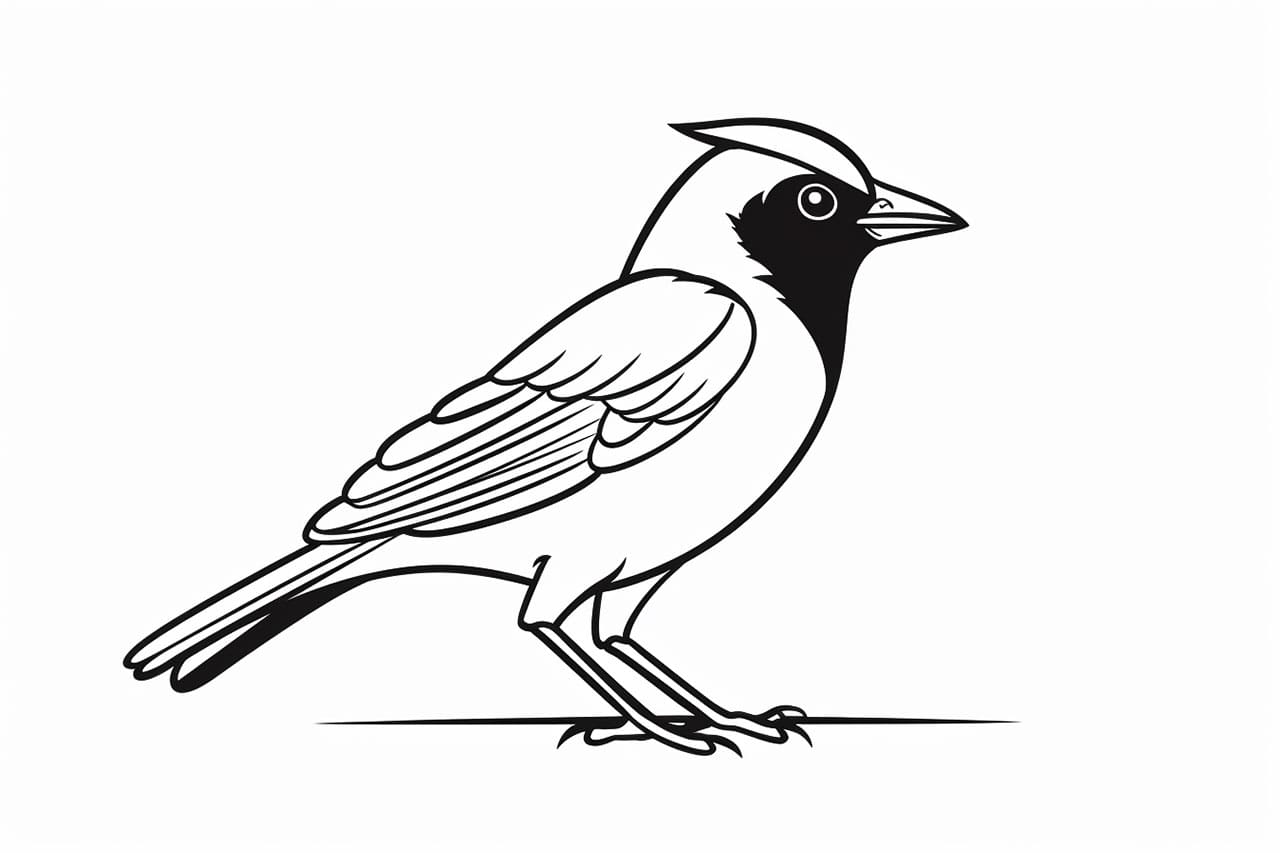
Welcome to this step-by-step guide on how to draw a blue jay! Blue jays are beautiful birds known for their vibrant blue feathers and distinct markings. With a few simple techniques and some practice, you will be able to create a stunning representation of this incredible bird. So let’s dive in and get started!
Materials Required
Before we begin, let’s gather the materials we will need for this drawing:
- Drawing paper or sketchbook
- Pencils (HB, 2B, and 4B)
- Eraser
- Fine-tip black marker or pen
- Colored pencils or markers (optional)
Make sure to set up a comfortable and well-lit workspace before you begin. Once you have everything ready, let’s proceed with the first step.
Step 1: Basic Structure
To start, we will establish the basic structure of the blue jay. Begin by drawing a circle for the head and a slightly elongated oval shape for the body. Position them in a way that the head slightly overlaps the body. This will give a realistic appearance to our bird.
Step 2: Adding Guidelines
Next, we will add some guidelines to help us with the placement of facial features and feathers. Draw a vertical line down the center of the head, and then draw a horizontal line across the middle. These lines will serve as a reference for the eyes, beak, and other details.
Step 3: Eye and Beak
Now, let’s focus on the eye and beak of the blue jay. Start by drawing the eye along the horizontal guideline, towards the left side of the head. Blue jays have a distinctive black band across their eyes, so make sure to include that detail. Next, draw a small triangle-shaped beak below the eye, pointing slightly downwards.
Step 4: Head and Crest
It’s time to bring the head and crest of the blue jay to life. Draw a curved line from the top of the head, going slightly towards the back, to create the crest. Blue jays have a unique feather pattern on their crest, so add some feather-like lines to depict this feature. Don’t forget to give the head a rounded shape by adding curves around the eye.
Step 5: Body and Wings
Let’s move on to the body and wings of our blue jay. Starting from the back of the head, draw a smooth curved line to connect it with the oval shape we drew earlier for the body. This will be the upper outline of the bird’s body. Extend the line further towards the right side, curving it upwards slightly to create the shape of the tail. Next, draw the wing on the left side of the body, using curved lines to indicate the feathers.
Step 6: Feathers and Details
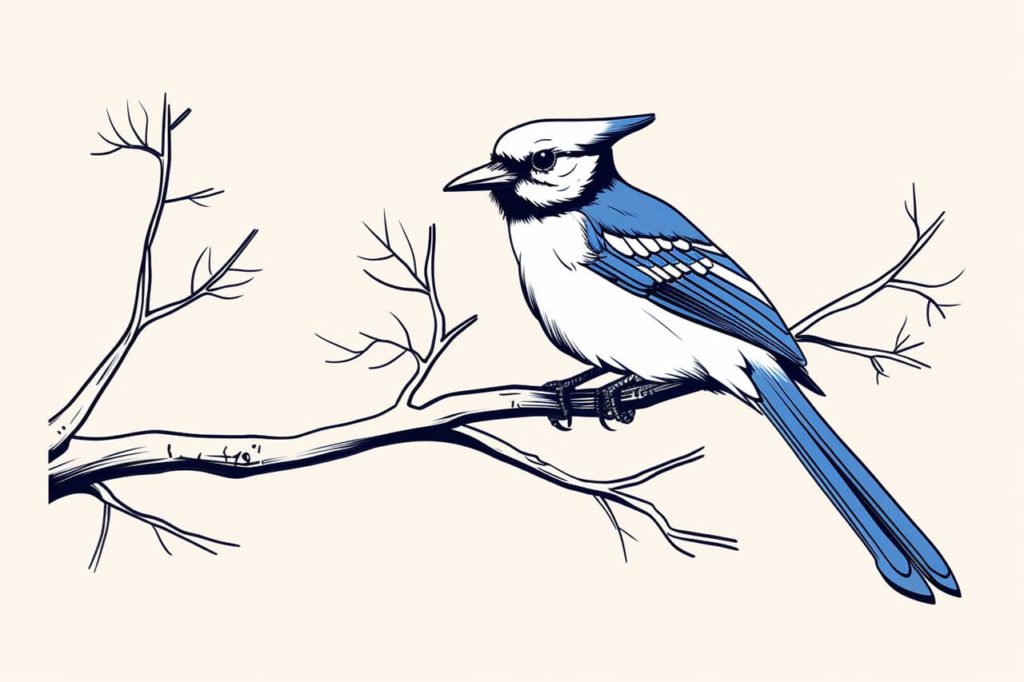
Now that we have the basic structure in place, it’s time to add some feather details and markings to make our blue jay drawing more realistic. Blue jays have distinct black and white markings on their wings and tail. Use your fine-tip black marker or pen to outline and define these markings. Make sure to follow the reference image or your own observation to get the pattern right.
Step 7: Face and Color
Let’s bring the face of our blue jay to life. Add some details to the eye, such as the pupil and a small highlight to give it a lively appearance. Use your pencils to lightly shade the eye area, gradually darkening it towards the upper side. Blue jays have a beautiful blue color, so use your colored pencils or markers to carefully fill in the feathers with shades of blue and white. Blend the colors smoothly to create a realistic texture.
Step 8: Final Touches
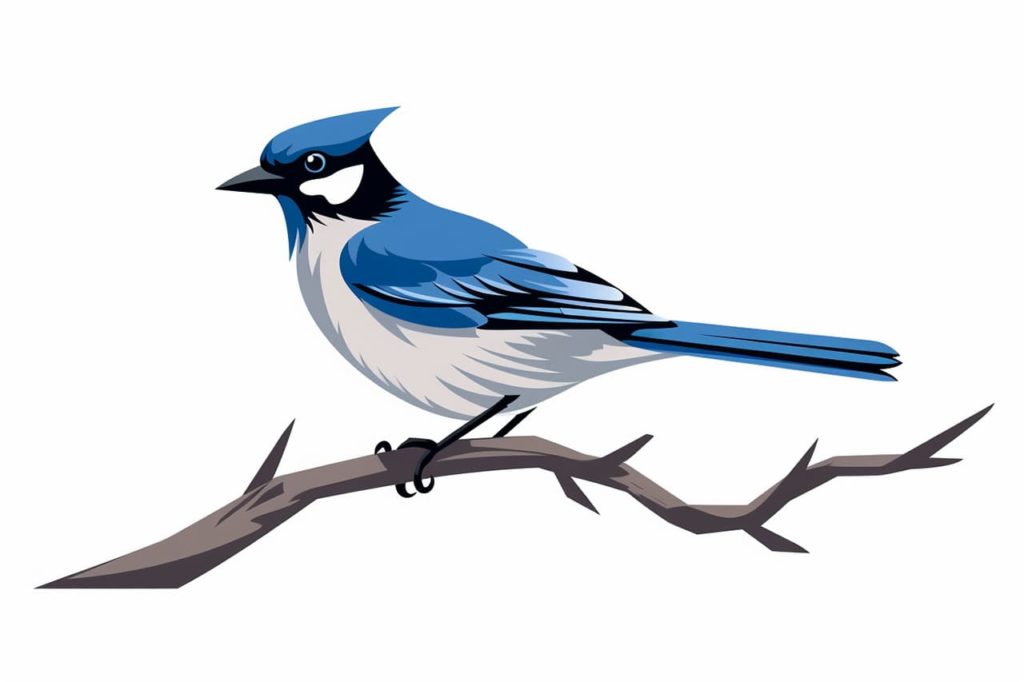
To complete your blue jay drawing, add some final touches. Use your pencils to shade and add depth to the feathers, especially around the wings and tail. Don’t forget to erase any unnecessary guidelines and pencil marks. You can also add a background to your drawing, such as a tree branch or some leaves, to enhance the overall composition.
Congratulations! You have successfully drawn a blue jay. With practice, you will become even more proficient in capturing the unique features and characteristics of this stunning bird.
Conclusion
Drawing a blue jay may seem challenging at first, but with the step-by-step instructions outlined in this guide, you can create a beautiful representation of this incredible bird. Remember to be patient, practice regularly, and have fun with your artwork.
So grab your pencils, follow the steps, and let your creativity soar as you bring the vibrant blue jay to life on paper. Happy drawing!
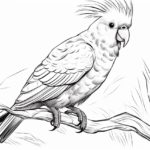
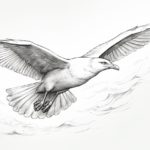
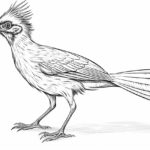
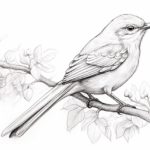
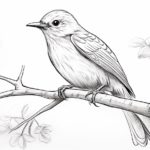
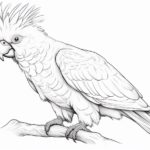
Gallery of Bluejay Drawings