Welcome to this step-by-step guide on how to draw a bird nest! In this tutorial, I will walk you through the process of creating a realistic and beautiful bird nest drawing. Whether you are a beginner or an experienced artist looking to improve your skills, this tutorial is for you. So grab your drawing materials and let’s get started!
Materials Required:
To complete this bird nest drawing, you will need the following materials:
- Pencil: Choose a medium or soft graphite pencil for sketching and shading.
- Paper: You can use any type of paper suitable for drawing. A smooth surface paper will work best.
- Eraser: Have a kneaded eraser or a soft vinyl eraser handy for correcting mistakes.
- Drawing Pen: Optional but recommended for adding fine details to your drawing.
- Colored Pencils or Watercolors: If you want to add color to your bird nest, have colored pencils or watercolors available.
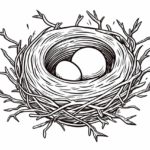
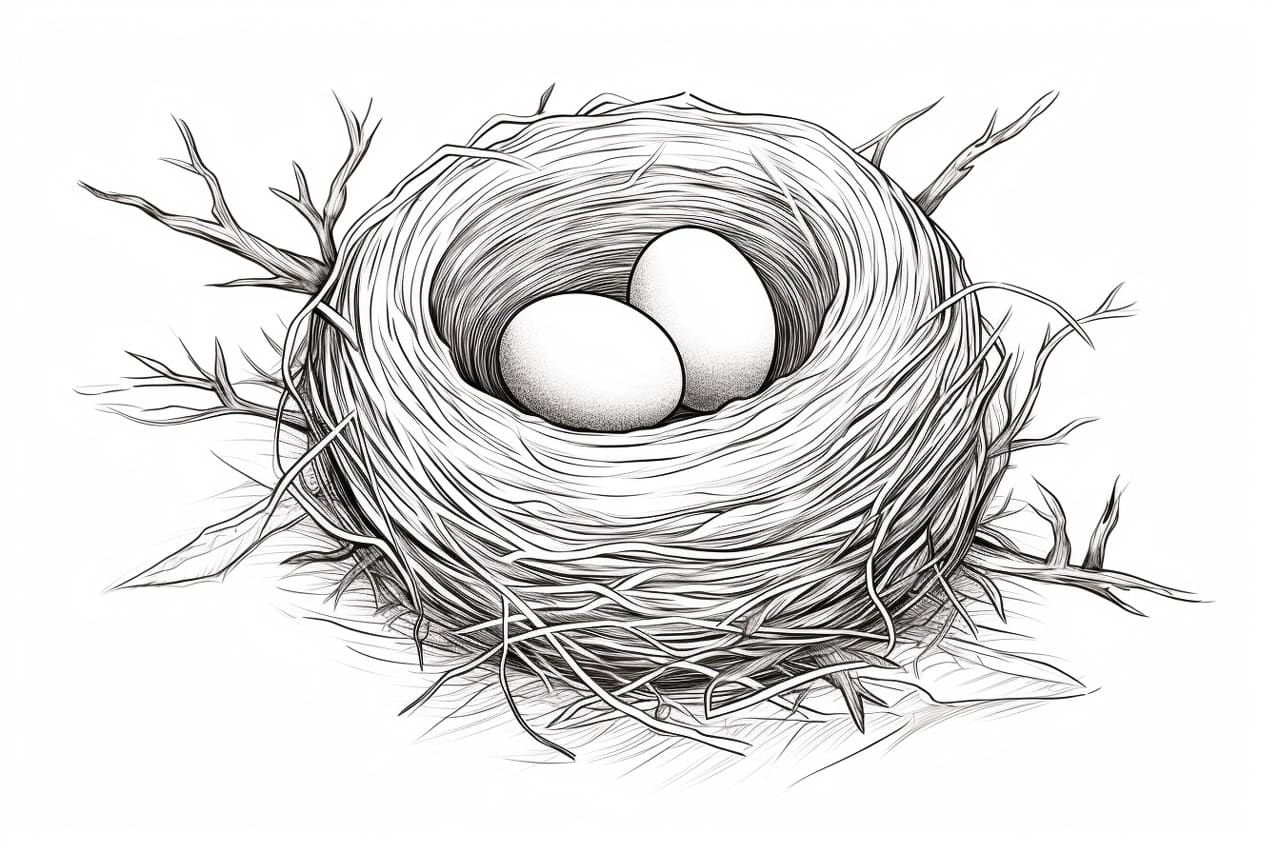
Step 1: Sketch the Basic Shape of the Nest
Start by lightly sketching an oval shape in the center of your paper. This will be the basic outline of the bird nest. Keep the oval shape loose and irregular to resemble the natural form of a nest.
Step 2: Add Detail to the Nest
Using your pencil, start adding texture and detail to the nest. Observe reference images or real nests to understand the various elements present in a bird nest. Use a combination of short curved lines, dots, and small strokes to create the appearance of twigs, leaves, and other materials woven together.
Step 3: Shade the Nest
To give the nest depth and dimension, lightly shade the areas where shadows would naturally fall. Pay attention to the curvature of the nest and the direction of light source to create realistic shading. Use your pencil to gradually build up the dark areas, applying more pressure for darker tones.
Step 4: Draw the Eggs
Draw small oval shapes inside the nest to represent the bird eggs. Bird nests typically contain two to four eggs, but you can choose the number based on your preference. Add a few curved lines on the eggs to indicate shadows or cracks if desired.
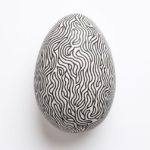
Step 5: Add Texture to the Eggs
Use your pencil to create a mottled texture on the eggs. Lightly shade the edges of the eggs to indicate their roundness and add small curved lines or dots to mimic the texture of bird eggs.
Step 6: Refine the Details
Take a step back and observe your drawing so far. Are there any areas that need refinement or additional details? Use your pencil to add more texture and definition to the nest, twigs, and leaves. Pay attention to the smaller details such as irregular shapes, crevices, and overlaps.
Step 7: Optional – Add Color (Colored Pencils or Watercolors)
If you want to add color to your bird nest drawing, now is the time to do so. Begin by lightly layering your chosen colors over the nest and the eggs. Use reference images or observe real nests to determine the appropriate colors. Gradually build up the colors, emphasizing the shadows and highlights to create a three-dimensional effect. Experiment with blending colors and adding additional details to enhance the realism.
Step 8: Finalize the Drawing
Once you are satisfied with your drawing, go over the lines and details with a drawing pen, if desired. This step will help define and emphasize the important features of your bird nest. Be careful not to overdo it and maintain a balance between the pencil work and ink lines.
Congratulations! You have successfully created a beautiful bird nest drawing. Remember, practice makes perfect, so don’t be discouraged if your first attempt doesn’t turn out exactly as you imagined. With time and practice, you will improve your skills and create amazing artworks.
Conclusion
Drawing a bird nest allows you to explore textures and details found in nature. By following the step-by-step instructions in this tutorial, you have learned how to create a realistic and visually appealing bird nest drawing. Remember to be patient and enjoy the process of creating art. So gather your materials, let your creativity take flight, and create your very own bird nest masterpiece!