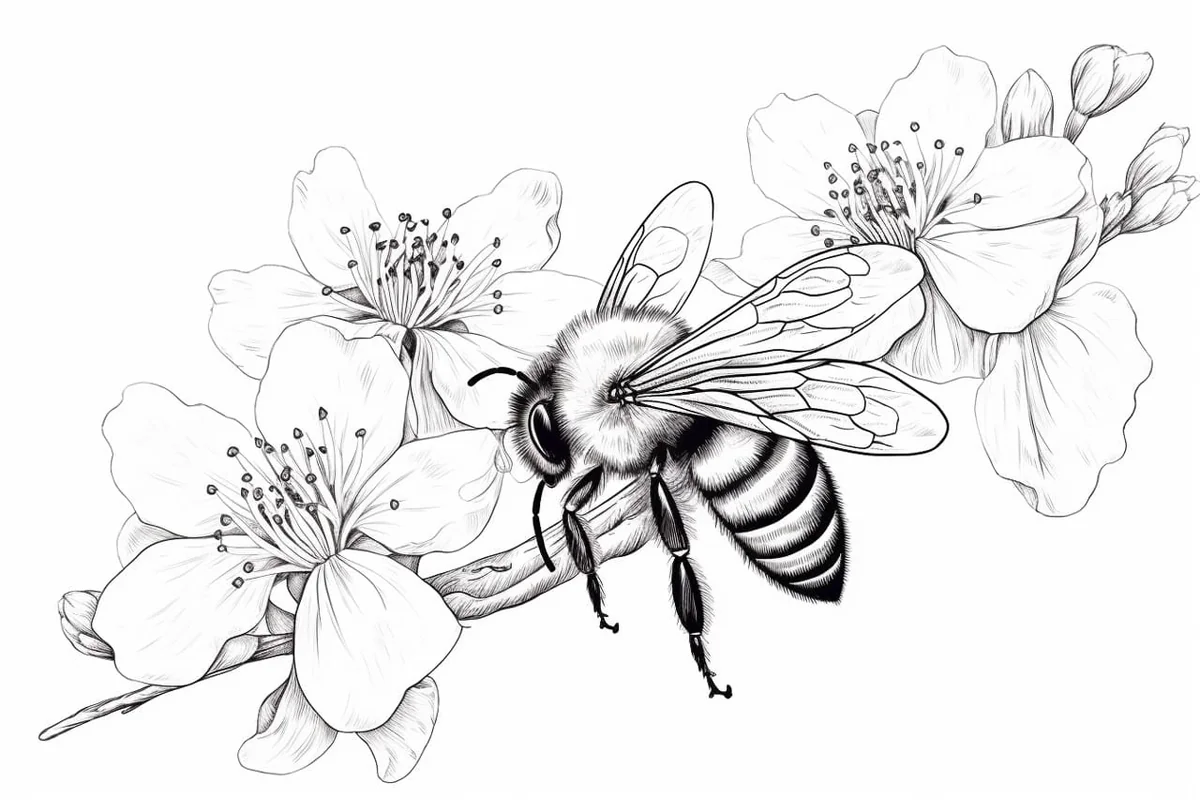
How to Draw a Bee on a Flower
Learn how to draw with this step-by-step tutorial.
Materials You'll Need
- Drawing paper
- Pencil (HB or 2B)
- Eraser
- Colored pencils
- Markers
- Blending stump
Welcome to this engaging step-by-step guide on how to draw a bee on a flower! Drawing can be a wonderful outlet for creativity, whether you are an aspiring artist looking to develop your skills or simply seeking a fun and rewarding weekend project. In this guide, we will simplify the drawing process, making it accessible and enjoyable for artists of all levels.
Imagine capturing the lively essence of nature as you create your own artwork of a bee amidst blooming petals. Not only will you learn valuable techniques along the way, but you'll also experience the joy that comes from watching your own artistic vision come to life. By following these straightforward instructions, you will be well on your way to producing an eye-catching piece that celebrates the beauty of the natural world.
So, gather your materials, unleash your creativity, and get ready to embark on this artistic journey! Let's dive into the delightful process of drawing a bee on a flower together!
Materials Required
Before we begin, gather the following materials:
-
Eraser
-
Fine-point black marker
-
Colored pencils or markers
Now that you have your materials ready, let's dive into the step-by-step process.
Step 1: Sketch the Flower
To start, lightly sketch the outline of the flower on your drawing paper. You can choose any type of flower you like – roses, daisies, or sunflowers are some great options. Draw a simple, circular shape for the flower head and add petals around it. Remember, this is just a rough sketch, so don't worry about making it perfect.
Step 2: Add Detail to the Flower
Next, begin adding more detail to the flower. Add individual petals, making sure they are uneven in size and shape to give the flower a natural look. You can also add some curved lines to create texture and depth. Take your time with this step and experiment with different shapes to make the flower more visually interesting.
Step 3: Draw the Bee's Body
Now it's time to draw the bee! Start by sketching a small oval shape for the head. Then, draw a larger oval shape beneath it for the body. Connect the head and body with curved lines to create a smooth transition. Remember to keep your pencil lines light, as you will be refining them later.
Step 4: Outline the Bee
Using your fine-point black marker, carefully outline the bee's body and head. Make sure to include the details, such as the eyes, antennae, and wings. You can make the lines thicker to give the drawing a bold and polished look. Take your time and be precise – this is the outline that will bring your bee to life!
Step 5: Add Wings and Stripes
With the marker, draw the bee's wings extending from the sides of the body. Keep the wings simple by drawing a pair of curved lines on each side. Then, add some stripes to the bee's body using short, diagonal lines. These stripes will give your bee a recognizable pattern.
Step 6: Erase Unnecessary Lines
Carefully erase any unnecessary pencil lines from your drawing, particularly those that are inside the bee's body or outside the flower. This step will clean up your artwork and make it look more polished and professional.
Step 7: Color the Flower and Bee
Now comes the fun part – coloring! Use your colored pencils or markers to bring your drawing to life. Choose vibrant colors for the flower petals, experimenting with different shades and blending techniques. For the bee, use black and yellow to color the body, and add some gray for the wings. Get creative and add any additional details or highlights that you like!
Step 8: Add Background and Final Touches
To complete your artwork, add a background to your drawing, such as a blue sky or a green field. This will make your bee and flower stand out even more. You can also add some additional details, like other flowers or leaves, to make the scene more interesting. Take a step back and evaluate your drawing – add any final touches or adjustments as needed.
Congratulations! You have successfully learned how to draw a bee on a flower. With practice, you can continue to refine your skills and create even more stunning artworks. Remember, drawing is about having fun and expressing your creativity, so don't be afraid to experiment and try new techniques.
Tip: To bring your drawing of a bee on a flower to life, pay close attention to the details of both the bee and the flower. Start by lightly sketching the basic shapes—use a circle for the bee's body and petals that radiate from a central point for the flower.
Once you have the outline, focus on the textures: for the bee, use short, quick strokes to create a fuzzy effect, and for the flower, consider varying your pencil pressure to depict delicate veins in the petals. Using colored pencils or markers can also enhance the vibrancy of your drawing; blend yellows and blacks for the bee and rich colors for the flower to capture the natural beauty. Finally, don't forget to add a subtle shadow under the bee to ground it in the scene and give your artwork depth!
Conclusion
In this step-by-step guide, we have explored how to draw a bee on a flower. Starting with a simple sketch, we gradually added detail, outlined the bee, and colored the artwork to bring it to life. By following these instructions, you can create a beautiful artwork that showcases the beauty of nature.
Now it's your turn to get creative and enjoy the process of drawing. Grab your materials, find a peaceful spot, and let your imagination soar as you create your own bee on a flower masterpiece!
Gallery of Drawings of Bee on a Flower Drawings


