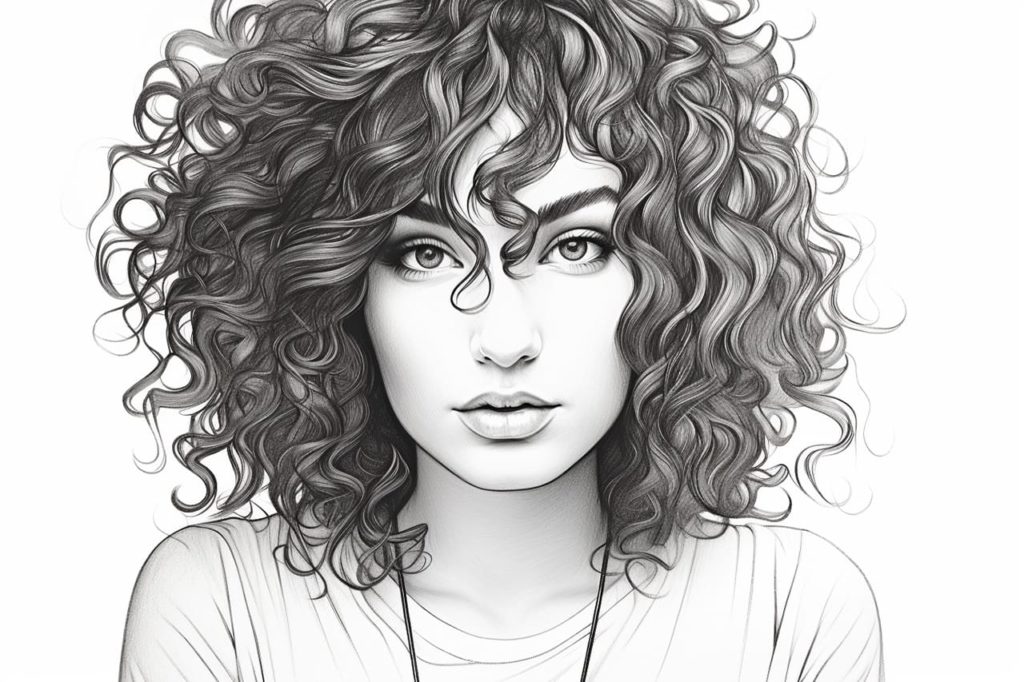
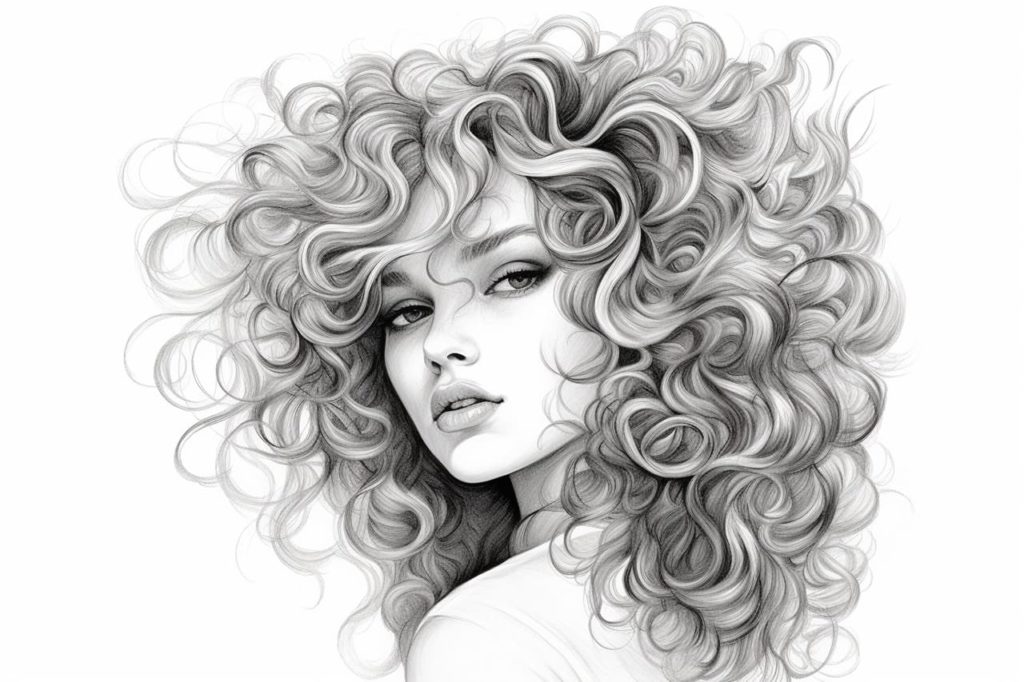
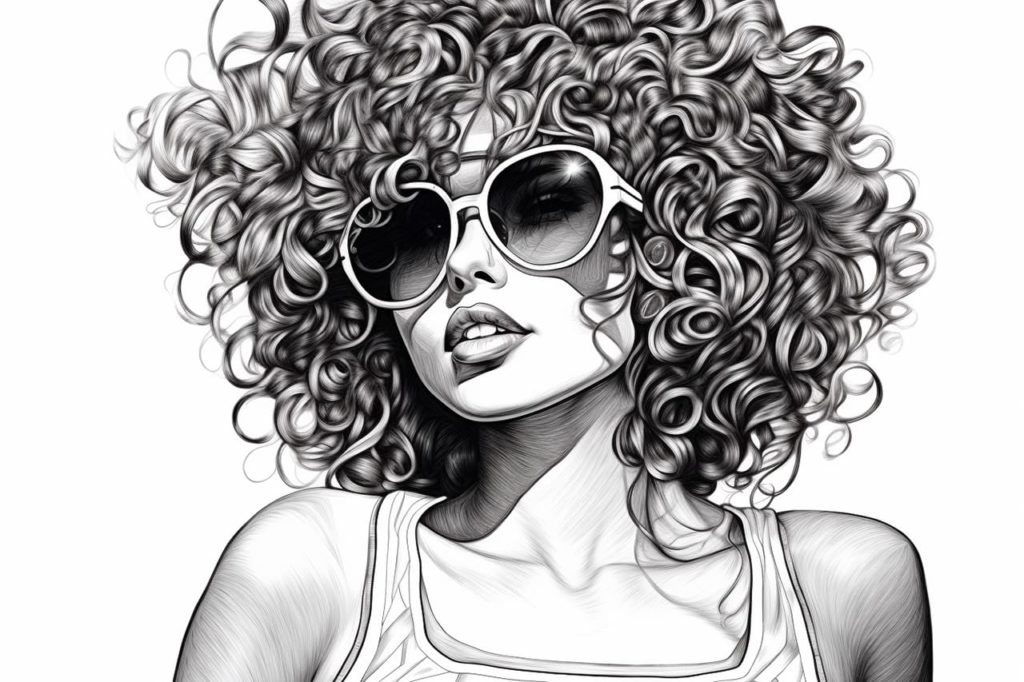
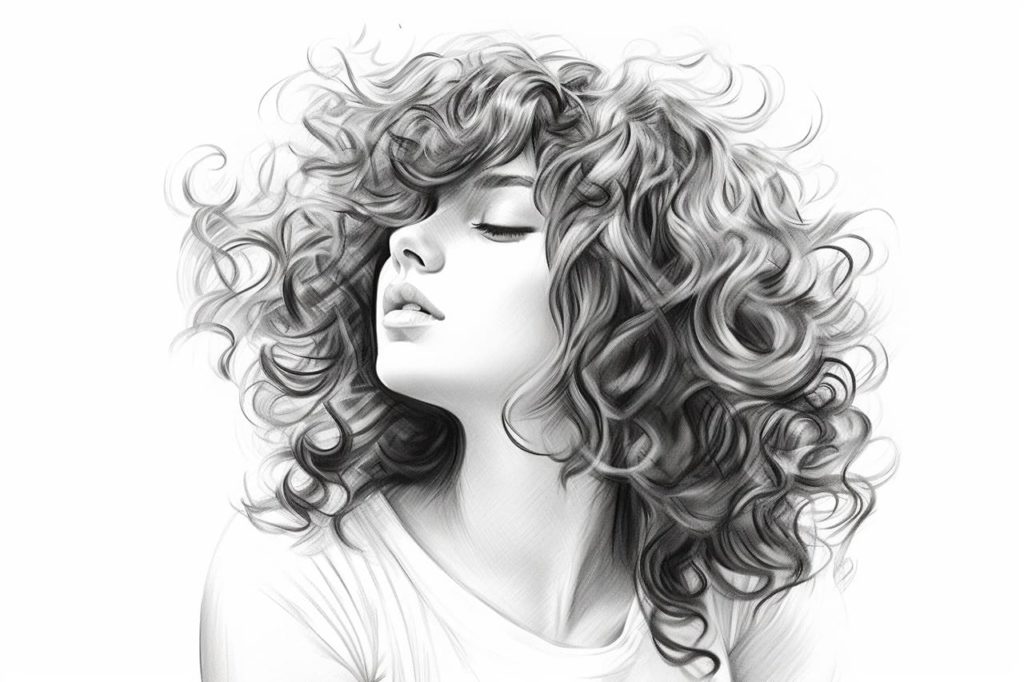
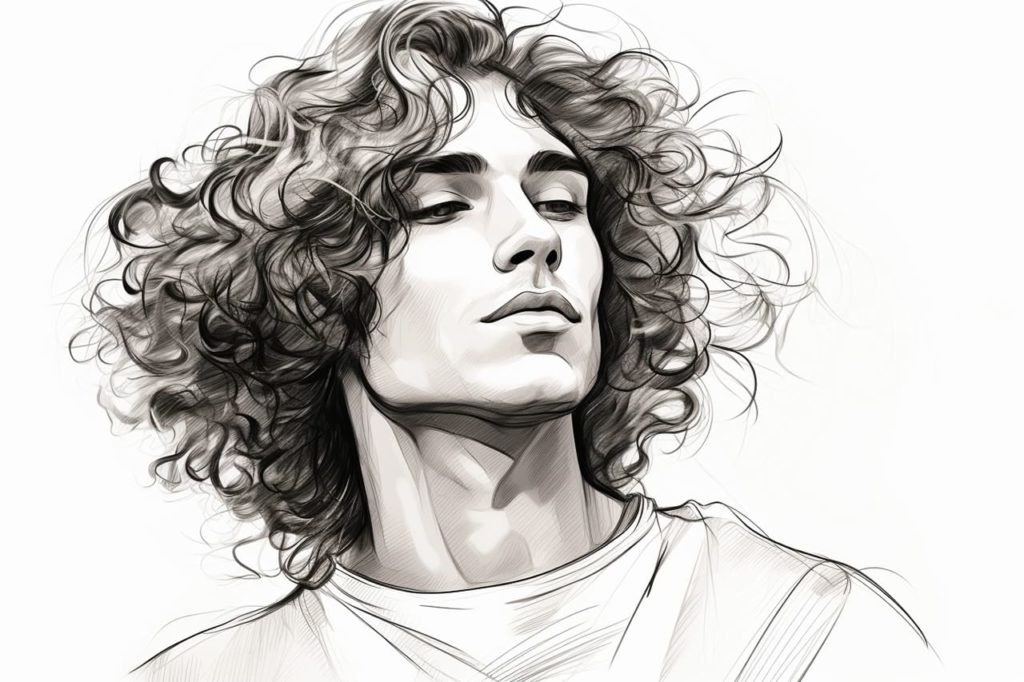
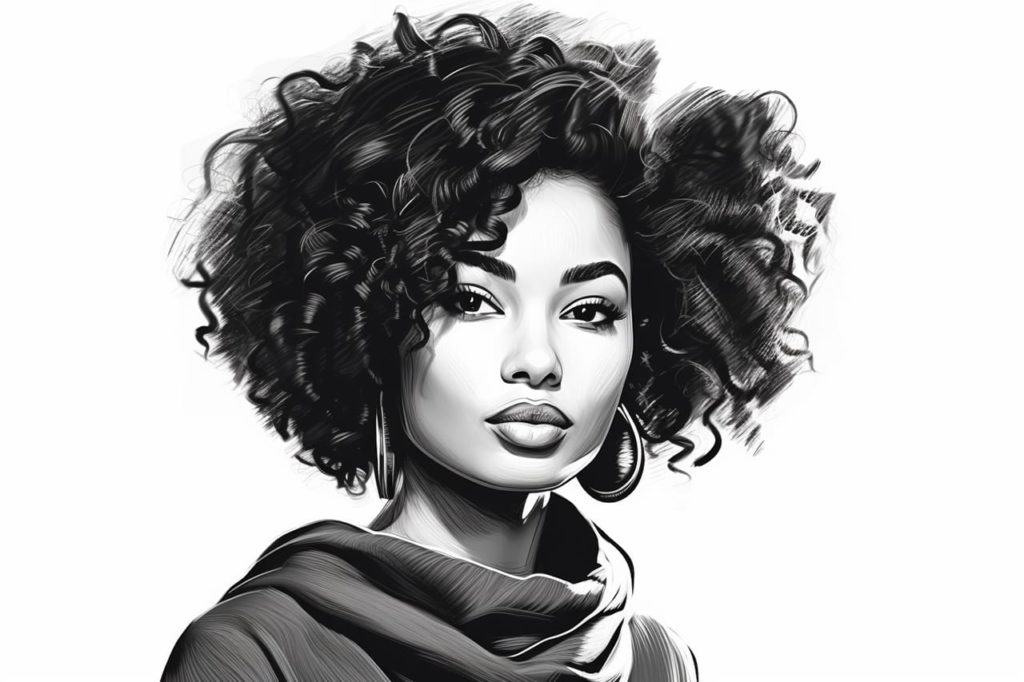
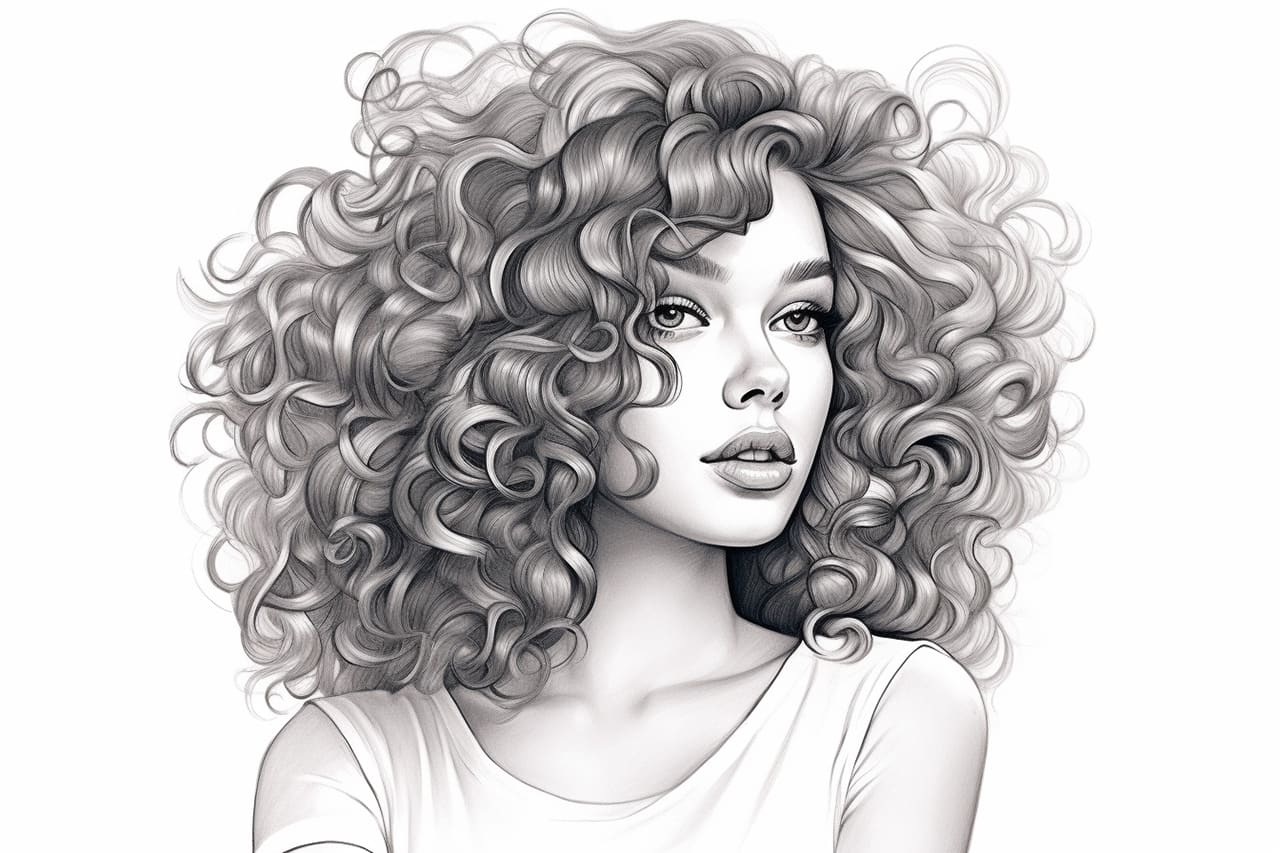
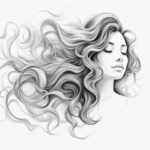
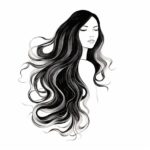
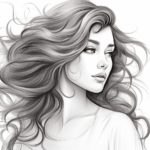
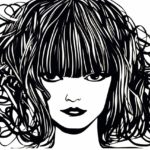
In this tutorial, we will learn how to draw curly hair. Curly hair can be challenging to capture, but you can create realistic and stunning drawings with the proper techniques. Whether you’re an experienced artist or a beginner, this step-by-step guide will help you master the art of how to draw curly hair. Let’s get started!
Materials Required
Before we begin, gather the following materials:
- Drawing paper
- Pencil
- Eraser
- Fine-tipped pen or marker (optional)
Now that you have your materials ready, let’s dive into the process of drawing curly hair.
Step 1: Establish the Shape and Flow
Start by lightly sketching the basic shape of the head. This will serve as the foundation for the hair. Remember, curly hair often has a voluminous appearance, so exaggerate the body slightly. Next, determine the direction and flow of the curls. Visualize how the hair would naturally cascade from the scalp and sketch light lines to represent the curl pattern.
Step 2: Outline the Individual Curls
Now, let’s focus on the individual curls. Start at the root of the hair and draw a curved line to represent the first curl. Continue drawing curved lines to form more curls, keeping in mind the direction and flow established in the previous step. Vary the sizes and shapes of the curls to add complexity and realism to your drawing.
Step 3: Add Volume and Depth
To add depth and volume to the curls, lightly shade the areas between the curls. Pay attention to the areas where shadows might be present, such as underneath the curls or in areas where the hair overlaps. This shading will enhance the three-dimensional appearance of the hair and make it look more realistic.
Step 4: Refine the Details
Now it’s time to refine the details of the curls. Use your pencil to add more definition and texture to each curl. Study reference images or observe real-life curly hair to understand how the hair strands interact with each other. Add smaller lines and curves within the larger curls to create more intricate patterns and textures.
Step 5: Adjust the Contrast
To make the curls stand out even more, adjust the contrast by darkening certain areas and further shading the shadows. Use a darker pencil or a fine-tipped pen or marker for this step. Darken the areas where the hair overlaps or where the curls are more tightly packed. Be mindful of the light source in your drawing and consider how it affects the shadows and highlights on the hair.
Step 6: Refine and Erase
Take a step back and assess your drawing as a whole. Look for any areas that need refinement or adjustments. Use your eraser to lighten or clean up any stray lines or smudges. Pay close attention to the areas where the curls overlap or intersect, ensuring that each curl is distinct and well-defined.
Step 7: Final Touches
Now that you have completed the basic drawing of the curly hair, feel free to add any final touches or details that you feel are necessary. You can enhance the drawing by adding highlights to the hair or introducing additional texture and shading. Experiment with different techniques and styles to make your drawing unique and captivating.
Conclusion
Drawing curly hair can be a complex process, but with patience and practice, you can achieve stunning results. By following these step-by-step instructions, you have learned how to establish the shape and flow of the hair, outline individual curls, add volume and depth, refine the details, adjust the contrast, and make final touches to create a realistic and beautiful drawing of curly hair. Grab your materials and start practicing, and soon you’ll become a master at capturing the intricacies of curly hair in your artwork!
Gallery of Curly Hair Drawings
