Drawing can be both a fulfilling pastime and a valuable skill, and what better way to practice than by creating a vibrant depiction of a banana? In this step-by-step guide, we will take you through the process of how to draw a banana, whether you’re just starting out or you have a wealth of experience.
Bananas offer a unique shape and texture, making them an excellent subject for artists at any level. The curvy silhouette along with the smooth skin provides opportunities to explore shading, color, and form. By following this tutorial, you’ll not only enhance your observational skills but also gain confidence in your drawing abilities as you learn to capture the essence of this delightful fruit.
So, gather your drawing tools and prepare to embark on an enjoyable artistic journey! Whether it’s for a school project, a personal sketchbook, or just for fun, drawing a banana can be a surprisingly engaging exercise. Let’s peel back the layers and get started on your masterpiece!
Materials Required
Before we begin, make sure you have the following materials:
- Pencil: You’ll need a graphite pencil for sketching and outlining.
- Paper: Choose a smooth-surfaced paper that’s suitable for drawing. A sketchpad or drawing paper will work well.
- Eraser: Have an eraser on hand to correct any mistakes or stray lines.
- Pencil sharpener: Keep a pencil sharpener nearby to maintain a sharp point on your pencil.
- Optional: Colored pencils or markers, if you wish to add color to your drawing.
Now that you have all your materials ready, let’s dive into the step-by-step process of drawing a banana.
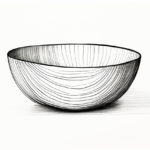
Step 1: Outline the Basic Shape
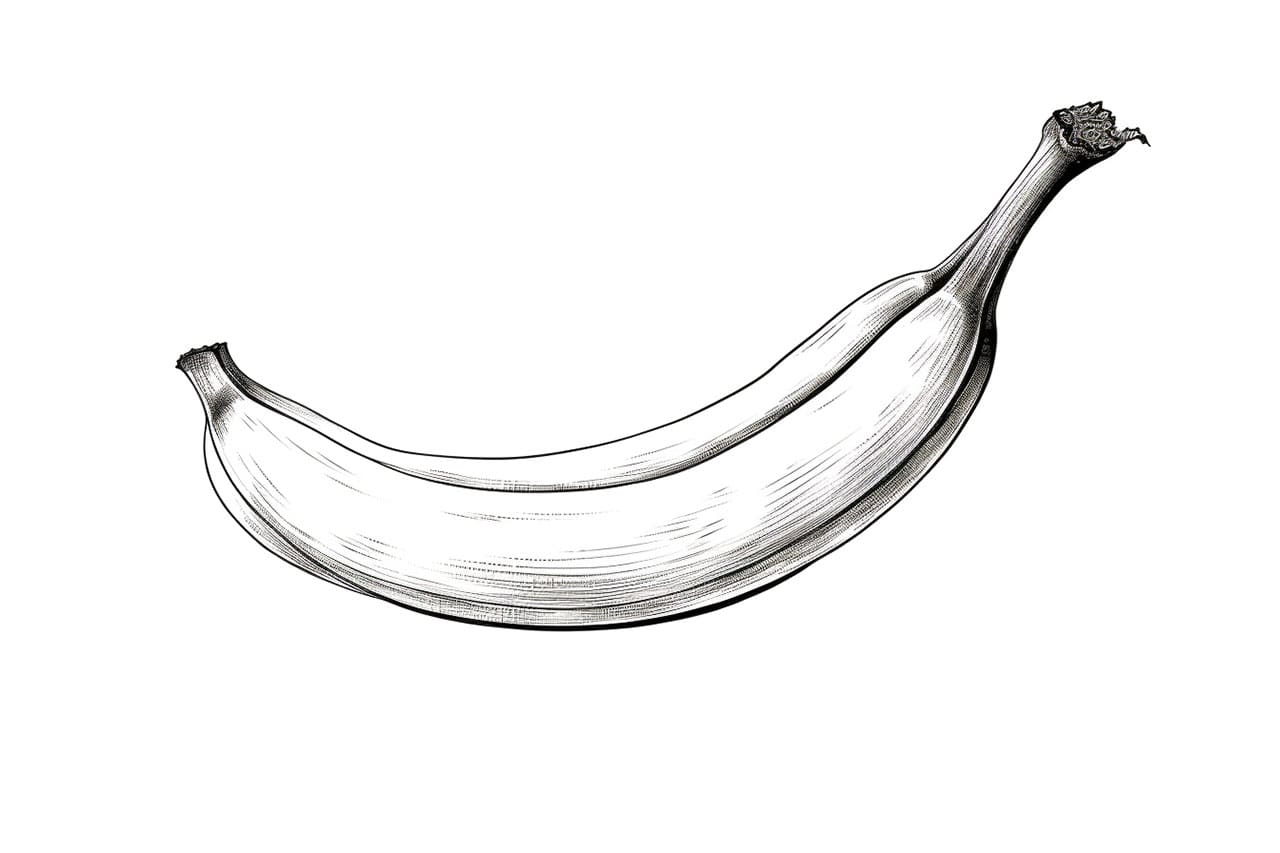
Start by lightly sketching an elongated oval shape on your paper. This will serve as the basic outline of the banana. Keep the lines faint so that you can easily erase them later if needed.
Step 2: Add the Curvature
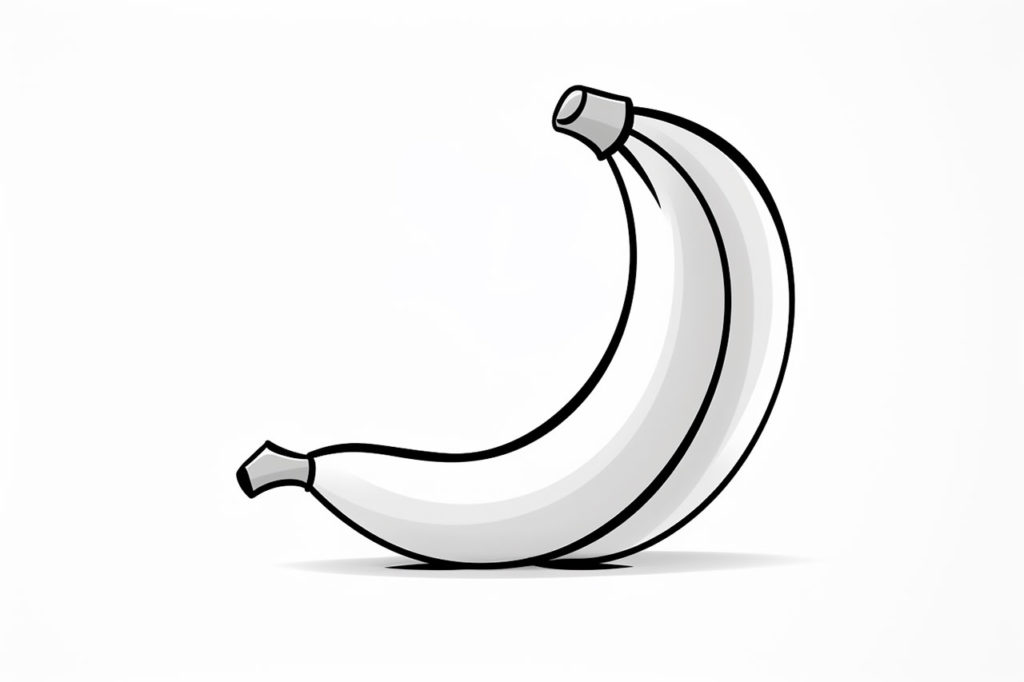
Next, add some curves to the outline to give it a more natural and three-dimensional appearance. Observe the reference image or a real banana to get an idea of the curvature. Pay attention to the slight curve on both ends of the fruit.
Step 3: Draw the Stem
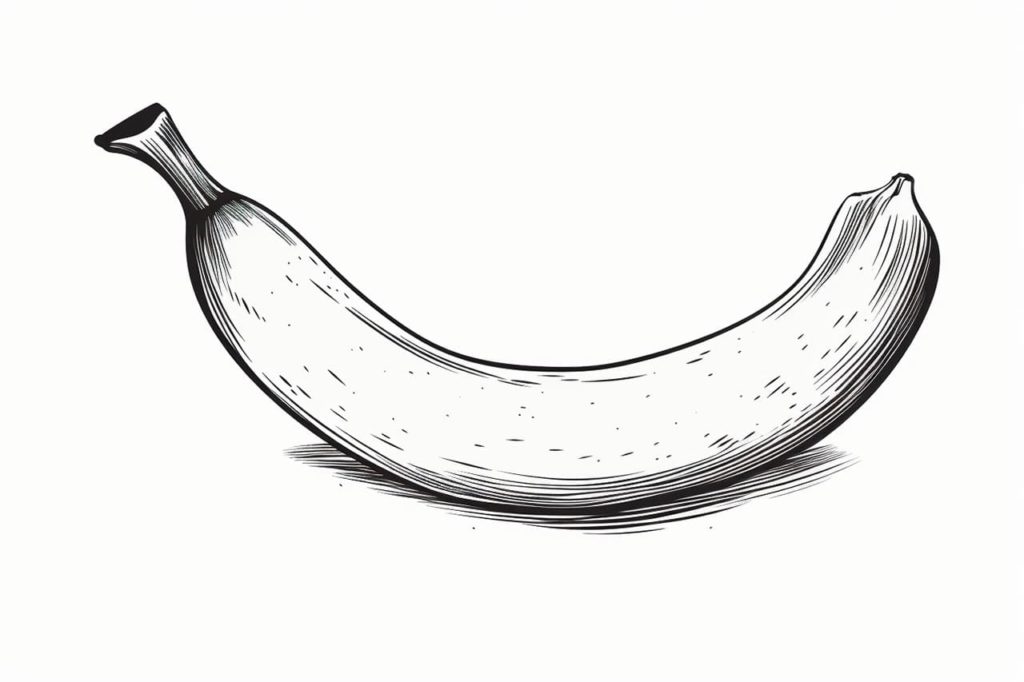
Now it’s time to draw the stem. Extend a short, curved line upwards from the top of the banana. The stem should be slightly thicker at the base and taper towards the end.
Step 4: Refine the Shape
Take a closer look at your sketch so far and make any necessary adjustments. Pay attention to the proportions and curves of the banana. Erase any unwanted lines and refine the outline until you’re satisfied with the shape.
Step 5: Shade the Banana
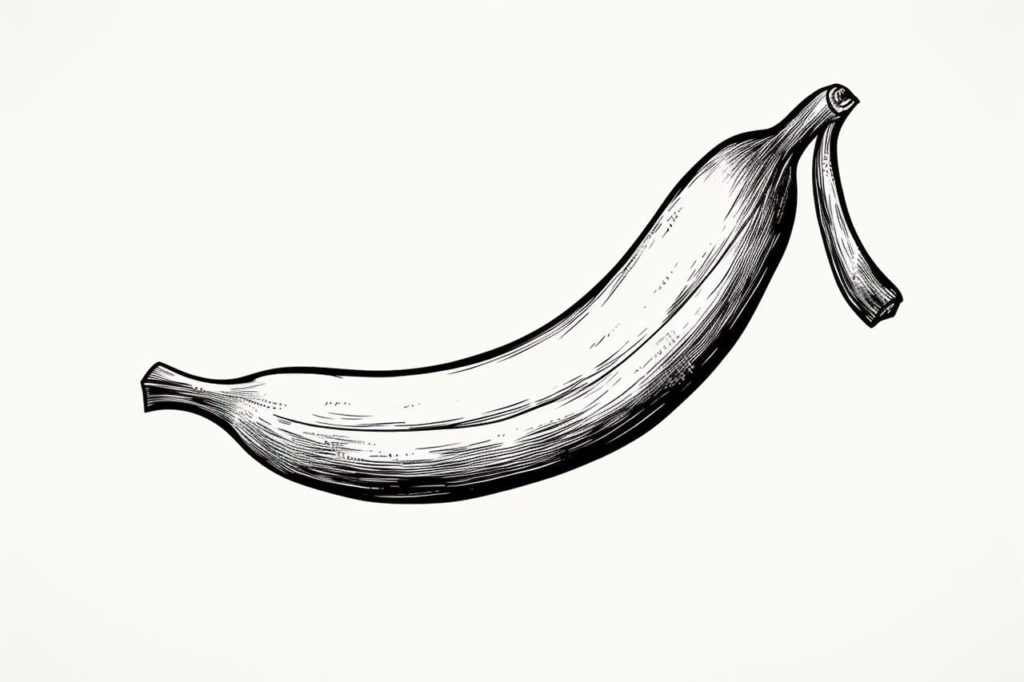
With the basic shape in place, it’s time to add some shading to give your drawing depth and dimension. Start by identifying the light source in your reference image or imagine one if you don’t have a reference. This will help determine where the lightest and darkest areas of the banana should be.
Step 6: Apply Base Shade
Using your pencil, lightly shade the entire banana with a base tone. This will serve as the foundation of your shading. Keep the pressure light and consistent for now.
Step 7: Darken the Shadow Areas
Identify the areas of the banana that are in shadow. These areas usually include the space between the curves and the bottom part of the fruit. Darken these areas using your pencil, applying more pressure to create a darker tone.
Step 8: Create Highlights
Now it’s time to add highlights to your drawing. Identify the areas of the banana that are catching the most light. Use an eraser to carefully lighten those areas, creating a contrast between the highlights and the shaded areas.
Step 9: Blend the Shading
To achieve a smoother and more realistic appearance, blend the shading using a blending stump or a tortillon. Gently rub the shaded areas in a circular motion to soften the lines and create a gradual transition between the light and dark tones.
Step 10: Finalize the Details
Take a step back and assess your drawing. Make any necessary adjustments and add any additional details you may have missed. Pay attention to the small details like texture and any imperfections on the surface of the banana.
Conclusion
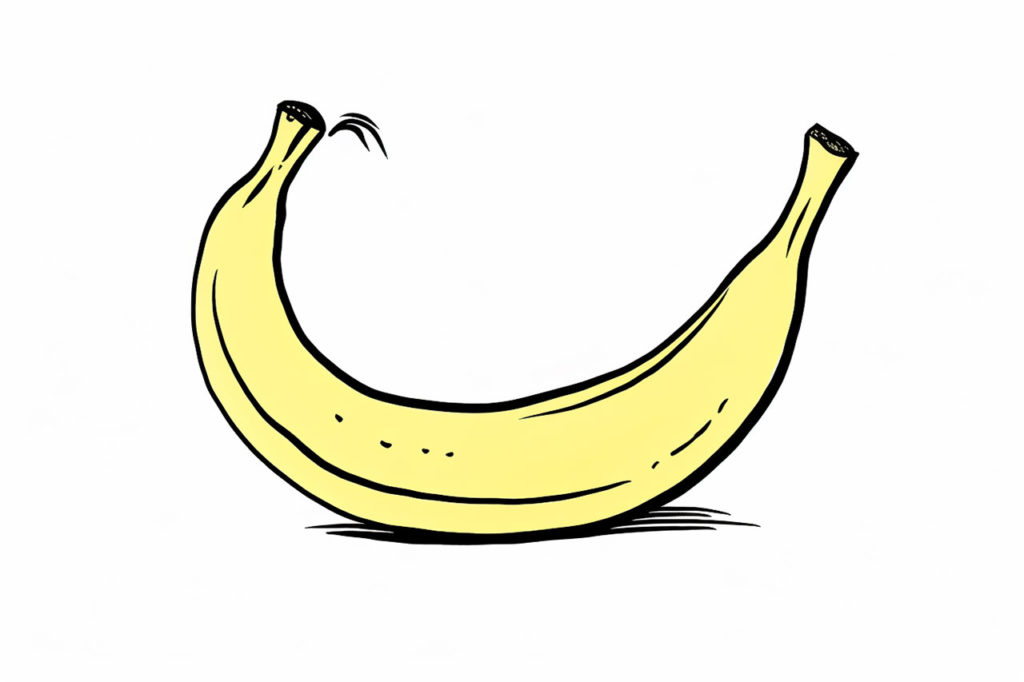
Congratulations! You have successfully learned how to draw a realistic banana. By following these step-by-step instructions, you should now have a beautiful drawing that captures the shape, shading, and details of this delicious fruit. Remember, practice is vital to improving your drawing skills, so keep experimenting and trying new subjects. Drawing is a beautiful way to express your creativity and observe the world around you.
Gallery of Banana Drawings
Fun Facts About Bananas
- Bananas are technically berries, belonging to the genus Musa. Botanically, bananas are classified as berries because they develop from a single ovary and contain seeds, even though they are seedless in cultivated varieties. Learn more about the genus Musa here.
- The banana plant is the world’s largest herbaceous flowering plant. Despite its tree-like appearance, the banana plant is technically a giant herb, with its “trunk” being a pseudostem made of tightly packed leaf sheaths. Read more about its structure here.
- Bananas are naturally slightly radioactive due to their potassium-40 content, which is harmless to humans. Potassium-40 is a naturally occurring isotope found in bananas and other potassium-rich foods. Discover more about this phenomenon here.
- There are over 1,000 varieties of bananas in the world, but most exported bananas are of the Cavendish variety, which dominates global markets. Explore the diversity of bananas here.
- India is the largest producer of bananas, contributing to more than 25% of global production with over 37 million metric tonnes annually. Learn about India’s banana production here.
- Bananas float in water because they are less dense than the liquid. This buoyancy is due to their density being lower than that of water. Learn why bananas float here.
- The word “banana” is derived from the Arab word “banan,” meaning finger, reflecting their shape and size resemblance to human fingers. Read more about banana etymology here.
- Bananas are harvested green and ripen in transit through controlled exposure to ethylene gas and specific temperatures to ensure they arrive in perfect condition for consumers. Learn how bananas ripen here.
- Banana peels can be used as a natural fertilizer or as a polishing agent for silverware and shoes due to their nutrient-rich composition and texture. Discover how to use banana peels effectively here.
- Bananas are a great source of vitamins and minerals, especially potassium, which support heart health by regulating blood pressure and promoting regular heart function. Learn about their health benefits here.
Suggestions for Scenes and Settings for Banana Drawings
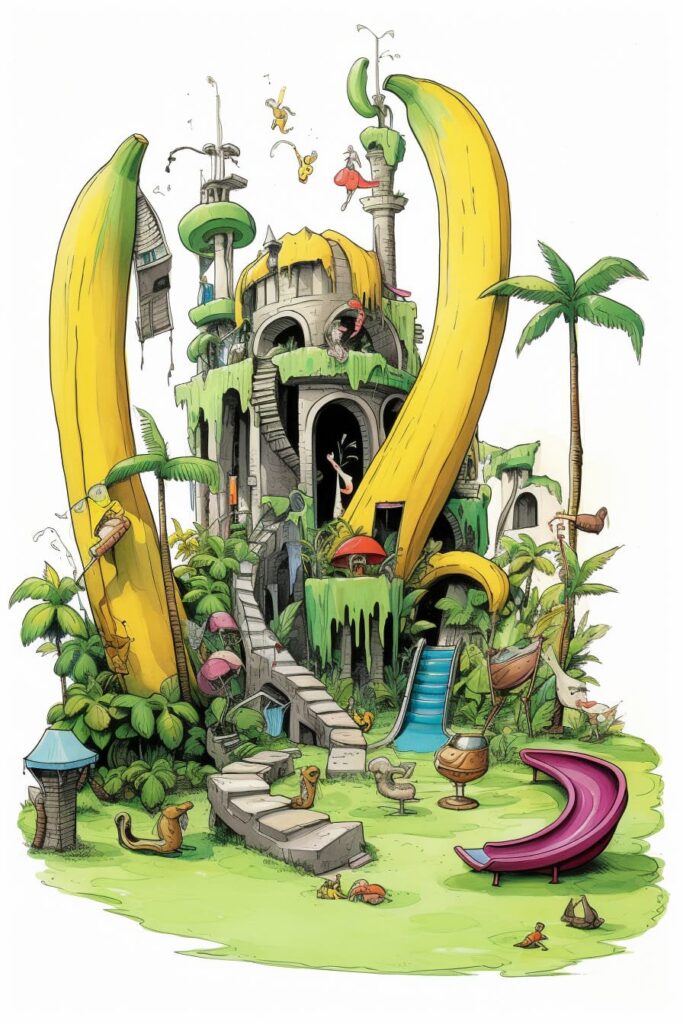
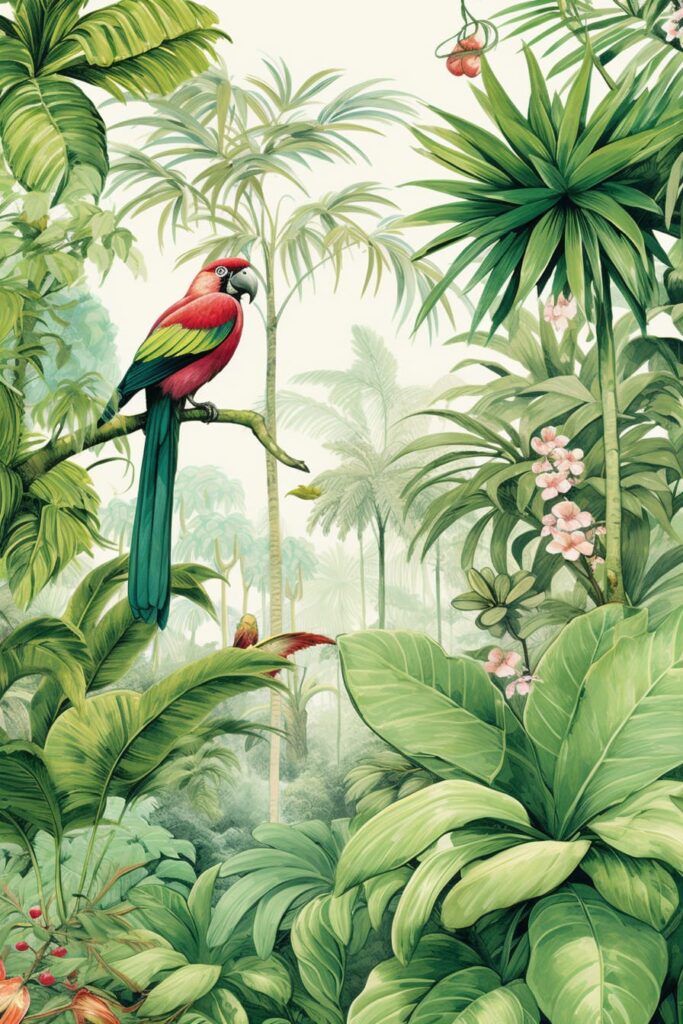
- Jungle Paradise: Depict a lush, tropical setting with jungle banana trees swaying in the breeze, and colorful birds perching on the leaves.
- Banana Split Celebration: Illustrate a whimsical ice cream parlor scene where giant bananas are being transformed into larger‑than‑life banana splits.
- Monkey Banquet: Create a playful scene of monkeys feasting on a huge pile of bananas, with some mid‑peel and others juggling them.
- Banana Boat Adventure: Design a nautical scene where a boat shaped like a banana sails across a tropical lagoon, complete with palm sails and coconut anchors.
- Banana Skydiver: Picture a daring banana with a tiny parachute, leaping from a high branch in a unique skydiving scene.
- Smoothie Factory: Illustrate a busy, colorful smoothie factory where bananas are the main ingredient, with tubes and funnels transforming them into delicious drinks.
- Banana in Space: Imagine a banana astronaut floating in zero‑gravity, framed by stars and planets—link to a spaceship helps set the cosmic tone.
- Banana Picnic: Show a peaceful outdoor setting where people are enjoying a picnic with bananas and other tropical fruits laid out on a blanket.
- Banana Mini Golf: Create a fun, imaginative mini‑golf course where giant bananas serve as obstacles and pathways.
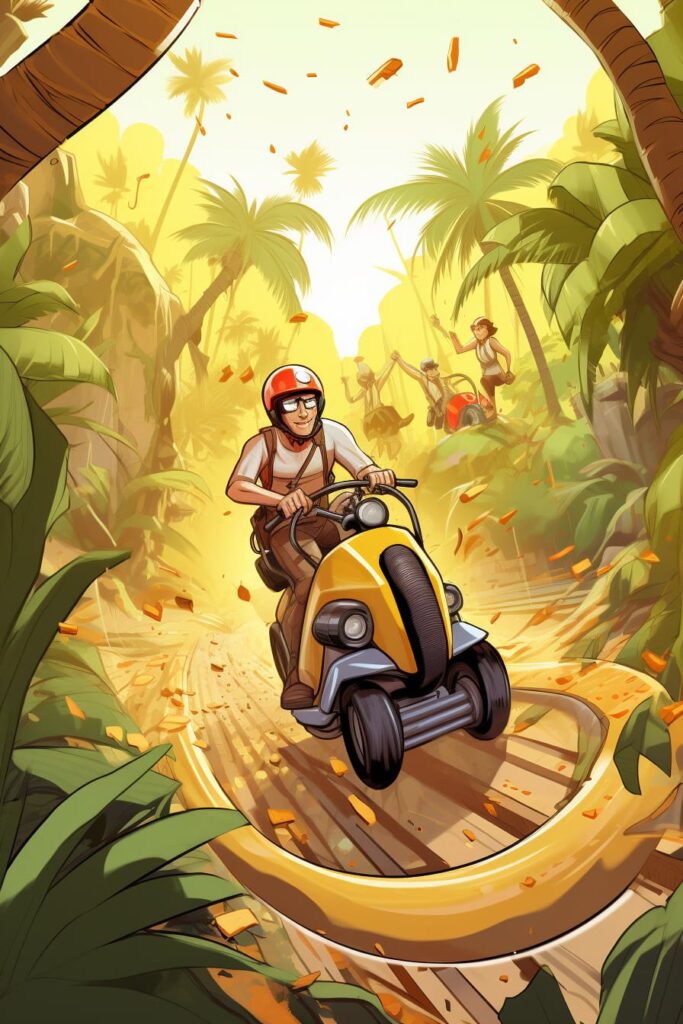
- Banana Peel Raceway: Depict an exciting race where characters ride on banana peels down a twisting, turning track.