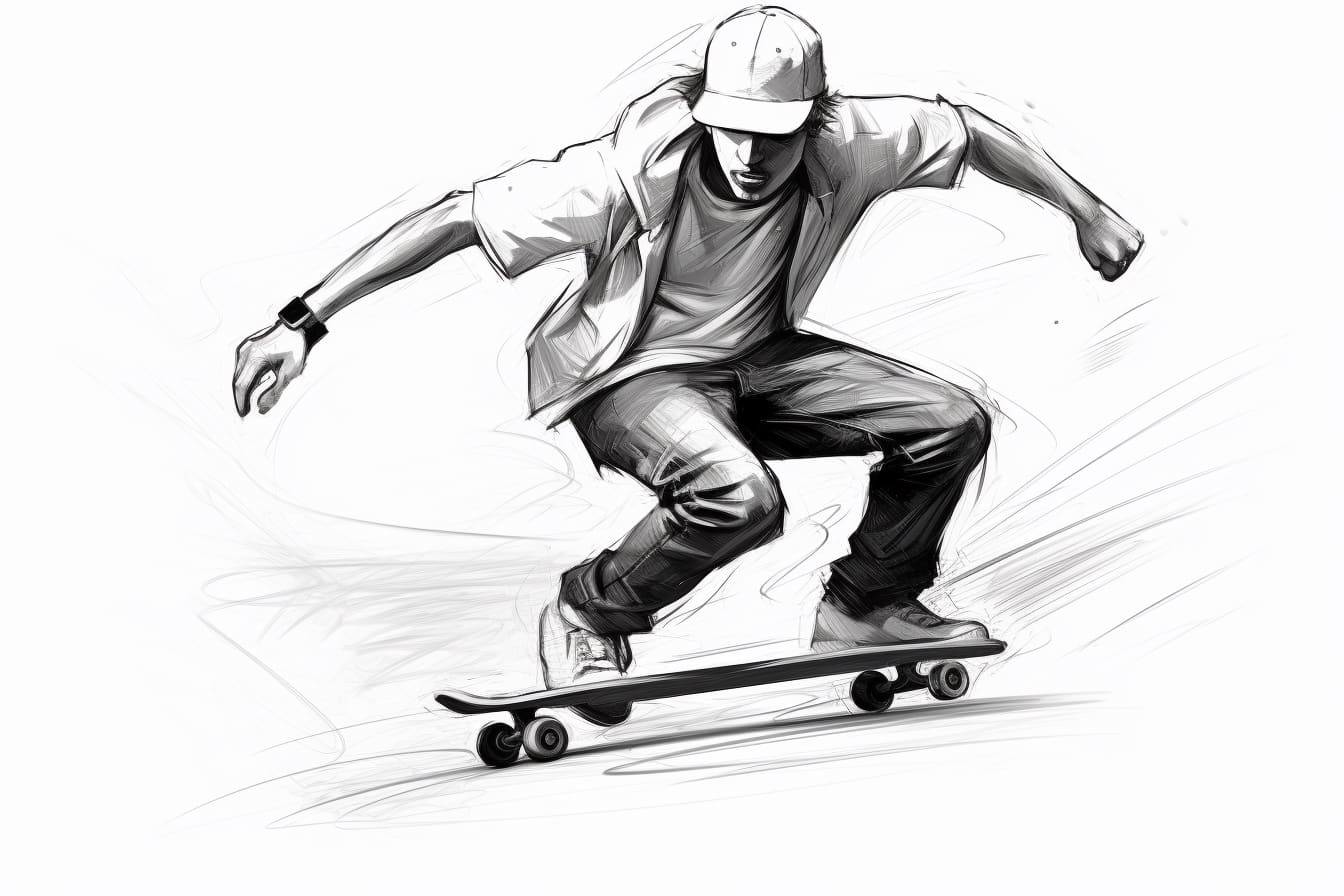
Welcome to this step-by-step guide on how to draw a skateboarder! In this article, I will walk you through the process of creating a dynamic and lifelike drawing of a skateboarder in action. Whether you are a beginner or an experienced artist, this guide will provide you with the necessary steps to capture the essence of skateboarding on paper. So grab your pencils, paper, and let’s get started!
Materials Required:
- Drawing paper
- Pencils (HB, 2B, 4B)
- Eraser
- Sharpener
- Ruler
- Colored pencils or markers (optional)
Step 1: Sketch the Basic Proportions
Start by lightly sketching the basic proportions of the skateboarder. Use simple shapes and lines to outline the head, body, arms, and legs in the desired position. Pay attention to the pose and posture of the skateboarder, as this will set the foundation for the entire drawing.
Step 2: Add Facial Features and Hair
Refine the sketch by adding the skateboarder’s facial features and hair. Take your time to capture the unique characteristics of the skateboarder’s face, such as the eyes, nose, and mouth. Consider the hairstyle as well, as it can add personality to the drawing.
Step 3: Outline the Body and Clothing
Using a darker pencil, outline the skateboarder’s body and clothing. Focus on the details of the clothing, such as creases, folds, and any logos or designs present. Also, pay attention to the position of the limbs and joints, as they should reflect the dynamics of skateboarding.
Step 4: Add the Skateboard
Draw the skateboard underneath the skateboarder’s feet. Start by sketching a basic shape for the board, and then add the details, such as the trucks, wheels, and grip tape. Ensure that the skateboard is proportionate to the skateboarder’s body.
Step 5: Refine the Details
Take a closer look at your sketch and refine the details. Add shading to create depth and dimension. Pay attention to light and shadow, as they play a crucial role in making the drawing appear realistic. Use hatching and cross-hatching techniques to create texture and add definition to the various elements of the drawing.
Step 6: Finalize the Sketch
Once you are satisfied with the details and shading, use your eraser to lighten any unnecessary lines or smudges. This will give your drawing a clean and polished look. Take a step back to evaluate the overall composition and make any final adjustments if needed.
Step 7: Add Color (Optional)
If you want to add a pop of color to your drawing, you can use colored pencils or markers to bring it to life. Consider the lighting and the skateboarder’s clothing when choosing your colors. Apply the colors gradually, building up layers to create depth and dimension.
Conclusion
Congratulations! You have successfully learned how to draw a skateboarder. By following these step-by-step instructions, you should now have a dynamic and lifelike drawing of a skateboarder in action. Remember to practice and experiment with different poses and styles to develop your own unique artistic style. Keep exploring and pushing your creative boundaries. Happy drawing!