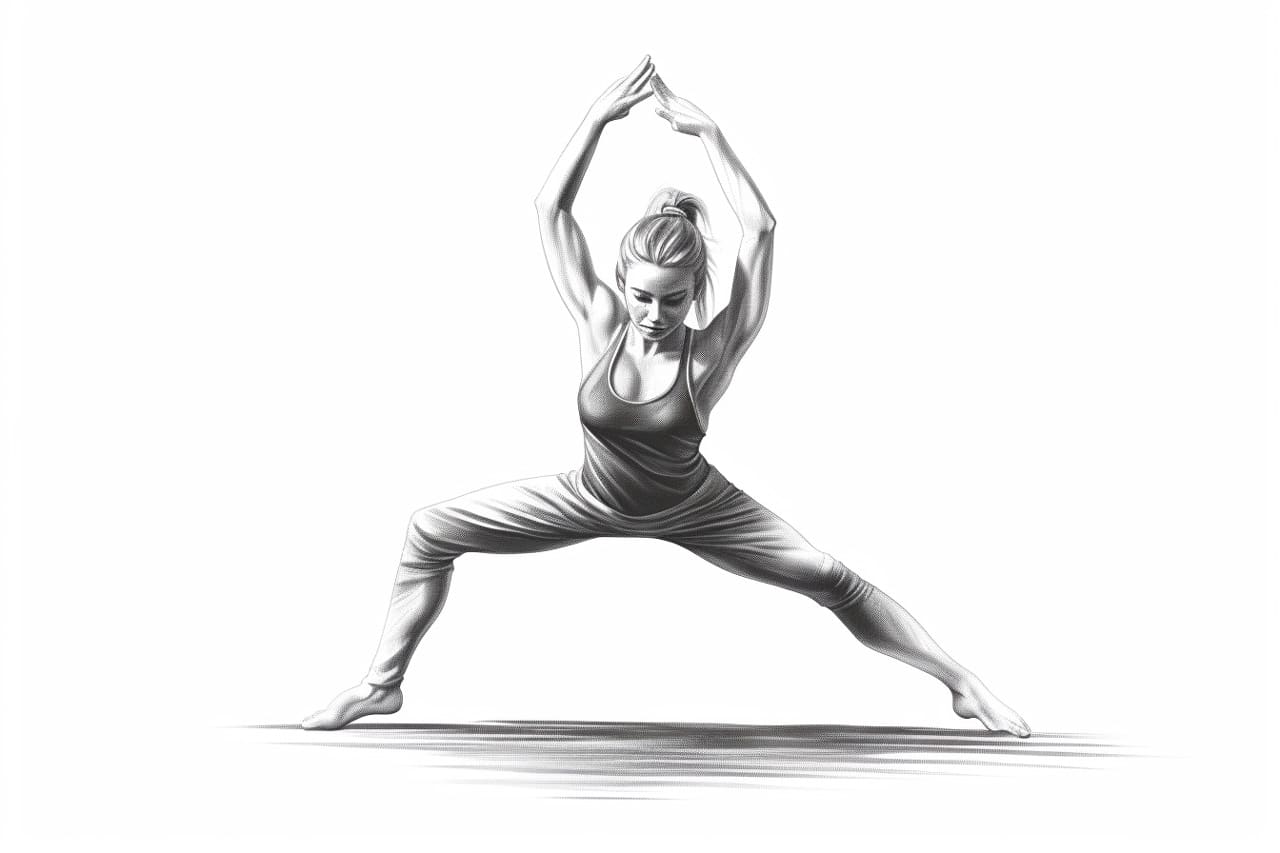
Welcome to this step-by-step guide on how to draw a gymnast! In this tutorial, I will walk you through the process of creating a dynamic and realistic drawing of a gymnast in action. Whether you are a beginner or an experienced artist, this guide will provide you with the necessary techniques to capture the grace and athleticism of a gymnast on paper.
To start, here are the materials you will need for this drawing:
- Pencil (preferably HB or 2B)
- Eraser
- Drawing paper
- Ruler (optional)
- Reference photo of a gymnast (highly recommended)
Now that you have your materials ready, let’s begin!
Step 1: Sketch the Basic Body Shape
Start by lightly sketching the basic body shape of the gymnast. Use simple geometric shapes like circles and ovals to map out the head, torso, arms, and legs. Pay attention to the proportions and angles to ensure accuracy in your drawing. Remember, this initial sketch is just a guideline, so keep it light and flexible.
Step 2: Define the Limbs and Joints
Once you have the basic body shape, start adding more definition to the limbs and joints. Observe the reference photo to understand the positioning of the arms and legs. Use simple lines to outline the major bones and joints, such as the elbows, wrists, knees, and ankles. This step helps establish a solid structure for the gymnast’s body.
Step 3: Add Muscles and Details
Next, focus on adding muscles and details to the gymnast’s body. Pay attention to the areas where muscles are prominent, such as the arms, legs, and core. Use curved lines to suggest the contours of the muscles, emphasizing the strength and flexibility of the gymnast. Don’t worry about capturing every single muscle; instead, focus on the main ones that contribute to the overall pose.
Step 4: Refine the Face and Features
Now, it’s time to refine the face and features of the gymnast. Pay close attention to the reference photo to capture the individual characteristics of the gymnast. Use light, delicate strokes to draw the eyes, nose, and mouth. Pay attention to the shape and proportions of the face while maintaining a sense of movement and expression.
Step 5: Add Hair and Accessories
If the gymnast in your reference photo has hair or accessories, now is the time to add them. Use flowing lines to suggest the movement of the hair, whether it’s tied back or flowing freely. If the gymnast is wearing any accessories, such as a headband or wristbands, sketch them lightly and add details as necessary.
Step 6: Refine the Outlines
Now that you have the main elements of the gymnast drawn, it’s time to refine the outlines. Go over your initial sketch and darken the lines that you want to keep. Be selective and choose the lines that define the shape and form of the gymnast. Pay attention to areas where the lines overlap or intersect, adjusting them to create a clean and cohesive drawing.
Step 7: Add Shading and Depth
To give your drawing depth and dimension, add shading to create the illusion of light and shadow. Observe the reference photo to identify the areas of light and shadow on the gymnast’s body. Use your pencil to create smooth gradations, starting with light pressure and gradually increasing it to create darker values. Pay attention to the direction of the light source to ensure consistency in your shading.
Step 8: Refine the Details
At this stage, you can focus on refining the smaller details of the gymnast, such as the texture of the fabric, the definition of the muscles, and any additional elements like the platform or apparatus the gymnast is using. Take your time and add these details with care, using a combination of light and dark lines to create depth and texture.
Step 9: Finalize Your Drawing
Once you are satisfied with the overall drawing, take a step back and evaluate it. Make any necessary adjustments and additions to ensure a well-balanced and dynamic composition. Erase any remaining guidelines or unnecessary lines, and clean up any smudges or stray marks. Your drawing of a gymnast is now complete!
Conclusion
Drawing a gymnast can be a challenging yet rewarding experience. By following these step-by-step instructions and using a reference photo, you can capture the grace and strength of a gymnast on paper. Remember to start with a basic sketch, gradually add layers of detail, and use shading to create depth and dimension. With practice and patience, you can create a stunning drawing of a gymnast that showcases their incredible abilities.
So grab your pencil and paper, and let’s start drawing a gymnast today!

