Welcome to this step-by-step tutorial on how to draw an acorn! Whether you’re a beginner or an experienced artist, learning to draw the basic shapes of nature can be a great way to enhance your skills. In this guide, I will walk you through the process of drawing an acorn, from capturing its unique form to adding the final details. So grab a pencil and let’s get started!
Materials Required:
To begin this drawing tutorial, you’ll need the following materials:
- Pencil
- Eraser
- Drawing paper
- Fine-tip pen or marker (optional)
Make sure you have these materials handy before you start drawing, as they will greatly aid you in creating an accurate and detailed representation of an acorn.
Step 1: Sketch the Outline
Start by lightly sketching an oval shape for the body of the acorn. This will serve as a guide for the overall shape of the acorn. Keep the lines faint at this stage, as they will be erased later.
Step 2: Draw the Cap
Above the oval shape, draw a slightly curved line that represents the cap of the acorn. The cap should be larger than the oval shape, with a slightly wavy outline to depict its natural texture.
Step 3: Refine the Acorn Shape
Using the initial oval shape as a guide, refine the outline of the acorn by following its contours. Make the bottom part of the acorn slightly narrower than the top, creating a tapered effect.
Step 4: Add Texture to the Cap
To make the cap of the acorn appear more realistic, add some texture to it. Draw short, curved lines across the surface of the cap, following its shape. These lines should be evenly spaced and should radiate from the top center of the cap, creating a sense of depth and detail.
Step 5: Include the Acorn’s Tip
At the top of the acorn, draw a small, pointed tip. This will complete the overall shape of the acorn and add a finishing touch to your drawing.
Step 6: Refine the Details
Take a closer look at your drawing and refine any areas that need improvement. This is the point where you can erase any unnecessary guidelines and adjust the shapes and lines to create a more polished representation of an acorn.
Step 7: Add Shadows and Shading
Now that you have the basic outline of the acorn, it’s time to add some depth and dimension to your drawing. Decide on the direction of the light source and add shadows accordingly. Use hatching or cross-hatching techniques to create shading, making sure to vary the pressure of your pencil to achieve different depths of darkness.
Step 8: Ink or Outline Your Drawing (Optional)
Once you are satisfied with your pencil drawing, you can choose to outline it with a fine-tip pen or marker. This step is optional but can add a bold and defined look to your artwork.
Step 9: Erase the Guidelines
Carefully go over your drawing and erase any remaining pencil guidelines. Take your time during this step to avoid accidentally erasing any important lines or details.
Step 10: Final Touches
To emphasize the texture of the acorn cap, you can add extra lines or dots to further enhance the detail. Additionally, you can use a blending tool or your fingers to smudge and soften the shading, creating a more realistic appearance.
Congratulations! You have successfully drawn an acorn. Remember that practice makes perfect, so keep drawing and experimenting with different techniques to further refine your skills.
Conclusion
In conclusion, drawing an acorn can be an enjoyable and rewarding artistic exercise. By following these step-by-step instructions, you can capture the unique shape and texture of an acorn with ease. Remember to start with a light sketch, refine the details, add shadows and shading, and make any necessary adjustments along the way. With practice, you’ll be able to create stunning representations of nature’s beauty.
So grab your pencils and start exploring the world of drawing acorns today!
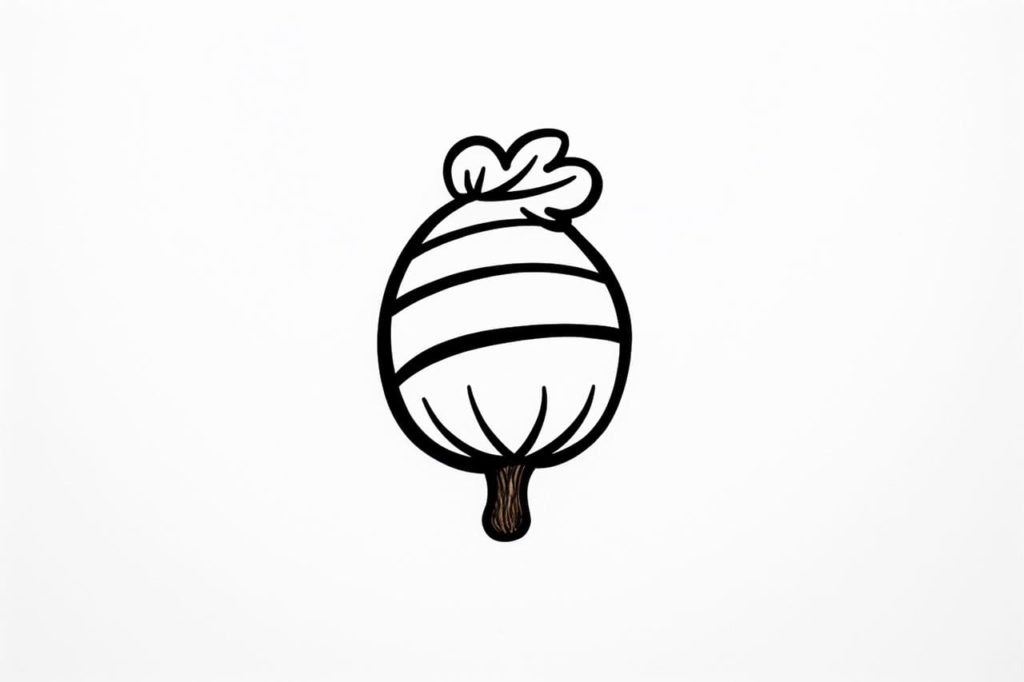
Gallery of Acorn Drawings
Fun Facts About Acorns
- Acorns are the nuts of oak trees, and there are about 600 species of oaks growing worldwide.
- An acorn contains one seed surrounded by a tough shell and a cupule or cap that attaches it to the branch.
- It can take between 6 to 24 months for an acorn to fully mature after pollination, depending on the species.
- Acorns are rich in nutrients, including protein, carbohydrates, and fats, and have been used as food by humans and animals for centuries.
- Squirrels play a crucial role in oak forest regeneration by storing acorns in the ground, many of which germinate into new trees.
- Historically, some cultures have used acorns as a coffee substitute once roasted and ground.
- The tannins found in acorns are bitter and can be leached out by soaking them in water, making them more palatable for consumption.
- Acorns are celebrated in folklore and are often considered symbols of strength and potential.
- Dye can be made from acorns, producing earthy tones perfect for natural fiber projects.
- In some traditions, carrying an acorn is thought to promote longevity and attract good luck.
Suggestions for Scenes and Settings for Acorn Drawings
- Woodland Gathering: Illustrate a scene of acorns scattered beneath the shade of an old oak tree, surrounded by fallen leaves and forest creatures.
- Microcosm Village: Imagine a tiny village built using acorns as houses with moss roofs and twig pathways.
- Squirrel Feast: Draw playful squirrels clutching acorns, storing them in their cheeks, and hiding them in various nooks.
- Fall Breeze: Show a blustery autumn day where acorns tumble from branches, dancing through the air with colorful leaves.
- Nostalgic Picnic: Create a whimsical picnic scene where insects enjoy miniature foods on acorn-cap plates and leaf tables.
- Acorn Rocket: Depict an acorn transformed into a space shuttle launching from a backyard into the night sky.
- Mystical Portal: Draw an enchanted acorn acting as a gateway to a magical realm, glowing softly under moonlight.
- Acorn Treasure Hunt: Illustrate a children’s adventure with a map, searching for giant acorns hidden in a magical forest.
- Seasonal Cycle: Portray the life cycle of an acorn, from its time hanging on the tree to its journey underground, sprouting into a sapling.
- Fantasy Forest Dwellers: Design creatures that live in and around giant acorns, perhaps using them as boats or rafts along a stream.
Related posts:
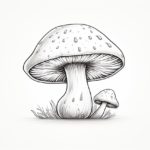 How to Draw a Mushroom in 7 Simple Steps
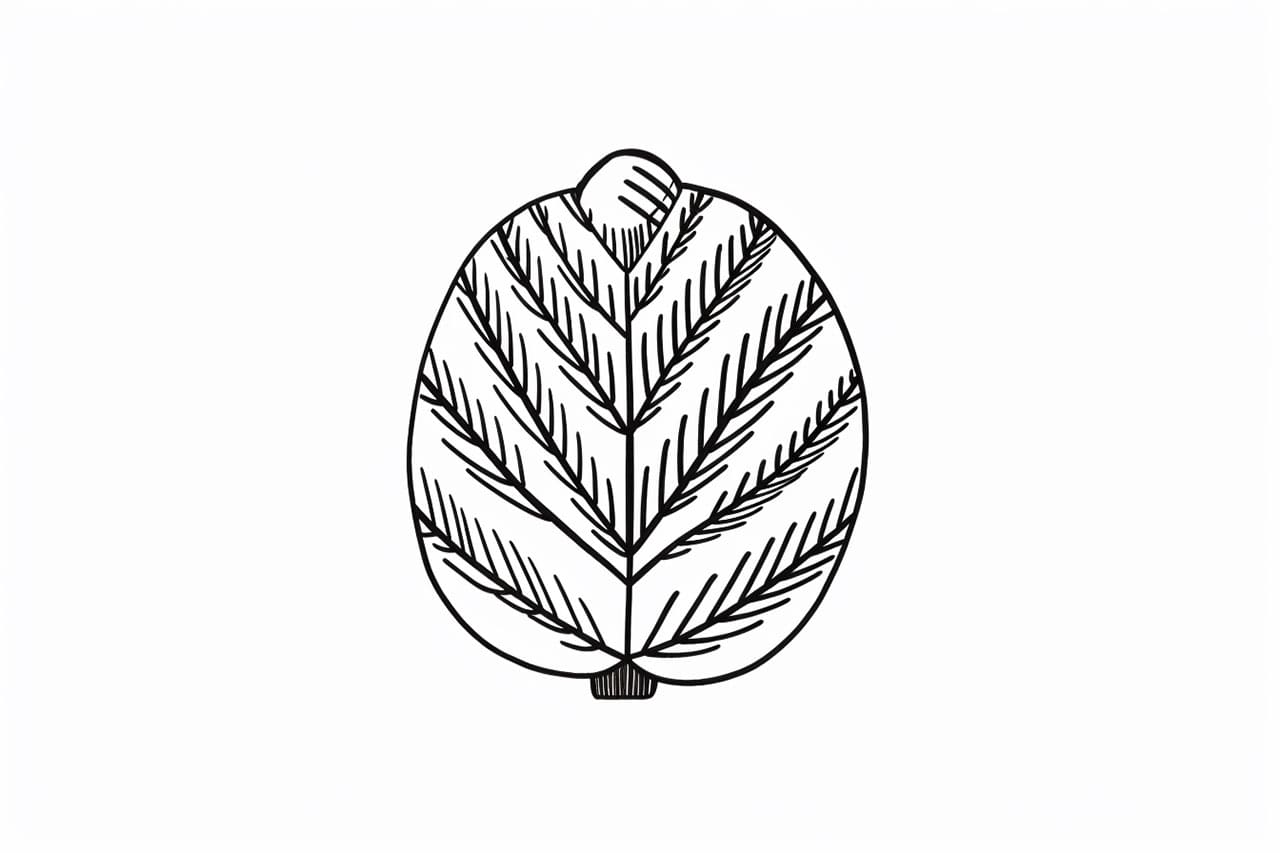
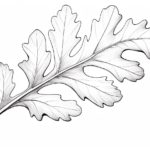 How to Draw an Oak Leaf in 8 Easy Steps
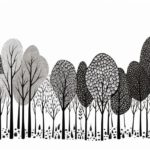 How to Draw a Forest in 6 Simple Steps
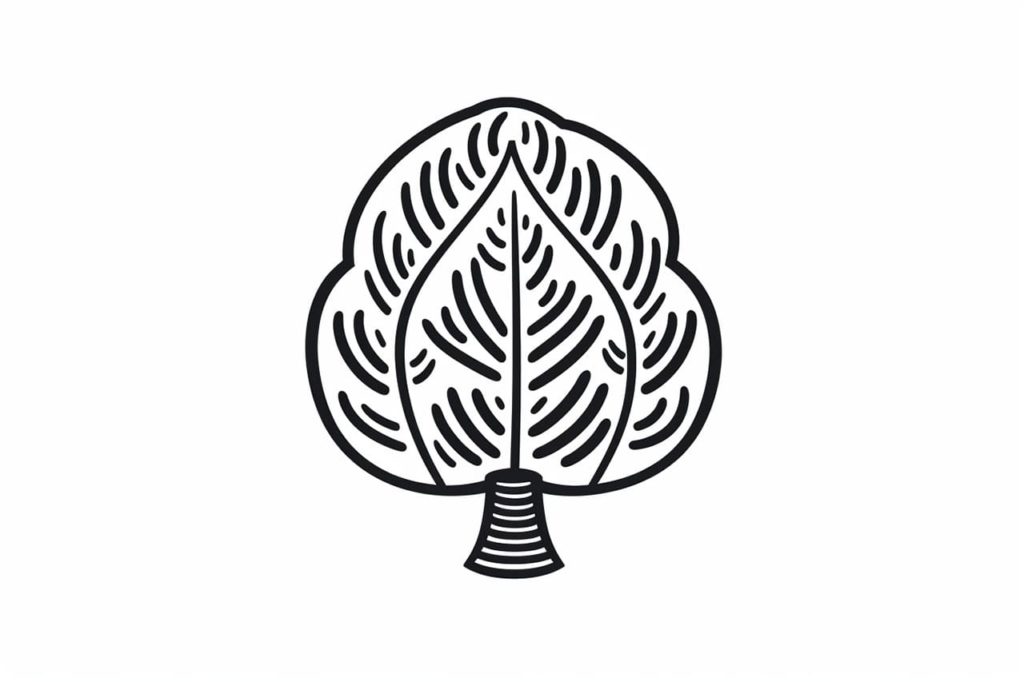
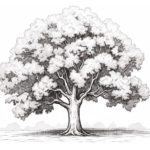 How to Draw an Oak Tree in 9 Simple Steps
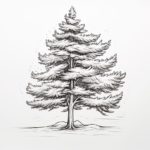
 How to Draw a Pine Tree in 8 Easy Steps
 How to Draw Tree Branches in 9 Easy Steps
 How to Draw a Sunflower in 10 Simple Steps
 How to Draw an Evergreen Tree