How to Draw a Dump Truck

How to Draw a Dump Truck logo

Creating art can be a rewarding and enjoyable experience, whether you’re picking up a pencil for the first time or refining your skills as a seasoned artist. In this guide, we’ll take you through the process of drawing a dump truck, a sturdy and detailed vehicle that offers a fantastic subject for artistic exploration. From the basic shapes to the final details, our step-by-step instructions will help you achieve a realistic rendition of this iconic construction vehicle.

As you embark on this artistic journey, remember that the key to a successful drawing lies in patience and practice. You don’t have to be a master artist to create something impressive; all it takes is a willingness to learn and enjoy the process. Gather your materials, including pencils, erasers, and paper, and prepare to discover the simple yet effective techniques that will transform your vision into reality.

So, are you ready to rev up your creativity? Let’s dive in and start sketching that dump truck, bringing to life the intricate lines and forms that make it a unique vehicle in the world of construction. Grab your supplies and get comfortable—your journey to becoming a skilled truck artist starts now!

Materials Required:

  • Drawing paper or sketchbook
  • Pencils (HB, 2B, 4B, and 6B)
  • Erasers (kneaded eraser and regular eraser)
  • Pencil sharpener
  • Ruler
  • Reference image of a dump truck (you can find one online or use a toy/model)
  • Optional: Colored pencils or markers for adding color to your drawing

Step 1: Reference Image

Before we begin, it’s essential to have a reference image of a dump truck. This will help guide us in terms of proportions, details, and overall shape. You can choose any dump truck image you like, making sure it’s clear and easy to see the different parts.

Step 2: Basic Shapes

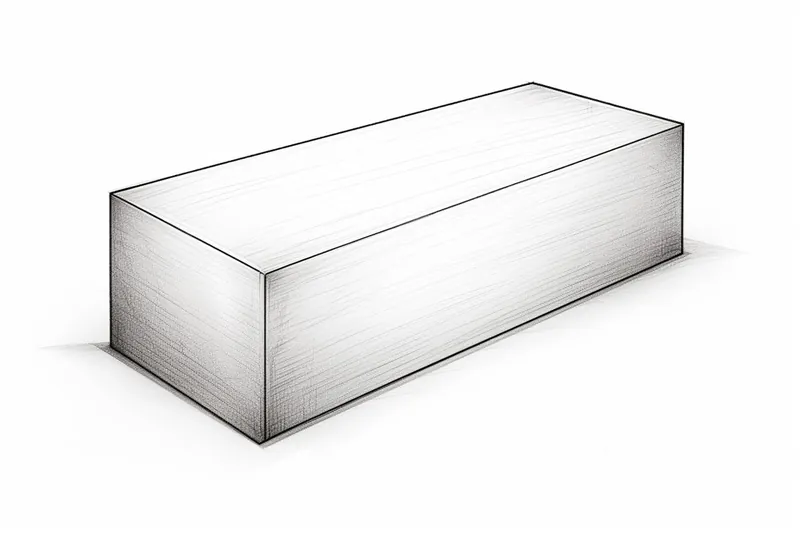
Start by drawing a large rectangle in the center of your paper. This will be the main body of the dump truck. Use light, loose lines to create the rectangle, as we’ll be refining it later on. Next, draw a smaller rectangle on top of the larger one, slightly towards the front. This will represent the driver’s cabin.

Step 3: Wheels and Chassis

Divide the large rectangle into two parts vertically, creating the front and back sections of the dump truck. Then, sketch two smaller rectangles on either side of the larger rectangle, towards the bottom. These will be the wheels. Make sure they are evenly spaced and aligned with the body of the truck. Connect the wheels to the main body using lines to create the chassis.

Step 4: Front Details

Let’s focus on the front section of the dump truck now. Using the reference image, draw the headlights on either side of the cab by adding two circles. Then, draw a curved line above the headlights to represent the grille. Add smaller details like the bumper, windshield, and side mirrors. Take your time with these details and use light, gentle lines.

Step 5: Side and Rear Windows

Draw the side window of the driver’s cabin using a rectangle shape that connects to the front windshield. Extend a line from the side window to create the rear window. Make sure the proportions are accurate by comparing it to the reference image. Add smaller details like door handles and side mirrors.

Step 6: Dump Bed

Moving on to the back of the dump truck, draw a rectangular shape on top of the rear wheels. This will be the dump bed. Add smaller details like handles or latches on the sides of the dump bed. You can also include any other details you see in the reference image, such as hydraulic cylinders or hinges.

Step 7: Final Details

Now that the basic structure of the dump truck is complete, it’s time to add more details. Use your reference image to draw any additional elements, such as logos, vents, or text on the truck’s body. Pay attention to the small details that will make your drawing more realistic and accurate.

Step 8: Shading and Textures

Take your darker pencils (4B or 6B) and start adding shading to your drawing. Use light, even strokes to create a smooth transition between light and shadowed areas. Pay attention to the curves and contours of the truck’s body to add depth and dimension. You can also add textures like tire treads or metal surfaces using short, directional lines.

Step 9: Erasing and Final Touches

Now that you’ve added shading and textures, take a step back and assess your drawing. Use your erasers to lighten any areas that are too dark or to create highlights. Clean up any stray marks or smudges, and make sure all the lines are crisp and defined. Take your time during this stage to achieve the desired look for your dump truck drawing.

Conclusion

Congratulations! You’ve successfully completed a detailed drawing of a dump truck. By following these step-by-step instructions and using a reference image, you’ve learned how to create a realistic and accurate representation. Remember to practice regularly, and don’t be afraid to experiment with different styles or colors. Drawing is a skill that improves with time and effort. Enjoy your newfound ability to draw dump trucks!