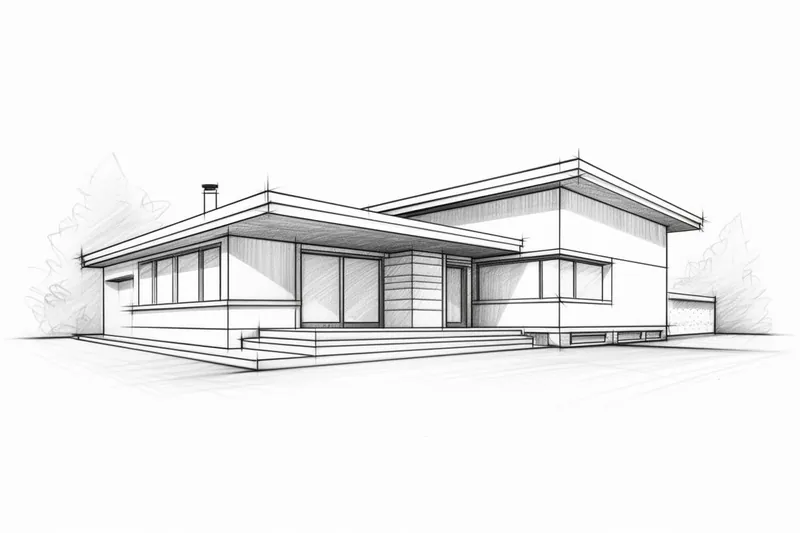
How to Draw a 3D House
Learn how to draw a 3D house with this step-by-step guide. Enhance your artistic skills by following expert instructions and create a visually captivating piece of art.
Materials You'll Need
- Pencil
- Paper
- Eraser
Drawing a 3D house is an exciting and educational project that allows artists to explore the fundamentals of perspective, depth, and structure in their work. Houses are classic subjects in art because they combine geometric shapes with creative elements like windows, doors, and roofs, making them perfect for practicing technical drawing skills. Learning how to draw a 3d house not only improves your ability to render objects realistically but also boosts your understanding of spatial relationships and proportion, which are essential for any aspiring artist.
This tutorial is designed for artists with a basic understanding of drawing who want to advance their skills by tackling three-dimensional forms. You will learn how to use perspective lines and shading techniques to transform a flat sketch into a convincing 3D image. Through step-by-step instructions, you'll gain confidence in using tools such as rulers and pencils of different hardness to create clean lines and subtle shadows. Whether you're drawing for fun or building foundational skills for architectural or illustrative work, this project is a fantastic way to challenge yourself and see tangible progress.
So, if you're ready to enhance your artistic repertoire and enjoy the satisfaction of bringing your drawings to life, this guide on how to draw a 3d house is the perfect place to start. With patience and practice, you'll soon be able to create detailed and realistic structures that stand out on the page. Grab your materials, set up your workspace, and let's embark on this creative journey together!
Materials Required
Before getting started, you will need the following materials:
- Drawing paper or sketchbook
- Pencils (preferably a range of H and B grades)
- Eraser
- Ruler
- Compass
- Protractor
- Colored pencils or markers (optional)
With these materials in hand, you're ready to begin your 3D house drawing.
Step 1: Start with the Foundation
Begin by drawing a horizontal line near the bottom of your paper to represent the ground. This line will act as the foundation for your house. Make sure it is straight and extends across the entire width of the paper.
Step 2: Draw the Base Shape
Next, draw a rectangle on top of the foundation line to create the base of the house. Use your ruler to ensure that the lines are straight and the angles are accurate. This rectangle will serve as the starting point for adding depth to your drawing.
Step 3: Add Depth to the Walls
To make the walls of the house appear three-dimensional, add depth by drawing two vertical lines from each corner of the base rectangle. These lines should be parallel to each other and extend upwards to the desired height of the house. It's important to maintain consistent spacing between the lines for a realistic effect.
Step 4: Define the Roof
Now it's time to add a roof to your house. Draw a triangle on top of the walls, connecting all the upper ends. The angle of the roof depends on your preference—experiment with different angles to find the look you like best. Make sure the roof aligns properly with the walls and appears balanced.
Step 5: Add Windows and Doors
To bring life to your house, add windows and doors. You can choose any style you like, whether it's a traditional rectangular window or a unique shape of your own design. Remember to consider the perspective and angle of your drawing to ensure the windows and doors look proportional.
Step 6: Incorporate Details and Features
Tip: As you work through your 3D house drawing, consider using reference images of real houses to better understand the proportions, details, and textures that can enhance your artwork. Observing different architectural styles and elements can inspire creativity and help you make informed choices about the design features and shading techniques, ultimately leading to a more realistic and visually appealing drawing.
Now it's time to add the finer details that will make your house drawing more realistic. Think about elements such as chimneys, balconies, or decorative features. These small touches will add depth and character to your 3D house. Take your time with this step and pay attention to the overall composition.
Step 7: Finalize the Outlines
Once you are satisfied with the overall structure and details of your house, it's time to finalize the outlines. Go over your drawing with a darker pencil or pen, refining the lines and erasing any unnecessary guidelines or rough sketches. This will help emphasize the three-dimensional effect of your house.
Step 8: Add Shadows and Shading
To further enhance the three-dimensional aspect of your drawing, add shadows and shading. Determine the direction of the light source and use a lighter pencil or a blending tool to create shading on the sides of the house opposite the light source. This will make your house appear more realistic and add depth to the overall composition.
Step 9: Color Your House (Optional)
If you want to add a pop of color to your drawing, now is the time to do so. Use colored pencils or markers to bring your house to life. Think about the materials your house is made of and how they might appear when colored. Experiment with different color combinations to find the one that suits your vision.
Conclusion
Drawing a 3D house allows you to explore your artistic skills and create a visually captivating piece of art. By following these step-by-step instructions and using the suggested materials, you'll be able to bring your house to life on paper. Remember to take your time, practice, and have fun throughout the process. Happy drawing!
Fun Facts About 3D Houses
- Drawing a 3D house helps artists understand perspective and depth, essential skills for realistic art.
- Houses combine simple geometric shapes, making them ideal for practicing three-dimensional drawing techniques.
- Using rulers and pencils of varying hardness improves line precision and shading in 3D house drawings, as explained by Art Is Fun.
- Adding shadows and shading to a 3D house drawing enhances the illusion of volume and light direction, a technique detailed by Artists Network.
- Learning to draw 3D houses builds foundational skills useful in architectural illustration and design.
- Experimenting with roof angles in 3D house drawings teaches how different perspectives affect the overall composition, as noted by Draw Paint Academy.
- Incorporating details like windows and doors in 3D house sketches improves spatial awareness and proportion understanding, according to Artists Network.
- Coloring a 3D house drawing can simulate different materials and textures, enhancing realism, as described by Color Matters.
Suggestions for Scenes and Settings for 3D House Drawings
- A cozy cottage nestled in a lush forest clearing, surrounded by tall trees and blooming flowers.
- A modern minimalist house with large glass windows overlooking a serene lake at sunset.
- An urban townhouse on a bustling city street, featuring brick walls and wrought iron balconies.
- A quaint beachside bungalow with a thatched roof and palm trees swaying in the breeze.
- A futuristic floating house with sleek, curved surfaces and solar panels on the roof.
- A rustic mountain cabin with stone chimneys and snow-covered rooftops in a winter setting.
- A charming Victorian-style house with intricate woodwork and a colorful garden in full bloom.
- An eco-friendly treehouse perched high among the branches, with rope bridges and natural materials.
- A desert adobe home with rounded edges, surrounded by cacti and sandy terrain under a bright sky.
- A traditional Japanese-style house with sliding doors, paper lanterns, and a zen garden.