How to Draw a 3D Box
Learn how to draw a 3D box in this step-by-step guide. Follow these easy instructions to add depth and dimension to your artwork. Perfect for beginners and experienced artists alike.
Materials You'll Need
- Pencil
- Paper
- Eraser
Welcome to this comprehensive tutorial on how to draw a 3d box! Understanding how to draw a 3d box is a fundamental skill that opens the door to mastering perspective, shading, and spatial awareness in your artwork. A 3D box is one of the simplest yet most essential geometric forms, serving as the building block for more complex drawings such as buildings, furniture, and various objects. Whether you are an aspiring artist just starting out or someone looking to refine your technical drawing skills, learning to create the illusion of depth and volume with a 3D box will greatly enhance your artistic abilities.Drawing a 3D box involves grasping basic principles of perspective, such as vanishing points and horizon lines, as well as understanding how light interacts with surfaces to suggest form. This tutorial breaks down these concepts into easy-to-follow steps, making it accessible for beginners while still providing valuable practice for more advanced artists. As you progress through this guide, you'll develop precision and confidence in your line work and shading techniques, which are crucial for rendering realistic and dynamic drawings.Embarking on this exercise is not only about drawing a simple shape but also about building foundational skills that can be applied across countless artistic projects. By the end of this tutorial, you will have a clear method to create the illusion of three-dimensionality on a flat surface, a skill that can dramatically improve your compositions and visual storytelling. So grab your pencil and ruler, and let's dive into the rewarding process of how to draw a 3d box with clarity and confidence!
Materials Required
Before we begin, let's gather the materials you will need to draw a 3D box. Don't worry, these materials are simple and readily available:
- A piece of paper
- A pencil
- A ruler
- An eraser
Now that you have your materials ready, let's dive into the step-by-step process of drawing a 3D box.
Step 1: Draw a Square
Start by drawing a square in the center of your paper. Use your ruler to create four straight lines that are equal in length and connect at right angles. This square will serve as the base of your 3D box.
Step 2: Add Depth to the Base
To give the base of your 3D box some depth, draw two diagonal lines from each corner of the square towards the center. These lines should intersect at the center point of the square. These lines will create the illusion of the box receding into space.
Step 3: Connect the Corners
Next, draw vertical lines from each corner of the square to the points where the diagonal lines intersect. These lines will connect the base of the box to the vanishing point, further enhancing the illusion of depth.
Step 4: Draw the Top and Bottom Faces
To complete the 3D box, draw two parallel lines above the square and connect them with horizontal lines on each side. These lines will form the top face of the box. Repeat the same process below the square to create the bottom face of the box. Ensure that the lines are parallel and equal in length to maintain the box's perspective.
Step 5: Add Details
Now that you have the basic structure of the box, you can add some details to make it more realistic. For instance, you can draw a line across the width of the top face to create a lid-like effect. You can also add shading to give the box a three-dimensional appearance. Experiment with different shading techniques to see what works best for you.
Step 6: Erase Unnecessary Lines
Once you are satisfied with the final structure of your 3D box, go ahead and erase any unnecessary lines that you don't need. This will help clean up your drawing and make it look more polished.
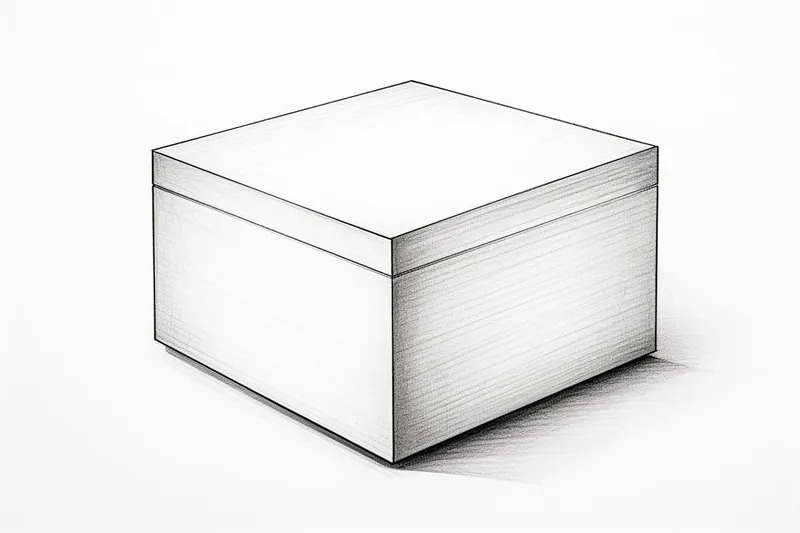
Conclusion
Congratulations! You have successfully learned how to draw a 3D box. By following these simple and easy-to-follow steps, you can now add depth and dimension to your artwork. Remember to practice regularly to improve your skills. Have fun experimenting with different shapes, sizes, and shading techniques. Drawing 3D boxes is just the beginning of your artistic journey. So keep exploring and creating amazing artworks!
Tip: As you practice drawing your 3D box, pay close attention to the light source and how it affects the shading on your box; this will help you create a more realistic appearance. Experiment with different shading techniques, such as hatching or cross-hatching, to enhance the illusion of depth and dimension, making your box stand out on the page.
Fun Facts About 3D Box
- The 3D box is a fundamental shape in art that helps artists understand perspective drawing and spatial relationships.
- Mastering the 3D box is often the first step toward drawing complex objects like buildings and furniture, as explained by Drawspace.
- Using vanishing points and horizon lines to draw a 3D box teaches the basics of 3D geometry and depth perception.
- Shading a 3D box helps artists learn how light interacts with surfaces, a key skill for creating realistic shading.
- The 3D box is a common exercise in art education because it builds confidence in line work and precision, as noted by Art Instruction Blog.
- Drawing a 3D box on a flat surface creates the illusion of volume, demonstrating the power of perspective techniques in visual storytelling.
- Artists use 3D boxes as building blocks to construct more complex forms, making it a versatile tool in constructive drawing.
- Practicing 3D boxes improves hand-eye coordination and helps develop a better understanding of spatial awareness, according to Creative Bloq.
Suggestions for Scenes and Settings for 3D Box Drawings
- A stack of vintage wooden crates arranged in a rustic warehouse setting
- A futuristic cityscape with buildings composed of transparent 3D boxes
- A collection of gift boxes wrapped with ribbons on a festive holiday table
- A geometric art installation featuring interlocking and floating 3D boxes
- A set of toolboxes and storage containers in a well-organized garage
- A surreal scene where boxes transform into animals or objects through shading
- A still life with a 3D box as a pedestal holding a delicate glass sculpture
- A classroom drawing board showing various 3D box perspectives and vanishing points
- A minimalist interior design sketch with furniture pieces shaped as 3D boxes
- A nature-inspired scene with 3D boxes camouflaged as rocks or tree trunks