How to Draw an Anime Girl in 8 Simple Steps
Learn how to draw an Anime Girl with this step-by-step guide. This article provides easy-to-follow instructions and helpful tips for creating your own anime character. Discover the techniques and tools you need to bring your artwork to life in the distinctive style of anime.
Materials You'll Need
- Drawing pencils (2H, HB, 2B, 4B)
- Blending stumps
- Eraser (kneaded and vinyl)
- Drawing paper
- Reference images

Drawing anime girls is an incredibly fun and engaging way to channel your artistic skills into the colorful world of anime. These characters, with their large, expressive eyes and dynamic poses, are a staple of anime's charm and represent one of the most beloved aspects of Japanese pop culture. As you embark on this creative journey, you'll discover a fantastic playground for storytelling and self-expression through art.
Why anime girls are fascinating to draw: Their distinctive features - from impossibly large, sparkly eyes to gravity-defying hair - challenge traditional proportions while creating characters that are instantly recognizable and emotionally compelling. The anime style allows for incredible creative freedom, letting you explore everything from subtle emotions to dramatic expressions that would look out of place in realistic art.
This guide is designed to walk you through the essentials of capturing the unique expressions and elegant movements that define anime girls. Whether you're refining your technique or just starting out with a sketchpad, you'll find that learning how to draw an anime girl is not just an artistic endeavor—it's a chance to explore new aspects of your creativity and connect with a global artistic community.
Materials You'll Need
Essential Materials (Required)
- Drawing pencils: 2H (for light construction lines), HB (for general sketching), 2B and 4B (for shading and dark lines)
- Quality drawing paper: Smooth Bristol board or heavy sketch paper (at least 140gsm)
- Kneaded eraser: For gentle corrections and highlights
- Vinyl eraser: For clean line removal
- Blending stumps: For smooth shading transitions
- Reference images: Photos of anime characters from different angles
Optional Materials (Recommended)
- Mechanical pencil (0.5mm): For fine details and precise lines
- White gel pen: For adding sparkles and highlights to eyes
- Ruler: For maintaining proper proportions
- Circle template: For perfectly round eye shapes
- Colored pencils: For adding color to your finished piece
- Fixative spray: To preserve your completed drawing
- Drawing gloves: To prevent smudging while working
- Light box or window: For tracing and refining sketches
Pro Tip
Start with just the essential materials if you're a beginner. You can always add more specialized tools as your skills develop and you discover your preferred techniques.
Understanding Anime Girl Anatomy
Before diving into the step-by-step process, it's crucial to understand what makes anime girls distinctive from realistic human proportions and other art styles.
Facial Proportions and Features
Eyes - The Soul of Anime:
- Size: Anime eyes are typically 2-3 times larger than realistic proportions
- Placement: Positioned lower on the face, often below the horizontal halfway point
- Shape: Varies from perfectly round to elegant ovals, depending on character personality
- Details: Include multiple highlight reflections, detailed eyelashes, and often colored irises
Facial Structure:
- Head shape: More rounded and youthful than realistic proportions
- Chin: Typically pointed or softly rounded, creating a heart or oval face shape
- Nose: Minimal detail - often just a small line, dot, or gentle shadow
- Mouth: Small and expressive, ranging from tiny dots to gentle curves
Body Proportions
Height Ratios:
- Head-to-body ratio: 6-7 heads tall (compared to 8 heads for realistic adults)
- Torso: Slightly longer than realistic proportions
- Limbs: Often elongated and graceful, especially arms and legs
- Shoulders: Narrower than realistic, creating a more delicate silhouette
Hair Characteristics
Anime Hair Physics:
- Volume: Significantly more voluminous than realistic hair
- Movement: Flows dramatically, often defying gravity
- Texture: Simplified into distinct chunks or strands rather than individual hairs
- Styling: Can be impossibly elaborate with multiple colors and accessories
Pro Tip
Remember that anime style prioritizes emotional expression and visual appeal over anatomical accuracy. Don't be afraid to exaggerate features that convey personality.
How to Draw an Anime Girl: Step-by-Step Guide
Step 1: Start with Basic Shapes
Begin your anime girl drawing by establishing the fundamental framework that will guide your entire piece.
Creating the Head Foundation
Start with a circle for the main part of the head. This circle represents the cranium and will help you maintain proper proportions throughout the drawing process.
Pro Tip
Use light, confident strokes when drawing your initial shapes. These construction lines should be barely visible - you can always darken them later.
Establishing the Body Framework
- Draw an oval for the torso, making it approximately 1.5 times the height of the head circle
- Add smaller circles at joint locations (shoulders, elbows, hips, knees)
- Connect these shapes with simple lines to represent the limbs
- Keep everything loose and geometric at this stage
Planning the Pose
Consider the overall pose and mood you want to convey:
- Standing poses: Distribute weight naturally, with one hip slightly raised
- Action poses: Use dynamic angles and curved lines to show movement
- Sitting poses: Pay attention to how fabric and body parts interact
Step 2: Define the Proportions
Now refine your basic framework to create more accurate anime-style proportions.
Refining the Head Shape
- Add the jawline: Extend down from the circle to create the characteristic pointed chin
- Mark facial guidelines: Draw a vertical center line and horizontal lines for eye and mouth placement
- Establish the neck: Make it slender - about 1/3 the width of the head
Body Proportion Adjustments
- Waist definition: Narrow the torso at the waist point
- Hip placement: Position hips slightly wider than the waist but narrower than shoulders
- Limb length: Ensure arms reach mid-thigh when extended, legs are about 3.5 head lengths
Checking Your Framework
Step back and evaluate:
- Does the figure look balanced?
- Are the proportions consistent with anime style?
- Does the pose convey the intended mood?
Pro Tip
Use the "flip test" - look at your drawing in a mirror or flip your paper. This reveals proportion issues that your eye might miss when looking at it normally.
Step 3: Add Facial Features
The face is where your anime girl's personality truly comes to life. Take your time with this crucial step.
Drawing the Eyes
Eye Placement:
- Position the eyes on or slightly below the horizontal guideline you drew earlier
- Leave approximately one eye-width of space between the two eyes
Pro Tip
Anime eyes are often positioned lower on the face than realistic proportions suggest.
Eye Construction:
- Basic shape: Start with an almond or oval shape, making it larger than realistic proportions
- Upper eyelid: Make this line thicker and more pronounced
- Lower eyelid: Keep this line lighter and more subtle
- Iris and pupil: Fill about 2/3 of the eye space
- Highlights: Add 2-3 highlight spots of varying sizes
Nose and Mouth
- Nose: Keep it minimal - a small line, gentle shadow, or simple dot
- Mouth: Position it about halfway between the nose and chin
- Start with a small horizontal line, then add subtle curves for expression
Eyebrows and Expression
- Eyebrow shape: Should complement the eye shape and character personality
- Thickness: Generally thinner than realistic proportions
- Position: Slightly above the eye, following its curve
Pro Tip
The eyes carry most of the emotional weight in anime art. Spend extra time getting them right - they should be symmetrical, expressive, and properly aligned.
Step 4: Detail the Hair
Anime hair is one of the most distinctive and creative aspects of the style. It's your chance to add personality and flair to your character.
Planning the Hairstyle
Before you start drawing, consider:
- Character personality: Shy characters might have hair covering part of their face, confident characters might have bold, swept-back styles
- Hair length: Short, medium, or long - each presents different challenges and opportunities
- Complexity: Start simpler if you're a beginner, add complexity as you improve
Hair Construction Process
Step 1: Hair Volume
- Draw the hairline around the head, extending beyond the skull shape
- Anime hair has significantly more volume than realistic hair
- Think of the hair as a solid mass first, then add details
Step 2: Major Hair Masses
- Break the hair into large sections or chunks
- Each section should have its own flow and direction
- Use curved lines to show the hair's movement and weight
Step 3: Adding Texture and Detail
- Add individual strands sparingly - suggest detail rather than drawing every hair
- Include flyaway strands for a more natural, less rigid appearance
- Consider hair accessories like clips, ribbons, or headbands
Different Hairstyle Approaches
- Straight hair: Use flowing, parallel lines with minimal wave
- Curly hair: Create spiral shapes and varied textures
- Spiky hair: Use angular, geometric shapes pointing in different directions
- Braided hair: Show the weaving pattern with overlapping sections
Pro Tip
Hair should frame the face and complement the overall design. Don't let complex hairstyles overwhelm the character's facial features.
Step 5: Refine the Clothing
Clothing in anime serves both practical and aesthetic purposes, helping to define character personality and the world they inhabit.
Clothing Planning
Consider these factors:
- Character background: School uniform, fantasy outfit, modern casual wear?
- Fabric properties: How does the material behave - is it stiff, flowing, tight, or loose?
- Style consistency: Ensure the clothing matches your anime style choice
Drawing Fabric and Folds
Understanding Fabric Behavior:
- Gravity effects: Fabric hangs downward unless supported
- Compression folds: Occur where fabric bunches (elbows, knees, waist)
- Tension points: Areas where fabric stretches (across shoulders, chest)
Pro Tip
Study how real fabric behaves, then stylize it for anime. Anime clothing often has cleaner, more simplified fold patterns than realistic fabric.
Common Clothing Elements
- School uniforms: Crisp lines, minimal wrinkles, structured appearance
- Flowing dresses: Emphasize graceful curves and movement
- Casual wear: More relaxed fit with natural-looking wrinkles
- Fantasy outfits: Can break realistic rules for dramatic effect
Step 6: Finalize the Details
This step involves adding all the small elements that bring your character to life and create visual interest.
Facial Details Enhancement
- Eyelash definition: Make upper lashes more prominent than lower
- Eye reflections: Add multiple highlights of varying sizes
- Lip definition: Subtle shading or a gentle highlight on the lower lip
- Facial shadows: Add soft shadows under the chin, around the eyes, and beside the nose
Clothing and Accessory Details
- Buttons, zippers, pockets: Add these functional elements where appropriate
- Fabric texture: Suggest different materials through line quality and shading
- Jewelry and accessories: Hair clips, earrings, necklaces, or other personal items
- Pattern details: Stripes, plaids, or decorative elements on clothing
Environmental Integration
Consider adding subtle details that suggest the environment:
- Hair movement: Suggesting wind or motion
- Clothing interaction: How the character interacts with their environment
- Shadow suggestions: Where the character might cast shadows
Pro Tip
Details should enhance, not overwhelm. Every detail should serve a purpose - either conveying character information or improving the overall composition.
Step 7: Add Shadows and Highlights
Proper lighting transforms a flat drawing into a dimensional, living character. This step requires understanding both light behavior and anime stylization.
Understanding Light Sources
Planning Your Lighting:
- Primary light source: Usually from above and slightly in front
- Secondary lights: Fill lights that prevent areas from becoming too dark
- Ambient lighting: The general illumination of the environment
Shadow Application Techniques
Face Shading:
- Under the chin: Creates separation between head and neck
- Eye sockets: Subtle shadows that don't overpower the eye details
- Nose shadow: Usually minimal in anime style
- Cheek modeling: Gentle shadows that maintain the youthful appearance
Body and Clothing Shadows:
- Form shadows: Follow the 3D structure of the body
- Cast shadows: Where one part casts shadow onto another
- Fabric shadows: In fold recesses and where clothing overlaps
Highlight Application
Strategic Highlight Placement:
- Hair shine: Along the top surfaces where light hits
- Skin highlights: Forehead, nose tip, cheekbones (subtle in anime)
- Eye sparkles: Multiple highlights of varying sizes and intensities
- Clothing highlights: On raised fabric areas and smooth surfaces
Pro Tip
In anime style, shadows tend to be softer and less dramatic than realistic rendering. Focus on maintaining the character's appeal while adding dimension.
Step 8: Final Touches
The final step is where you polish your drawing and make those crucial last adjustments that elevate your work from good to exceptional.
Line Quality Refinement
Line Weight Variation:
- Outline weight: Thicker lines for the exterior silhouette
- Detail lines: Thinner lines for facial features and clothing details
- Interior lines: Medium weight for major form divisions
Line Cleanup:
- Erase construction lines: Remove or significantly lighten your initial framework
- Strengthen final lines: Go over your final lines with confidence
- Smooth connections: Ensure all line connections are clean and intentional
Final Detail Assessment
Critical Evaluation:
- Symmetry check: Are the eyes level? Is the face balanced?
- Proportion verification: Do all elements work together harmoniously?
- Expression consistency: Does the entire drawing support the intended mood?
Last-Minute Enhancements
- Contrast adjustment: Ensure sufficient contrast between light and dark areas
- Detail balance: Add or subtract details to achieve visual balance
- Signature and dating: Don't forget to sign your completed artwork
Pro Tip
Step away from your drawing for a few minutes before this final review. Fresh eyes often catch things you missed while working closely on the piece.
Final Touches: Darkening Lines and Polishing
Once your basic drawing is complete, it's time to give it that professional, finished look that makes anime art so appealing.
Line Weight Hierarchy
Establishing Visual Priority:
- Heaviest lines: Outer silhouette and major shape divisions
- Medium lines: Internal features like clothing seams and hair sections
- Light lines: Surface details and subtle texture suggestions
- Lightest lines: Construction guides that are barely visible
Erasing Construction Lines
Selective Line Removal:
- Completely erase: Guidelines that serve no purpose in the final image
- Lighten significantly: Construction lines that help maintain structure
- Keep intact: Any construction lines that add to the finished appearance
Adding Depth Through Contrast
Strategic Darkening:
- Shadow areas: Deepen shadows to create more dramatic lighting
- Hair interior: Add depth within hair masses
- Clothing recesses: Darken areas where fabric folds inward
- Under-eye area: Subtle darkening to create eye socket depth
Pro Tip
Use a kneaded eraser to lift graphite and create soft highlights, especially in hair and on reflective surfaces.
Pro Tips for Success
Technical Drawing Tips
Construction and Proportion:
- Use the head as a measuring unit: Measure everything else in relation to the head size
- Draw from the shoulder down: This creates more natural, flowing poses
- Check angles frequently: Use your pencil as a measuring tool to check angles and proportions
- Work light to dark: Build up your values gradually rather than starting with dark lines
Observation and Practice Guidelines
Study Real Anime:
- Analyze professional work: Study how professional anime artists handle proportions, expressions, and details
- Screenshot analysis: Pause anime at different expressions and study the techniques used
- Style comparison: Compare different anime styles to understand the range of possibilities
- Character design patterns: Notice how certain character types are consistently portrayed
Practice Recommendations
Structured Practice Sessions:
- Daily gesture drawings: Quick 5-10 minute anime character sketches
- Feature focus: Dedicate entire sessions to just eyes, just hair, or just poses
- Style exploration: Try copying different anime art styles to expand your vocabulary
- Original character development: Create your own characters to apply what you've learned
Progressive Skill Building:
- Start simple: Master basic proportions before attempting complex poses
- Add one element at a time: Don't try to learn everything simultaneously
- Seek feedback: Join online communities where you can get constructive criticism
- Document progress: Keep a sketchbook to track your improvement over time
Pro Tip: The key to mastering anime art is understanding that it's a stylization of reality, not a replacement for understanding basic drawing fundamentals. Study both anime and realistic art to become a more versatile artist.
Common Mistakes to Avoid
Learning to draw anime girls effectively means understanding and avoiding these frequent pitfalls:
1. Proportion Problems
The Mistake: Making the head too small or too large in relation to the body, or creating limbs that don't match the chosen anime style. The Fix: Always establish your head size first and use it as a measuring unit for everything else. Remember that anime proportions are 6-7 heads tall, not the 8-head realistic standard.
2. Symmetry Issues with Eyes
The Mistake: Drawing eyes that don't match in size, angle, or placement, creating an unintentionally cockeyed appearance. The Fix: Draw guidelines across the face and check that both eyes sit on the same horizontal line. Use the "flip test" - look at your drawing in a mirror to spot asymmetry immediately.
3. Overcomplicating Facial Features
The Mistake: Adding too much detail to noses, making mouths too large, or creating realistic shading that conflicts with the anime style. The Fix: Keep anime features simple and stylized. The nose should be minimal, the mouth small, and shading should be clean and graphic rather than realistic.
4. Stiff, Lifeless Hair
The Mistake: Drawing hair that looks like a helmet, with no volume, movement, or natural flow. The Fix: Think of hair as having weight and movement. Draw the overall shape first, then add flowing lines that follow the direction of hair growth and gravity.
5. Flat, Expressionless Eyes
The Mistake: Creating eyes that lack depth, emotion, or the characteristic anime sparkle. The Fix: Add multiple highlights, ensure proper iris-to-eye ratio, and include subtle shading around the eye socket. The eyes should be the most detailed part of your drawing.
6. Ignoring Clothing Physics
The Mistake: Drawing clothes that don't follow the body's form or fabric behavior, creating a paper-doll effect. The Fix: Understand basic fabric behavior and how clothing interacts with body movement. Even stylized anime clothing should suggest the figure underneath.
7. Inconsistent Style Choices
The Mistake: Mixing realistic elements with anime elements in ways that don't work together, creating visual confusion. The Fix: Commit to your chosen anime style throughout the entire drawing. If you're going cute and simplified, keep everything in that style family.
8. Rushing the Foundation
The Mistake: Jumping straight to details without establishing proper construction and proportions first. The Fix: Always start with basic shapes and proportions. Build your drawing systematically from general to specific. A strong foundation makes everything else easier.
Pro Tip: Keep reference images of professional anime art nearby while you draw. When in doubt about a proportion or detail, check how professional artists handle similar elements.
Understanding Anime Girl Anatomy (Advanced)
Facial Expression Fundamentals
Eye Expressions: Different eye shapes convey distinct personalities and emotions:
- Large, round eyes: Innocent, young, optimistic characters
- Narrow, angular eyes: Serious, mature, or mysterious personalities
- Droopy eyes: Sleepy, sad, or gentle characters
- Sharp, pointed eyes: Fierce, determined, or aggressive types
Mouth and Expression Coordination:
- Small mouth positions: Work best with subtle emotional expressions
- Mouth size variation: Can change based on emotion - surprise makes mouths larger, sadness makes them smaller
- Lip detail level: More detailed lips suggest older or more mature characters
Body Language and Posing
Stance and Personality:
- Straight, confident posture: Strong, leader-type characters
- Slouched or relaxed poses: Casual, approachable personalities
- Delicate, graceful positioning: Elegant, refined characters
- Dynamic action poses: Energetic, adventurous types
Hand and Arm Positioning:
- Hands behind back: Shy or modest characters
- Arms crossed: Defensive, stubborn, or confident personalities
- Gesturing hands: Expressive, outgoing characters
- Hands hidden in sleeves: Cute, child-like characters
Advanced Techniques
Dynamic Pose Construction
Planning Movement: When creating action poses, consider the line of action - an imaginary line that flows through the character's body showing the main direction of movement or energy. This line should create an appealing curve that guides the viewer's eye through the composition.
Weight Distribution: Even in stylized anime art, understanding weight distribution creates more believable poses:
- Standing: Weight typically favors one leg, creating a natural hip tilt
- Walking: Shows weight transfer from one foot to the other
- Running: Demonstrates forward momentum through body lean and arm position
Advanced Facial Features
Eye Variation Techniques:
- Heterochromia: Different colored eyes for unique character design
- Detailed iris patterns: Intricate designs within the eye for special characters
- Eye shape personality matching: Coordinate eye shape with character traits for visual storytelling
- Emotional eye states: How eyes change shape during different emotions
Perspective and Foreshortening
Basic Perspective for Anime:
- Three-quarter view: The most common and flattering angle for anime characters
- Profile challenges: Maintaining anime proportions when viewed from the side
- Upward angles: Creating dramatic poses with characters viewed from below
- Downward angles: Showing characters from above while maintaining appeal
Different Styles and Versions
Anime art encompasses numerous sub-styles, each with its own characteristics and appeal. Understanding these variations will expand your artistic vocabulary.
Traditional Anime Styles
Shojo Style (少女):
- Target audience: Primarily young girls and women
- Characteristics: Large, sparkly eyes, delicate features, flowing hair, soft lines
- Color palette: Pastels, flowers, and romantic imagery
- Emotional focus: Relationships, personal growth, emotional expression
Shonen Style (少年):
- Target audience: Young boys and teenagers
- Characteristics: More angular features, dynamic action poses, determined expressions
- Line quality: Bolder, more confident strokes
- Focus areas: Strength, adventure, friendship themes
Seinen Style (青年):
- Target audience: Adult men
- Characteristics: More realistic proportions, complex shading, mature themes
- Detail level: Higher detail in backgrounds and character design
- Tone: Often more serious or sophisticated
Josei Style (女性):
- Target audience: Adult women
- Characteristics: Realistic proportions with anime sensibilities, sophisticated color schemes
- Focus: Complex relationships, career themes, realistic emotional situations
- Art style: Balance between realistic and stylized elements
Specialized Anime Sub-Styles
Chibi Style:
- Proportions: 2-3 heads tall, oversized heads with tiny bodies
- Features: Extremely simplified, emphasizing cuteness over realism
- Usage: Comedy, merchandise, expressing emotions in a cute way
- Techniques: Minimal detail, focus on essential character elements
Moe Style (萌え):
- Focus: Extreme cuteness designed to evoke protective feelings
- Features: Very large eyes, small noses, soft rounded features
- Color approach: Bright, saturated colors with high contrast
- Character traits: Often includes cat-ears, large ribbons, school uniforms
Kawaii Style:
- Philosophy: "Cute culture" taken to artistic extremes
- Elements: Hearts, stars, pastel colors, rounded shapes throughout
- Character design: Everything designed to maximize "cute" appeal
- Cultural significance: Represents Japanese aesthetic values around innocence and charm
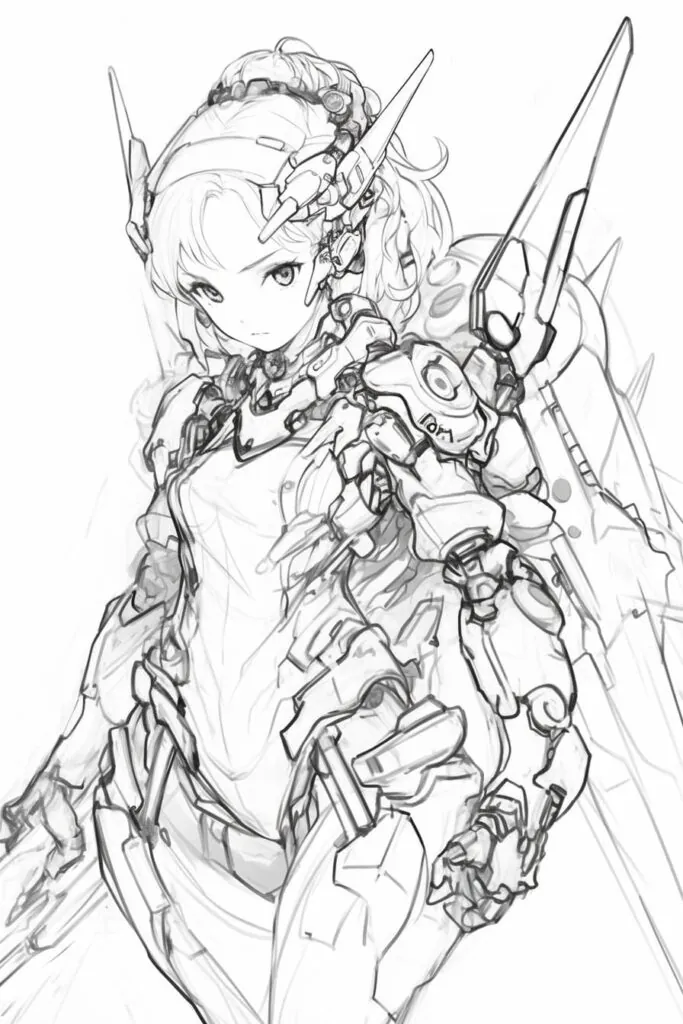
Contemporary Style Variations
Mecha-Style Character Design:
- Integration: Characters designed to complement mechanical/robot themes
- Features: More angular faces, technical clothing details, sharper lines
- Color schemes: Often incorporating metallic tones and technical elements
- Body language: Poses that suggest technological competence
Fantasy Anime Style:
- Elements: Incorporates magical or supernatural design elements
- Proportions: May exaggerate certain features for magical effect
- Accessories: Elaborate costumes, magical symbols, fantasy creatures
- Environmental integration: Characters designed to fit magical worlds
Pro Tip: Don't feel locked into one style. Many professional anime artists blend elements from multiple styles to create their unique artistic voice. Experiment with combining different approaches to find what works best for your artistic goals.
Suggestions for Scenes and Settings
The environment and setting you choose for your anime girl can dramatically enhance the story and emotional impact of your artwork. Here are expanded ideas for creating compelling scenes:
Fantasy and Magical Settings
Enchanted Forest Scene:
- Atmosphere: Dappled sunlight filtering through mystical trees, floating particles of light
- Character integration: Hair and clothing that responds to magical breezes, interaction with forest creatures
- Color palette: Deep greens with golden highlights, magical blue or purple accents
- Details to include: Glowing mushrooms, friendly forest spirits, ancient stone ruins covered in moss
Magical Academy Environment:
- Setting elements: Grand stone hallways, floating books, magical artifacts
- Character considerations: School uniform with magical modifications, spell-casting poses
- Lighting effects: Magical glows from crystals or spells, dramatic shadows from tall windows
- Interactive elements: Magic circles, floating quills, enchanted mirrors
Underwater Kingdom:
- Character adaptations: Flowing hair that moves as if underwater, mermaid tail or magical breathing apparatus
- Environmental details: Coral reefs, schools of colorful fish, ancient underwater architecture
- Lighting challenges: Filtered light from above creating dramatic light rays
- Special effects: Bubbles, bioluminescent creatures, swaying seaweed
Modern and Urban Settings
Cyberpunk Cityscape:
- Technology integration: Holographic displays, neon lighting, futuristic clothing with tech elements
- Character design: Cybernetic enhancements, high-tech accessories, dynamic poses suggesting movement
- Color approach: Neon blues, pinks, and purples against dark backgrounds
- Environmental storytelling: Flying vehicles, massive digital billboards, rain-slicked streets reflecting neon
Cozy Cafe Scene:
- Intimate atmosphere: Warm lighting, comfortable seating, steam from hot beverages
- Character interaction: Natural, relaxed poses, interaction with cafe environment
- Detail focus: Coffee cups, pastries, books, window views to outside world
- Emotional tone: Peaceful, contemplative, suggesting quiet moments and reflection
School Rooftop Setting:
- Classic anime location: City skyline in background, school building architecture
- Character opportunities: Wind effects on hair and clothing, contemplative or social poses
- Time variations: Sunset creates dramatic lighting, lunch time suggests social interaction
- Symbolic elements: Open sky suggesting freedom, elevation providing perspective
Historical and Cultural Settings
Traditional Japanese Garden:
- Cultural elements: Cherry blossoms, stone lanterns, koi ponds, wooden bridges
- Character considerations: Traditional kimono or modern clothes in traditional setting
- Seasonal opportunities: Spring blossoms, autumn leaves, winter snow, summer festivals
- Artistic techniques: Balance between character and environment, using negative space effectively
Victorian-Era Mansion:
- Architectural details: Ornate furniture, tall windows with heavy curtains, candlelit atmosphere
- Character adaptation: Period-appropriate clothing or modern character in historical setting
- Gothic elements: Dramatic shadows, mysterious atmosphere, rich textures and patterns
- Storytelling opportunities: Library scenes, ballroom settings, garden party environments
Adventure and Action Settings
Mountain Peak Adventure:
- Environmental challenges: Wind effects, dramatic sky, expansive landscape views
- Character design: Adventure gear, determined expressions, dynamic action poses
- Atmospheric effects: Clouds, changing weather, dramatic lighting from sky
- Composition opportunities: Using landscape to frame character, showing scale and grandeur
Space Station or Spacecraft:
- Futuristic elements: Control panels, viewing ports showing space, artificial gravity effects
- Character integration: Space suits or futuristic clothing, zero-gravity poses
- Lighting concepts: Artificial lighting, Earth or planet views through windows
- Technical details: Buttons, screens, mechanical elements that suggest advanced technology
Pro Tip: The setting should complement and enhance your character's personality and story. A shy character might feel more at home in a quiet library, while an adventurous character belongs in dynamic, challenging environments.
Fun Facts About Anime Girls
Understanding the cultural context and development of anime girl characters enriches your artistic practice and connects you with a global community of artists and fans.
Cultural and Artistic Origins
Historical Development:
- Early influences: Anime girl designs evolved from traditional Japanese art forms, particularly ukiyo-e prints and early manga from the 1940s and 1950s
- Osamu Tezuka's impact: The "God of Manga" established many visual conventions still used today, including the large eyes that became an anime trademark
- Post-war evolution: Anime girl designs reflected Japan's changing society, evolving from traditional to modern influences
Global Influence:
- International adoption: Anime art style has influenced artists worldwide, creating a global artistic language that crosses cultural boundaries
- Digital art revolution: Modern digital tools have allowed anime-style art to flourish on platforms like Pixiv, DeviantArt, and social media
- Professional integration: Many Western animation studios now incorporate anime-influenced design elements into their productions
Character Design Philosophy
Emotional Connection Principles:
- Neoteny in design: Anime girls often incorporate baby-like features (large eyes, small noses, rounded faces) that trigger protective and nurturing responses
- Exaggerated expressions: Facial expressions are amplified beyond realistic proportions to clearly communicate emotions across cultural and language barriers
- Symbolic color usage: Hair and eye colors often carry personality implications - red for fiery personalities, blue for calm types, pink for gentle characters
Archetypal Character Categories:
- Tsundere: Characters who appear hostile but are actually caring, often with sharp eyes and defensive poses
- Kuudere: Cool, aloof characters typically drawn with calm expressions and elegant postures
- Dandere: Shy characters often depicted with gentle eyes and modest body language
- Yandere: Obsessive characters whose sweet appearance can hide dangerous tendencies
Industry and Cultural Impact
Economic Influence:
- Merchandise revolution: Anime girl characters generate billions in revenue through figurines, clothing, accessories, and themed products
- Tourism impact: Popular anime characters attract international tourists to Japan, with specific locations featured in anime becoming pilgrimage sites
- Digital economy: Virtual anime girl characters (like Hatsune Miku) have created entirely new entertainment industries
Technological Innovation:
- 3D modeling advancement: Anime-style characters have pushed development in 3D animation software to recreate 2D aesthetics in three dimensions
- AI and digital art: Modern AI art tools are trained extensively on anime art, making this style one of the most accessible for digital artists
- Virtual reality integration: Anime characters are increasingly featured in VR experiences, requiring new approaches to character design and interaction
Contemporary Relevance
Modern Artistic Evolution:
- Style fusion: Contemporary artists blend traditional anime styles with realistic rendering, creating hybrid approaches that appeal to broader audiences
- Diverse representation: Modern anime girl designs increasingly incorporate diverse ethnicities, body types, and cultural backgrounds
- Independent creator empowerment: Digital platforms allow individual artists to create and monetize anime-style characters without traditional industry gatekeepers
Social Media and Community:
- Tutorial culture: Anime art tutorials are among the most popular drawing content online, creating a supportive learning community
- Challenge hashtags: Social media challenges like #sailormoonredraw demonstrate the global reach and community engagement around anime art
- Collaborative projects: Online communities regularly organize collaborative anime art projects, fostering international artistic cooperation
Pro Tip: Understanding the cultural context behind anime art styles makes you a more informed and respectful artist. This knowledge also helps you make intentional design choices that resonate with your intended audience.
Frequently Asked Questions
What's the difference between drawing anime girls and realistic girls?
Proportion Differences: Anime girls typically have larger eyes (taking up about 1/4 of the face), smaller noses and mouths, and more youthful proportions overall. The head-to-body ratio is usually 6-7 heads tall instead of the realistic 8 heads. Stylization Focus: Anime prioritizes emotional expression and visual appeal over anatomical accuracy, allowing for more creative freedom in features like hair physics and eye designs.
How do I make my anime girl drawings look more professional?
Line Quality Control: Use varied line weights - thicker lines for outlines and thinner lines for details. Keep your lines confident and smooth rather than sketchy. Consistent Style Choices: Maintain the same level of detail and stylization throughout the entire drawing. Don't mix realistic shading with simplified anime features. Reference Professional Work: Study how professional anime artists handle proportions, expressions, and details. Practice copying their techniques before developing your own style.
What's the best way to practice drawing anime eyes?
Start with Basic Shapes: Practice drawing perfect circles and ovals before adding details. Study Different Eye Types: Each anime style has different eye approaches - shoujo eyes are different from seinen eyes. Focus on Symmetry: Draw guidelines to ensure both eyes are level and evenly spaced. Layer Your Details: Build up eyes from basic shape to iris, pupil, highlights, and finally eyelashes and eyebrows.
How can I make my anime girl's hair look more dynamic?
Understand Hair Physics: Hair has weight and responds to gravity and movement. Even stylized anime hair should suggest these forces. Draw Hair in Chunks: Think of hair as large masses rather than individual strands. Add Flowing Lines: Use curved lines that follow the direction of hair growth and movement. Vary Your Line Weight: Thicker lines for the hair's outer edge, thinner lines for internal details and texture.
What are the most common mistakes beginners make?
Rushing the Foundation: Jumping to details before establishing proper proportions and construction. Always start with basic shapes. Making Eyes Too Small: Anime eyes should be significantly larger than realistic proportions - don't be afraid to exaggerate. Stiff Poses: Avoid perfectly straight, symmetrical poses. Add subtle curves and weight shifts to create more natural-looking stances. Inconsistent Style: Mixing different anime styles or realistic elements in ways that don't work together.
How do I choose the right anime style for my drawing?
Consider Your Purpose: Are you creating a character for a specific story genre? Shoujo style works for romance, while shounen style fits action stories. Match Your Skill Level: Some styles require more complex techniques. Start with simpler approaches and work up to more detailed styles. Study Multiple Styles: Look at different anime series and manga to understand the range of possibilities. Experiment Freely: Try copying different styles to see which feels most natural for your artistic voice.
What's the best way to add color to anime girl drawings?
Start with Base Colors: Establish your main color scheme before adding details or shading. Use Anime Color Logic: Hair and eye colors can be unrealistic - pink, blue, and green are perfectly acceptable. Keep Shading Simple: Anime coloring typically uses clean, graphic shadows rather than realistic gradients. Consider Color Psychology: Colors can reinforce character personality - warm colors for energetic characters, cool colors for calm types.
Pro Tip: Don't be afraid to ask for feedback from online communities. The anime art community is generally supportive and helpful to beginners who are genuinely trying to improve their skills.
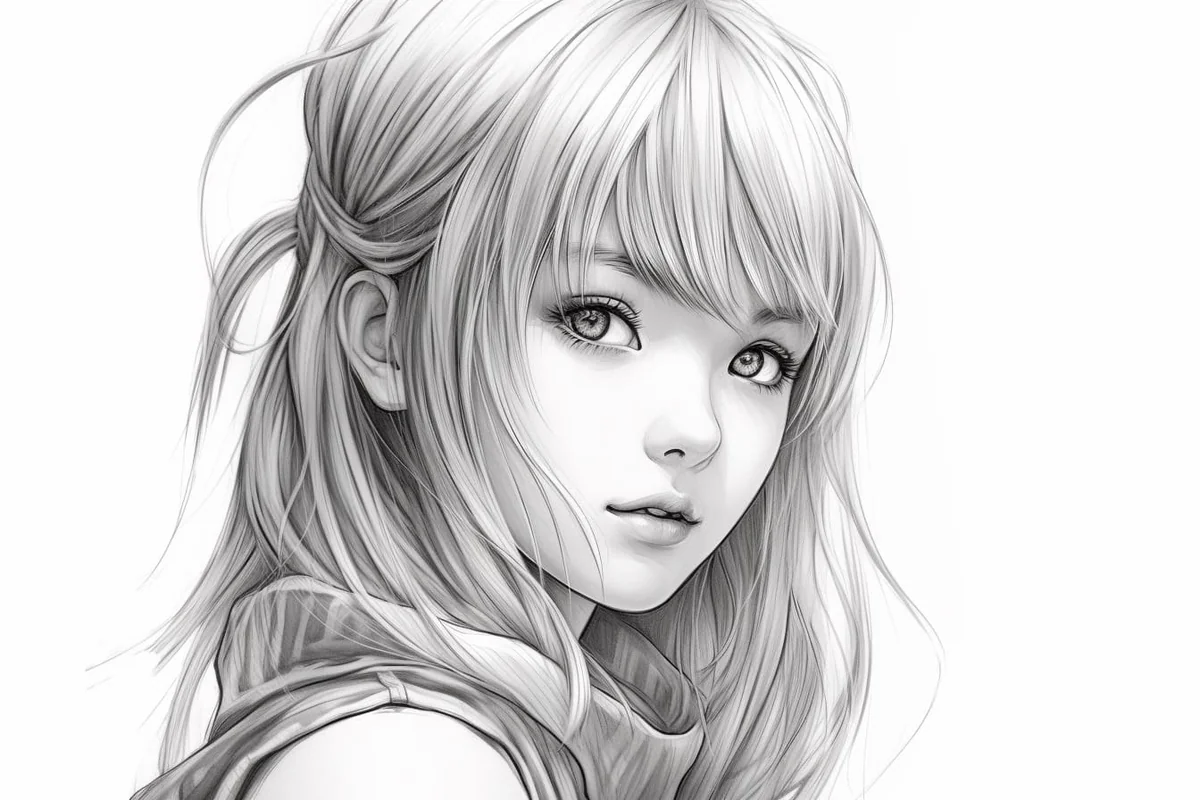
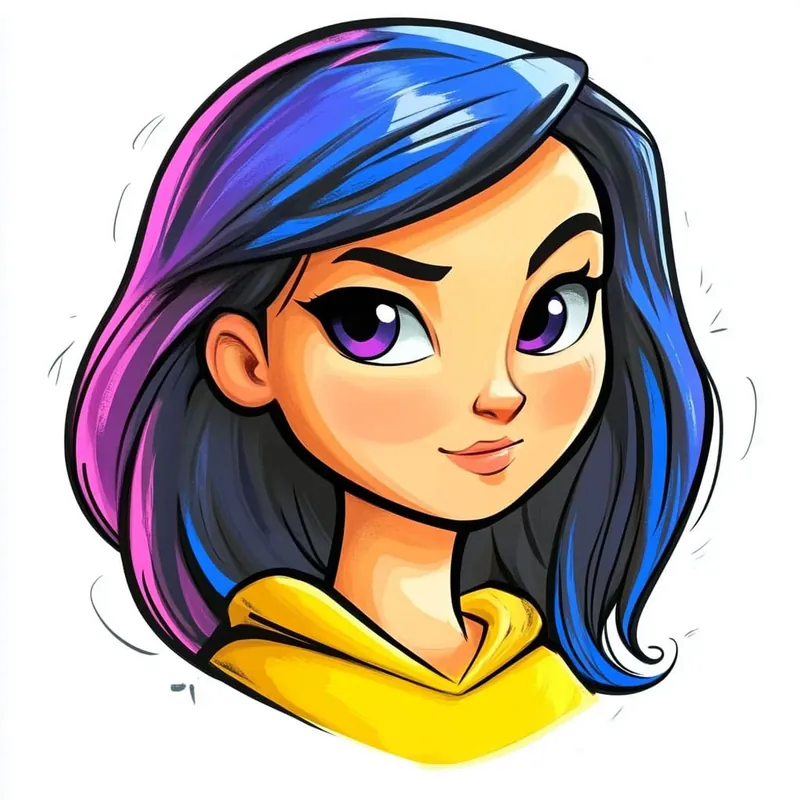
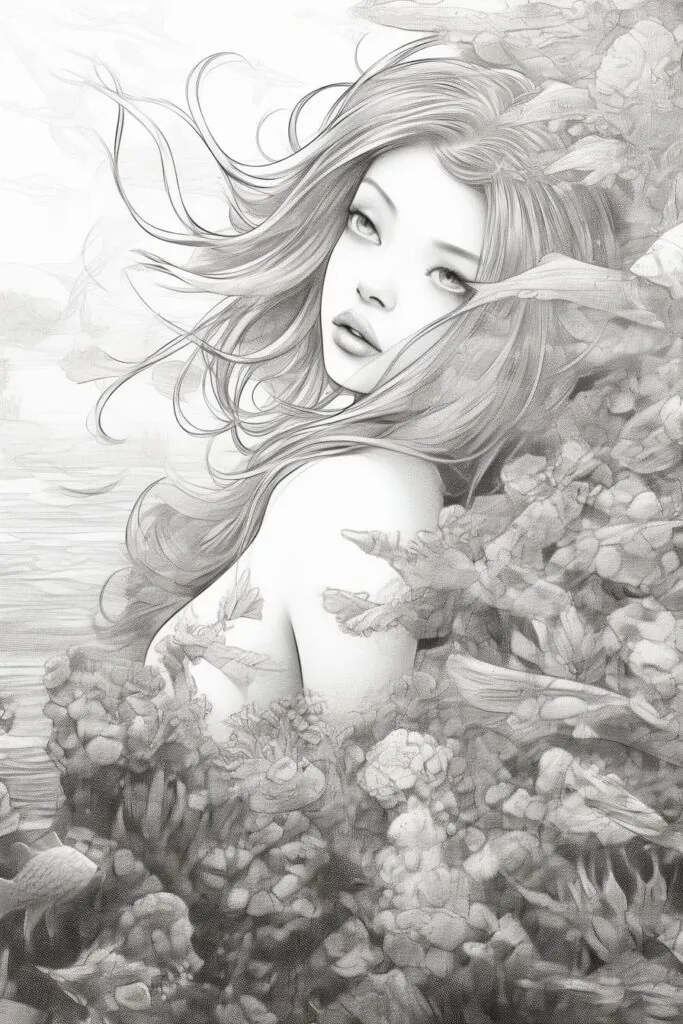
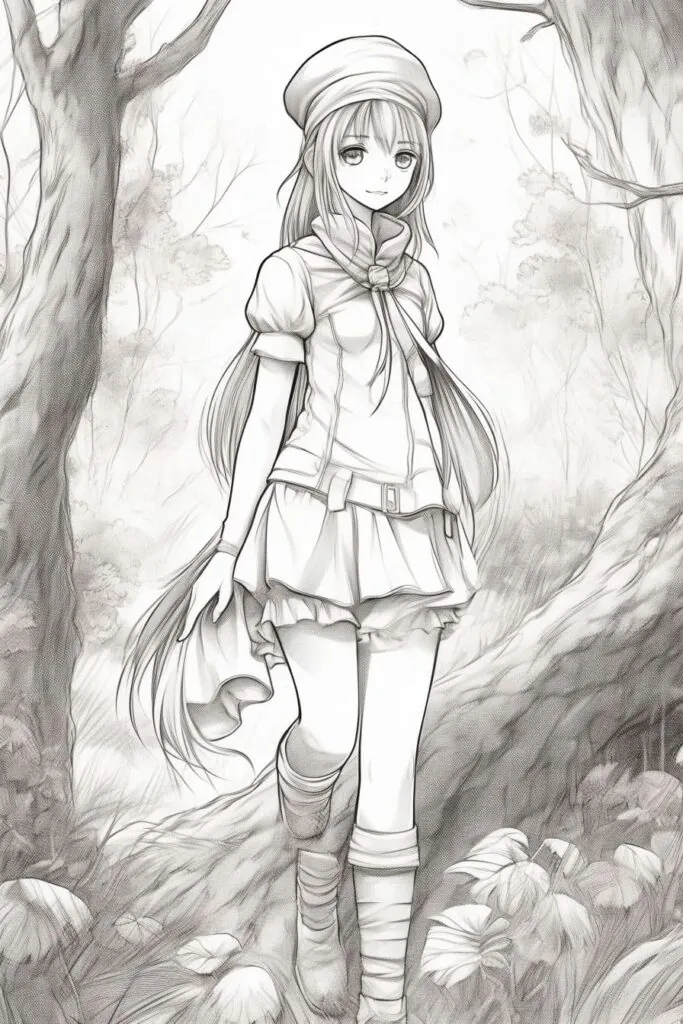
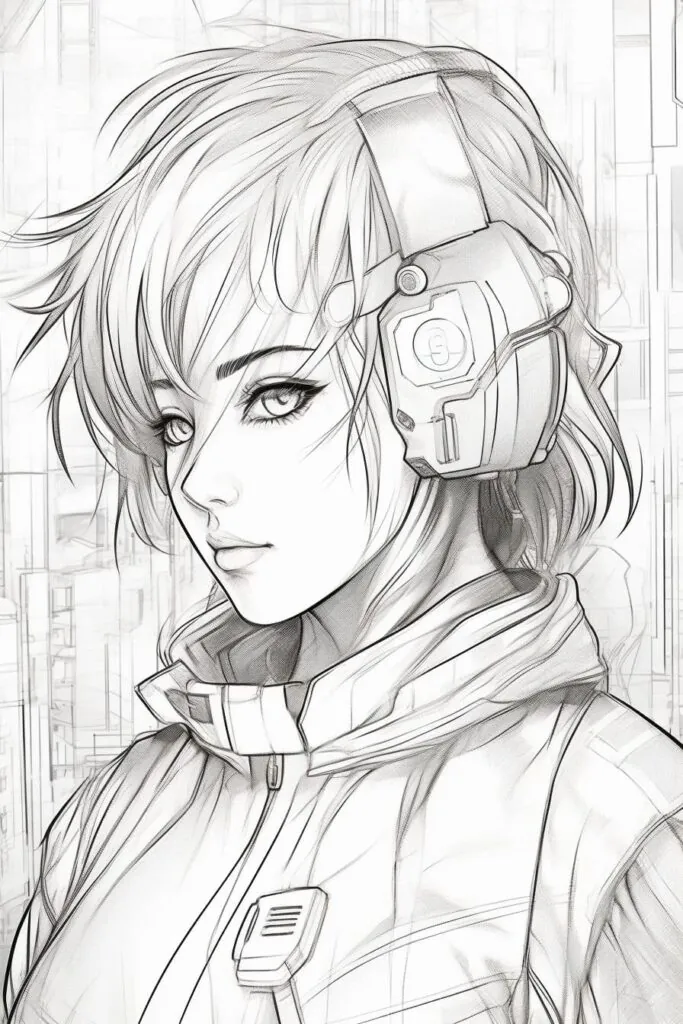
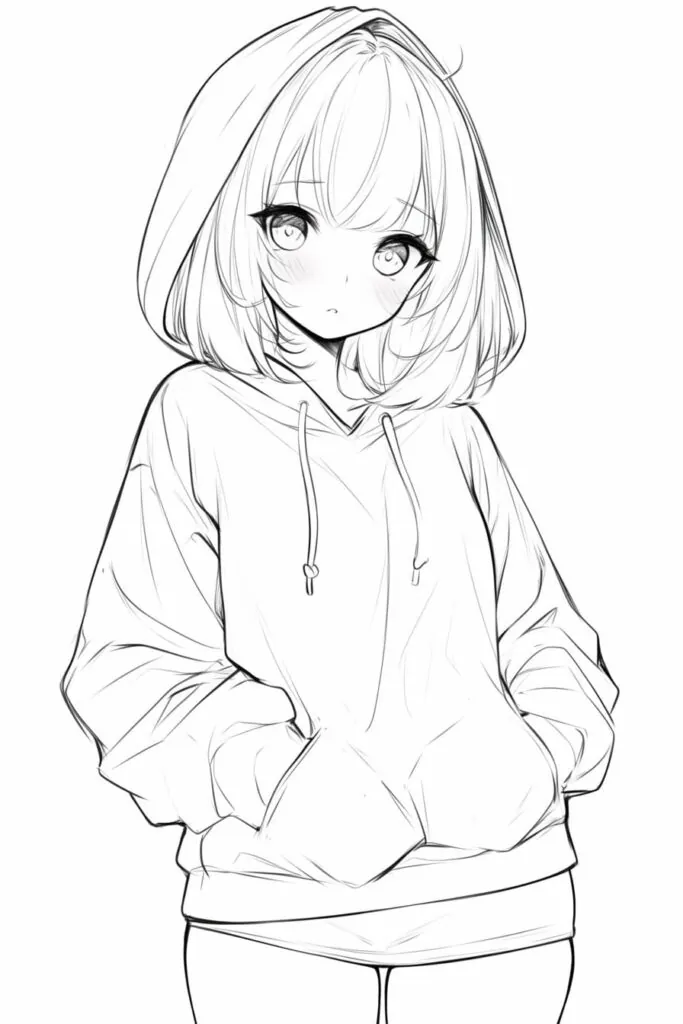
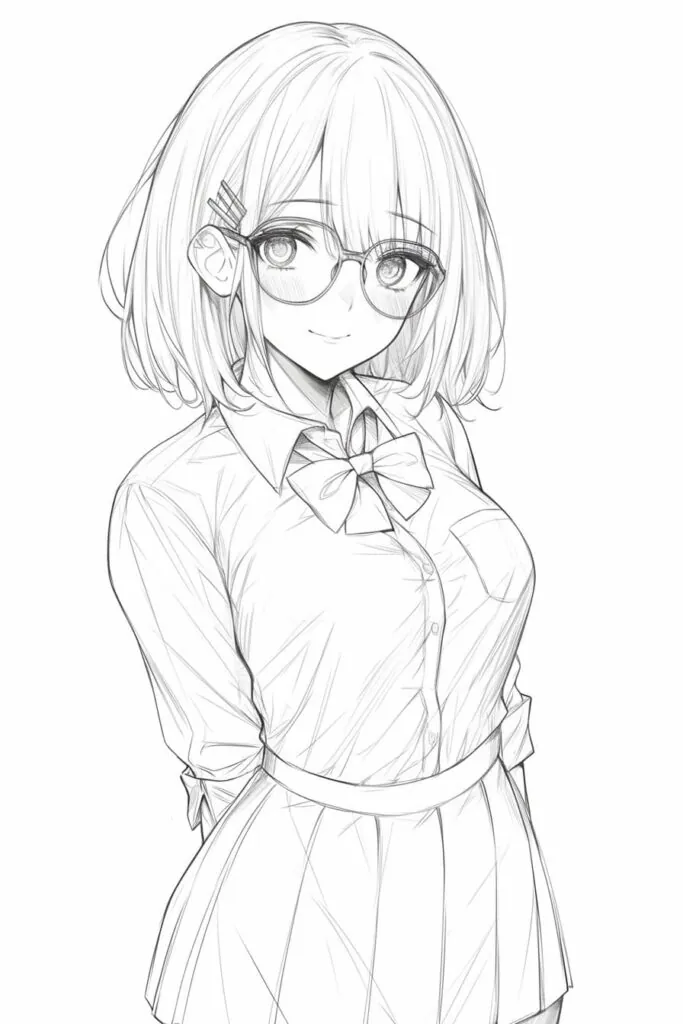
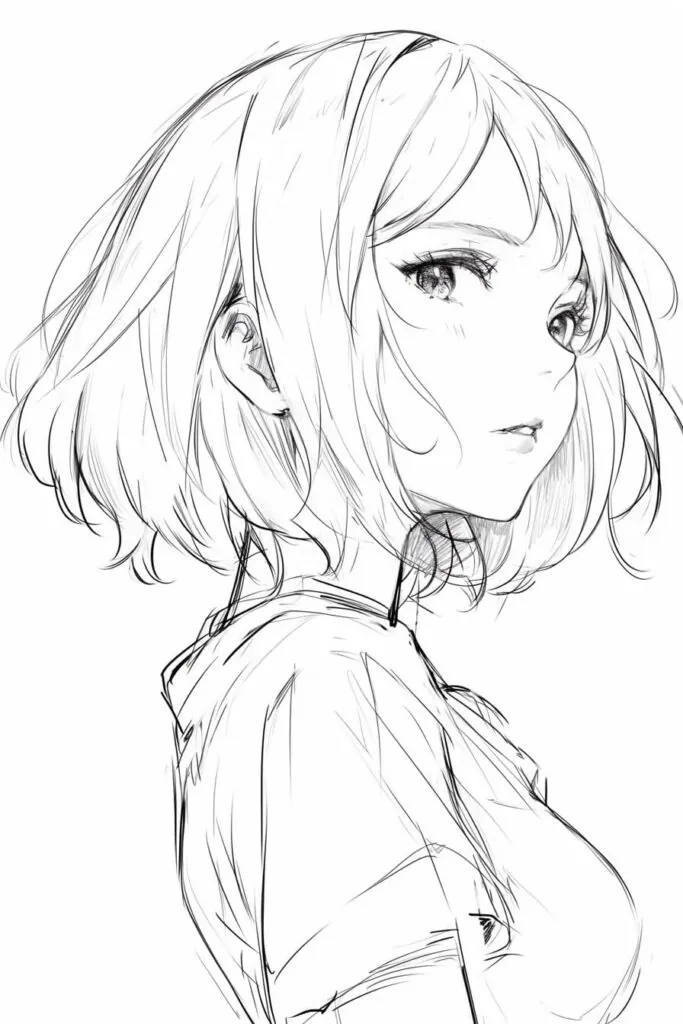
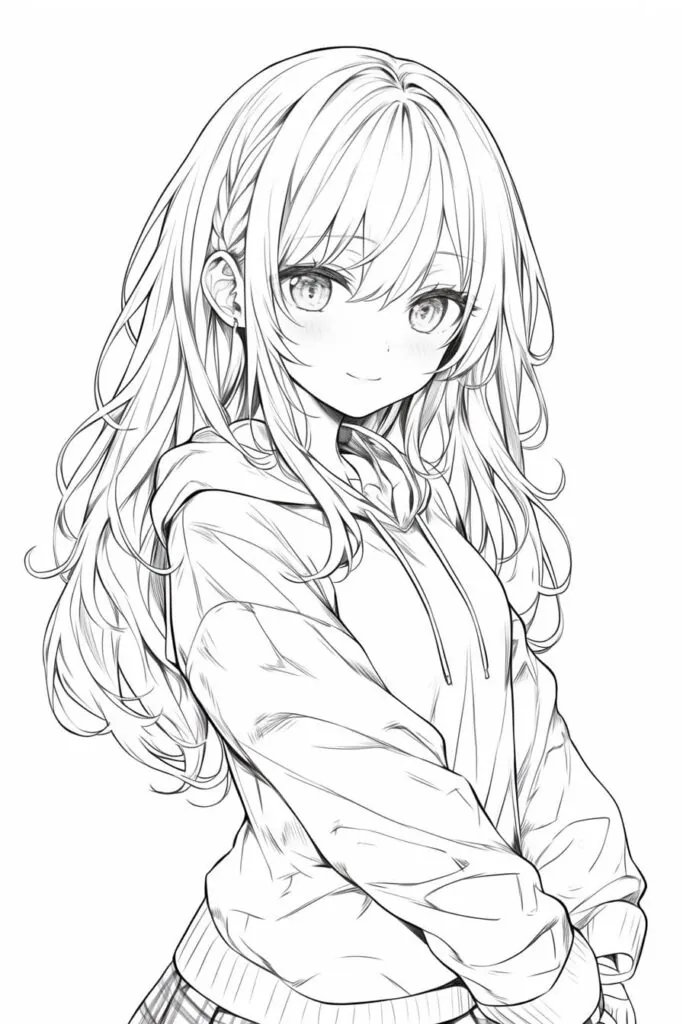
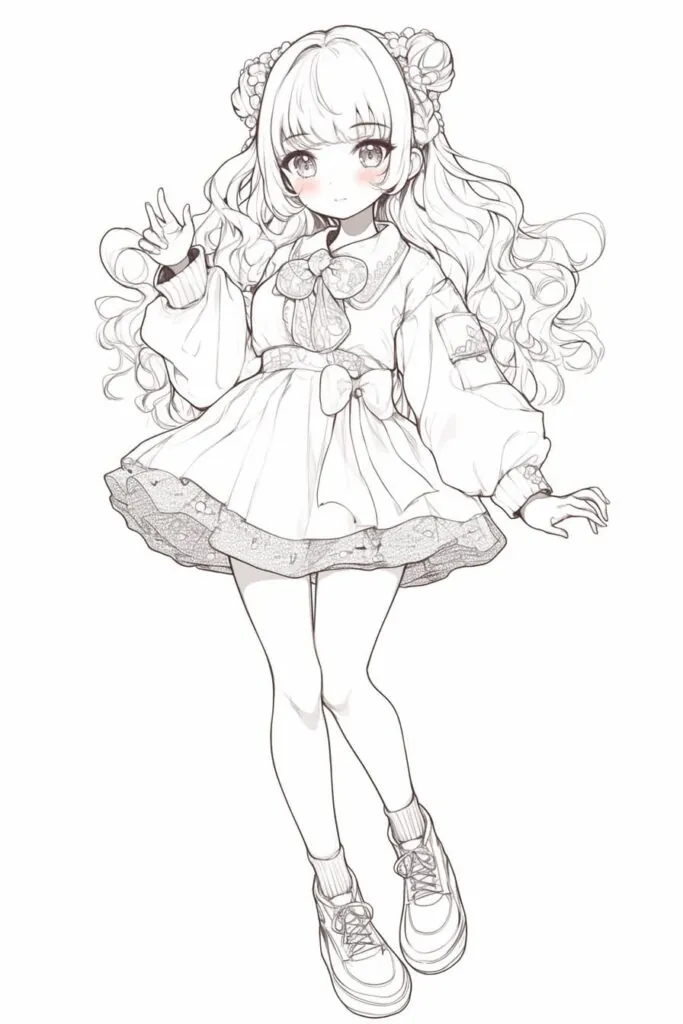
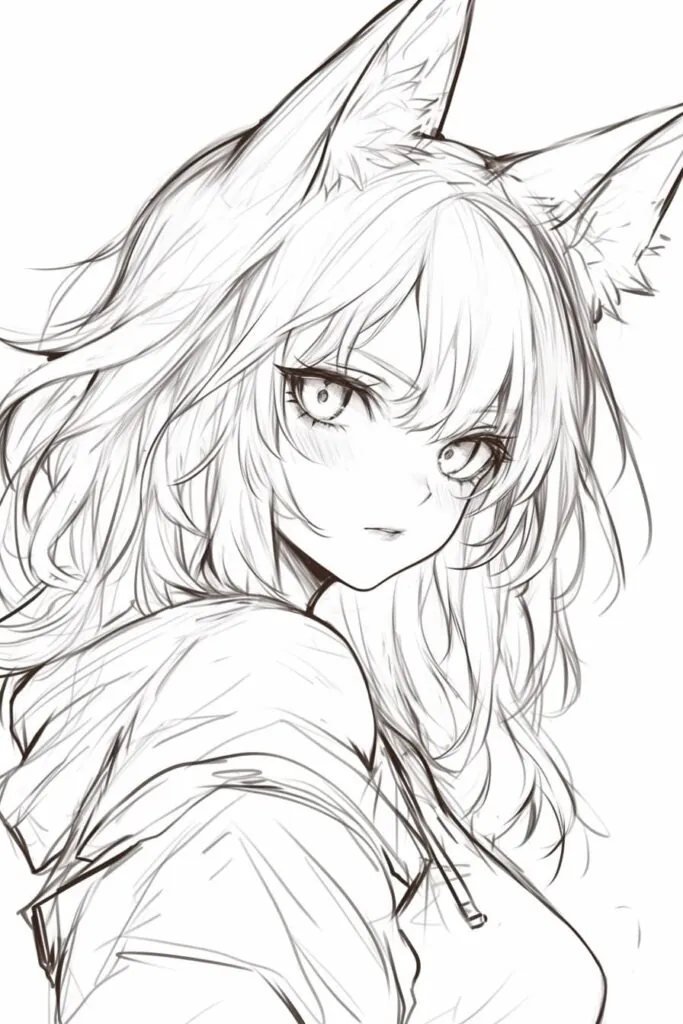
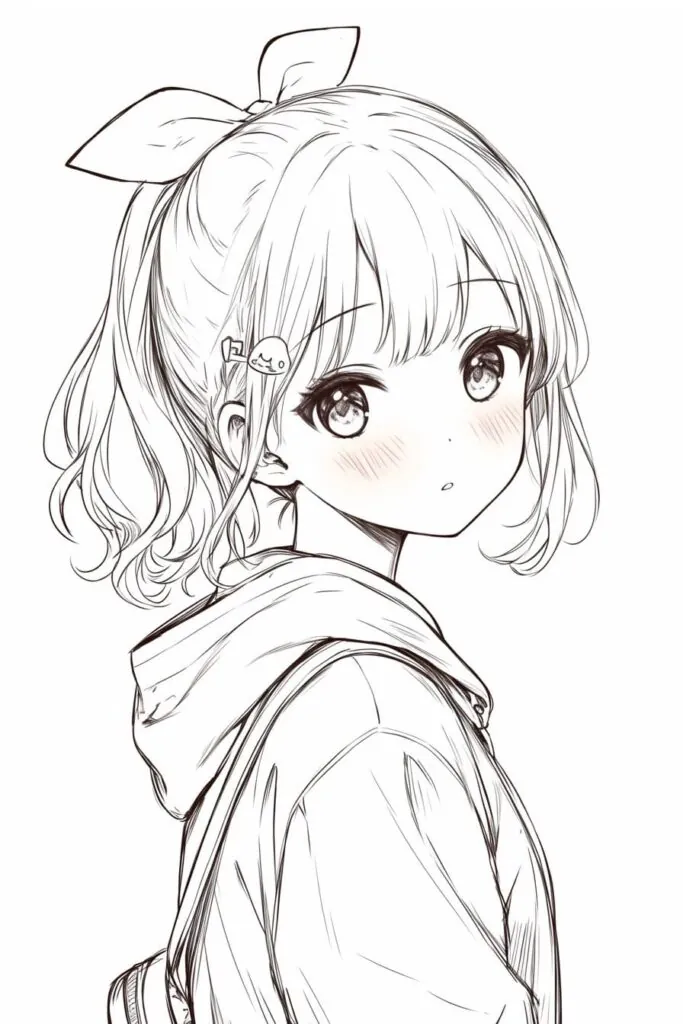
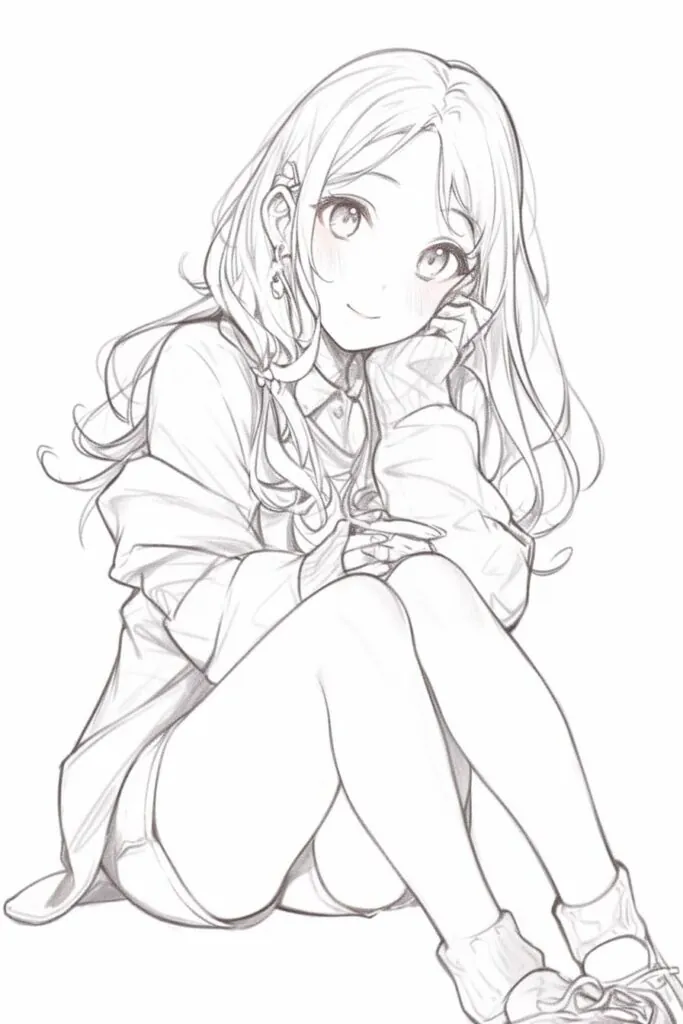
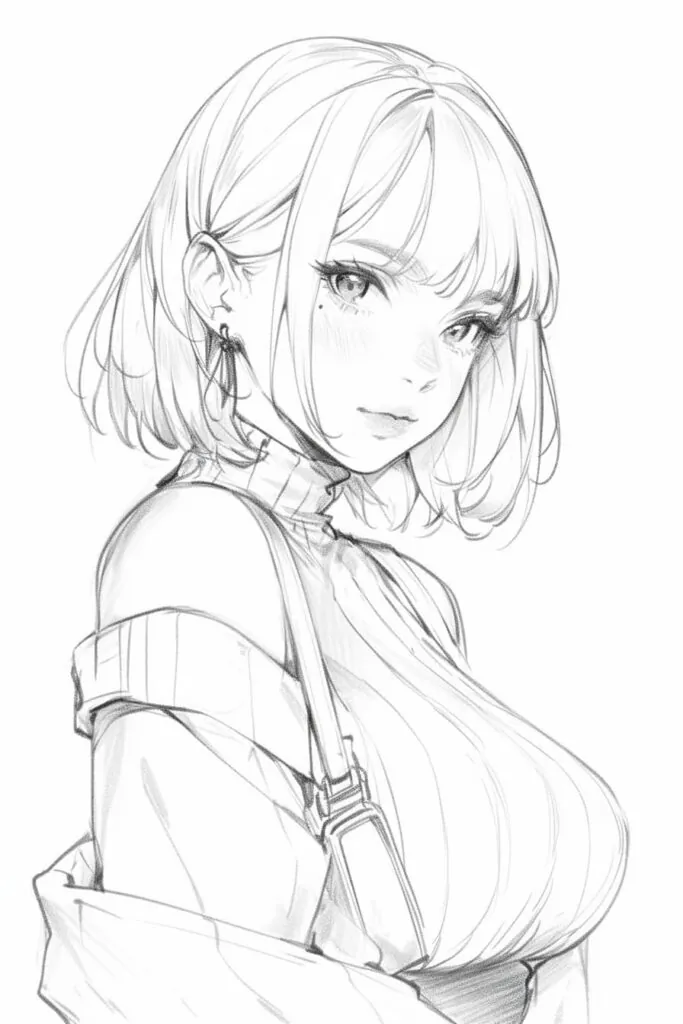
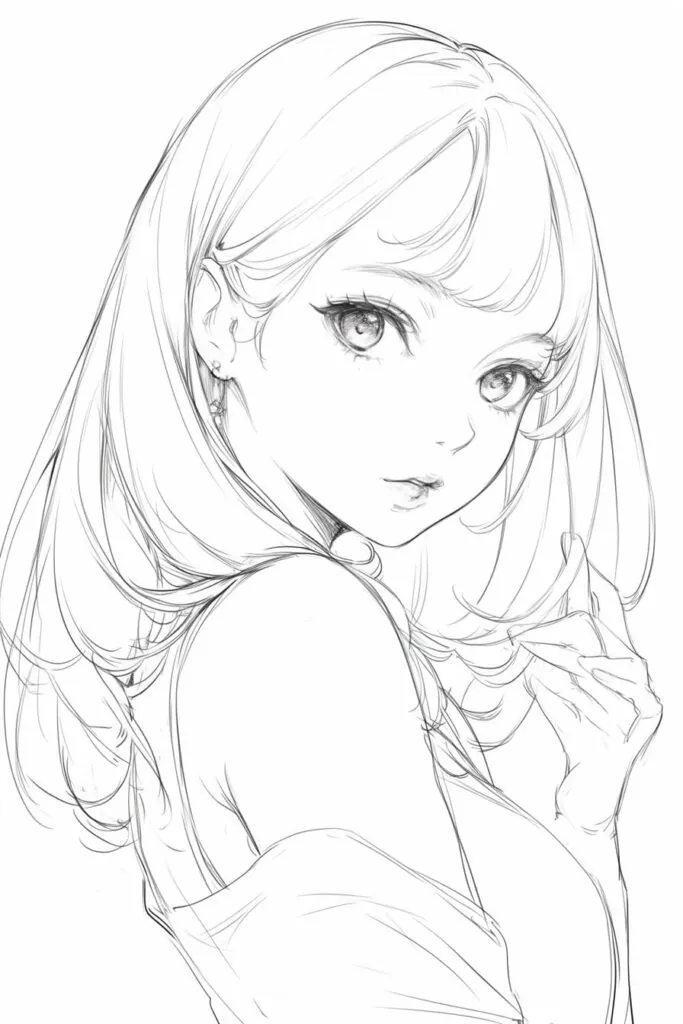
Gallery of Anime Girl Drawings
Anime Girl Art Gallery

Conclusion
Congratulations on completing your journey into the wonderful world of anime girl drawing! You've learned not just the technical aspects of creating these beloved characters, but also gained insight into the cultural significance and artistic principles that make anime art so compelling and globally popular.
Your Artistic Growth: By mastering the fundamentals - from basic proportions and facial construction to advanced techniques like dynamic posing and style variation - you've developed skills that will serve you well in any artistic endeavor. The techniques you've learned here apply not just to anime art, but to character design, illustration, and visual storytelling in general.
Continue Your Practice: Remember that becoming proficient at drawing anime girls is a marathon, not a sprint. Set aside regular practice time, experiment with different styles and characters, and don't be discouraged by drawings that don't meet your expectations. Every professional anime artist started exactly where you are now, with basic shapes and a desire to improve.
Join the Community: Consider sharing your work on social media platforms, joining online art communities, or participating in drawing challenges. The anime art community is welcoming to beginners and can provide valuable feedback, inspiration, and motivation to continue developing your skills.
Keep Exploring: Use this tutorial as a foundation, but don't be afraid to develop your own unique artistic voice. The most memorable anime characters often break conventional rules in creative ways. As you become more confident, experiment with mixing styles, creating original character designs, and telling stories through your art.
Final Encouragement: Your creativity and dedication are the most important tools in your artistic toolkit. With the technical foundation you've built and the passion that brought you to anime art in the first place, you're well-equipped to create characters that not only look professional but also connect emotionally with viewers. Keep drawing, keep learning, and most importantly, keep enjoying the magical process of bringing anime characters to life on paper!
Remember: every professional anime artist was once exactly where you are now. The difference between a beginner and a master is simply time, practice, and persistence. Your anime girl drawings will improve with each piece you create.