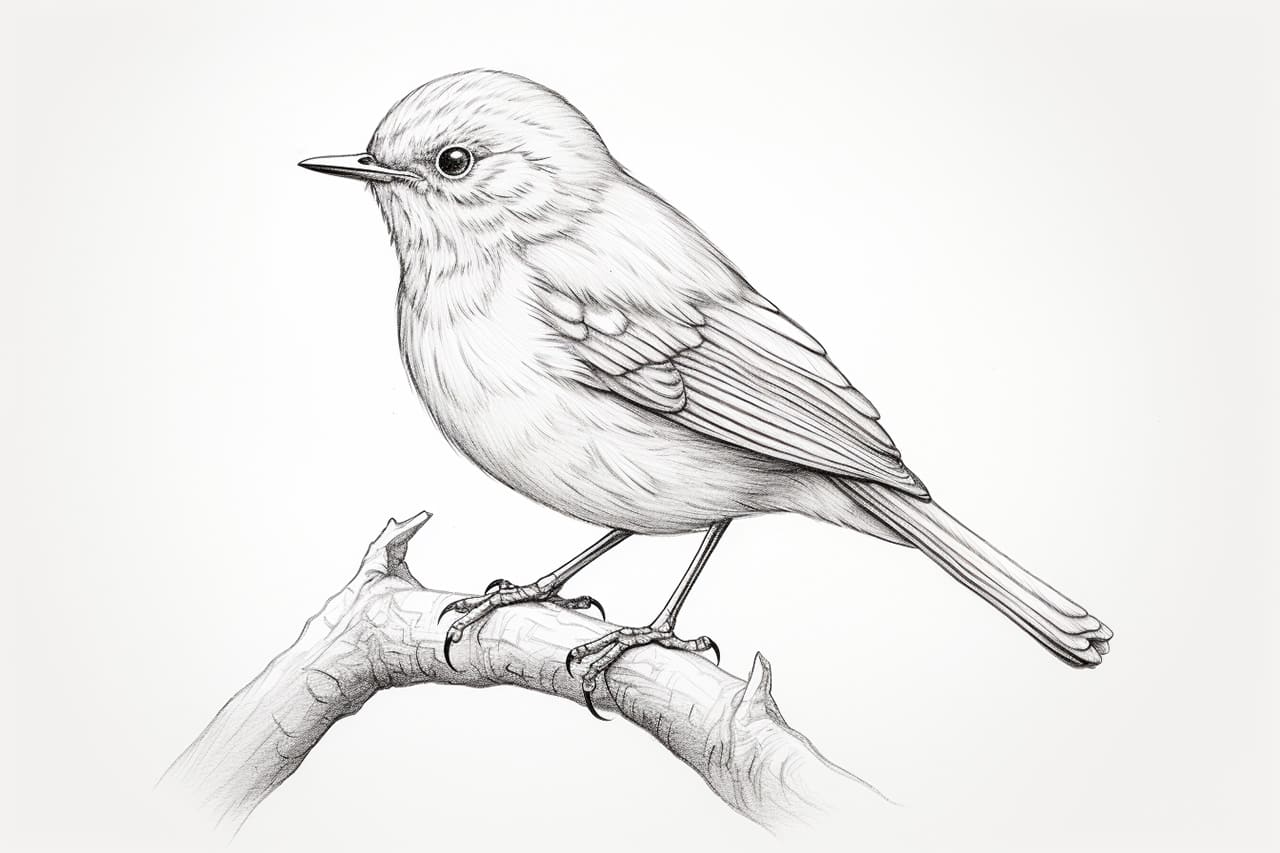
Birds have long been a favorite subject for artists, symbolizing freedom, elegance, and the beauty of nature. Whether it’s a tiny songbird perched on a branch, a majestic eagle soaring through the sky, or a delicate hummingbird fluttering near a flower, learning how to draw a bird can be a fun and rewarding artistic challenge.
In this step-by-step tutorial, we’ll guide you through the fundamentals of bird anatomy, proportions, and feather details, making it easy for beginners and experienced artists alike to create a realistic and expressive bird drawing. You’ll learn how to sketch the basic shape, refine the details, and add depth through shading to bring your feathered friend to life.
So grab your pencil, sketchbook, and a little patience, and let’s embark on this artistic journey to capture the grace and charm of birds in your drawings! 


Materials Required
Before we dive into the process of drawing a bird, let’s gather all the necessary materials. You’ll need:
- A pencil – We recommend using a graphite pencil with a range of hardness (2H to 6B) to achieve different shades and textures.
- Paper – Opt for a smooth, high-quality paper that can handle the details and shading involved in bird drawing. A heavier paper, such as drawing or watercolor paper, would be ideal.
- Eraser – Keep a good quality eraser handy to correct mistakes and adjust as needed.
- Reference images – Find photographs or illustrations of birds that inspire you. This will help you understand the bird’s anatomy and features better.
Now that you have all the necessary materials, let’s begin the process of drawing a bird.
How to Draw a Bird Step-by-Step
Step 1: Sketch the Basic Shapes
Before diving into the details, start by lightly sketching the foundational shapes of the bird. Every bird has a unique shape, but most follow a basic structure of simple forms:
- Draw a large oval or circle for the body. This will serve as the central form.
- Add a smaller circle for the head, positioning it where the bird’s head naturally connects to the body.
- Sketch rough shapes for the wings and tail, using elongated ovals or triangles to define their placement.
- Draw a thin, curved line for the neck, if the bird species you’re drawing has a long or extended neck.
Use light, loose strokes so that you can easily adjust proportions as you refine your sketch.
Step 2: Outline the Bird’s Form
Using the basic shapes as a guide, begin outlining the body, wings, tail, and head.
- Refine the curves of the bird’s body, paying attention to the posture and natural flow of its form.
- Sketch the beak, making sure to capture the shape and size appropriate for the bird species you’re drawing—some birds have short, sharp beaks while others have long, curved ones.
- Draw the legs and feet, using reference images to determine their length, thickness, and position. Birds have different types of feet based on their habitat (e.g., webbed for water birds, clawed for birds of prey).
At this stage, don’t worry too much about details—focus on getting accurate proportions and structure.
Step 3: Define the Facial Features and Beak
Now that the general outline is in place, it’s time to refine the head, eyes, and beak.
- Sketch the eyes, placing them according to the bird’s species. A bird’s gaze is expressive, so carefully position the eyes to give your drawing character.
- Detail the beak, ensuring it has a smooth shape with clear definition. Use subtle lines to show where the beak meets the face.
- Add small facial details, such as nostrils and feather markings, to create a lifelike expression.
Be mindful of proportions—a slight change in the eye or beak size can alter the entire expression of the bird.
Step 4: Add Wing and Tail Feather Details
Now that the structure is in place, begin adding feather details to the wings and tail.
- Use soft, flowing lines to indicate the shape of the primary and secondary feathers in the wings.
- Feathers closer to the body tend to be smaller and rounder, while those at the tips of the wings and tail are longer and more defined.
- Pay close attention to the direction of the feathers—they follow the bird’s natural anatomy and movement.
Use light, wispy strokes to capture the softness of feathers, rather than harsh lines.
Step 5: Add Shading for Depth
Shading is what brings your bird drawing to life, adding depth and creating a realistic three-dimensional form.
- Observe your reference image closely to determine where the light source is coming from.
- Use light pencil strokes to shade areas where shadows naturally fall, such as beneath the wings, around the neck, and under the belly.
- Gradually build up shading in areas that require more depth, ensuring a smooth transition between light and dark areas.
- Use hatching and cross-hatching techniques to add texture without making the shading too harsh.
For a more realistic look, avoid pressing too hard on your pencil—instead, build layers of shading gradually.
Step 6: Refine Feather Texture
To make your bird look even more lifelike, refine the texture of the feathers:
- Use short, fine strokes along the contours of the body to create the appearance of soft feathers.
- Add overlapping layers of feathers, especially on the chest and wings, to enhance realism.
- For birds with patterned feathers, carefully sketch and shade markings, ensuring they flow naturally with the curvature of the bird’s form.
Tip: Look at real bird reference photos to study how feathers are layered and how light interacts with them.
Step 7: Final Touches and Adjustments
Now, take a step back and assess your drawing. This is the time to refine and adjust any proportions, shading, or details to enhance the overall piece.
- Darken the areas that need stronger contrast, like the beak, eye, and deeper shadows.
- Erase any unnecessary sketch lines to clean up the drawing.
- Enhance the highlights—use an eraser or a white pencil to add subtle highlights to areas where light naturally hits, such as the top of the head, edges of the wings, or beak.
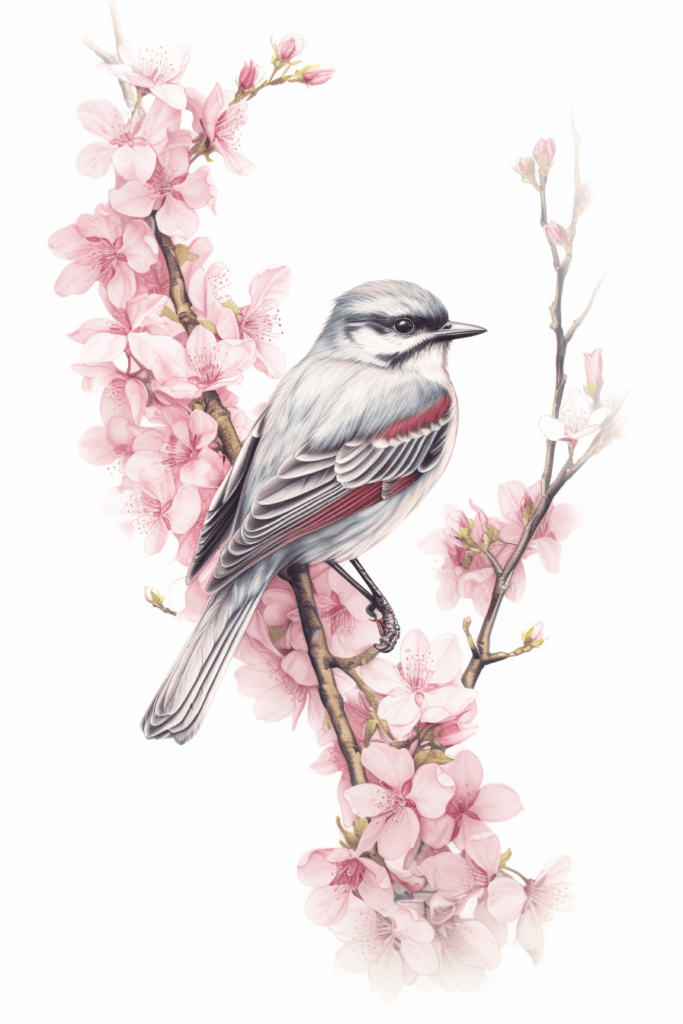
Step 8: Add Color (Optional)
If you’d like to bring your bird drawing to life with color, use colored pencils, markers, or watercolors to enhance the details and texture.
- Start with light base colors before gradually layering darker shades to create depth.
- Pay attention to natural gradients in the feathers, as birds often have subtle color variations.
- Use a fine white gel pen or eraser to add highlighted areas, such as reflections in the bird’s eye or soft feather edges.
If you’re aiming for a realistic bird, use a reference image to match the colors accurately. If you’re going for a stylized look, feel free to experiment with creative and bold color choices!
Conclusion: Mastering the Art of Bird Drawing
Congratulations! You’ve successfully created a beautiful and realistic bird drawing. By following these step-by-step techniques, you’ve learned how to structure the bird’s anatomy, refine feather details, and add shading to bring depth to your artwork.
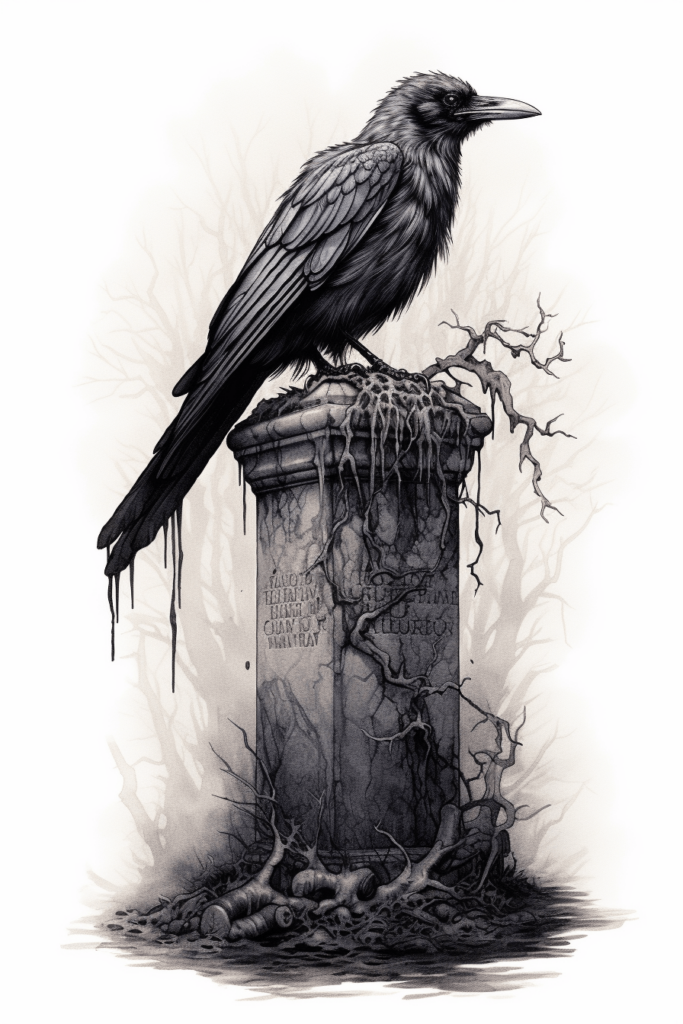
Bird drawing is a wonderful way to develop your artistic skills, whether you’re focusing on realism, stylization, or imaginative creations. Keep practicing and experimenting with different bird species, wing positions, and dynamic poses.
With patience and dedication, you’ll be able to create stunning bird illustrations that truly capture the grace and elegance of these incredible creatures.
So keep sketching, keep observing nature, and let your creativity take flight!
Related posts:
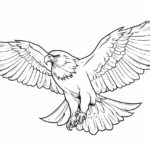 How to Draw a Hawk in 7 Simple Steps
 How to Draw a Duck in 10 Easy Steps
 How to Draw a Flying Dragon in 7 Easy Steps
 How to Draw a Sunflower in 10 Simple Steps
 How to Draw a Kitten in 8 Easy Steps
 9 Steps for How to Draw an Ice Dragon
 How to Draw a Fairy in 8 Simple Steps
 How to Draw an Anime Girl in 8 Simple Steps