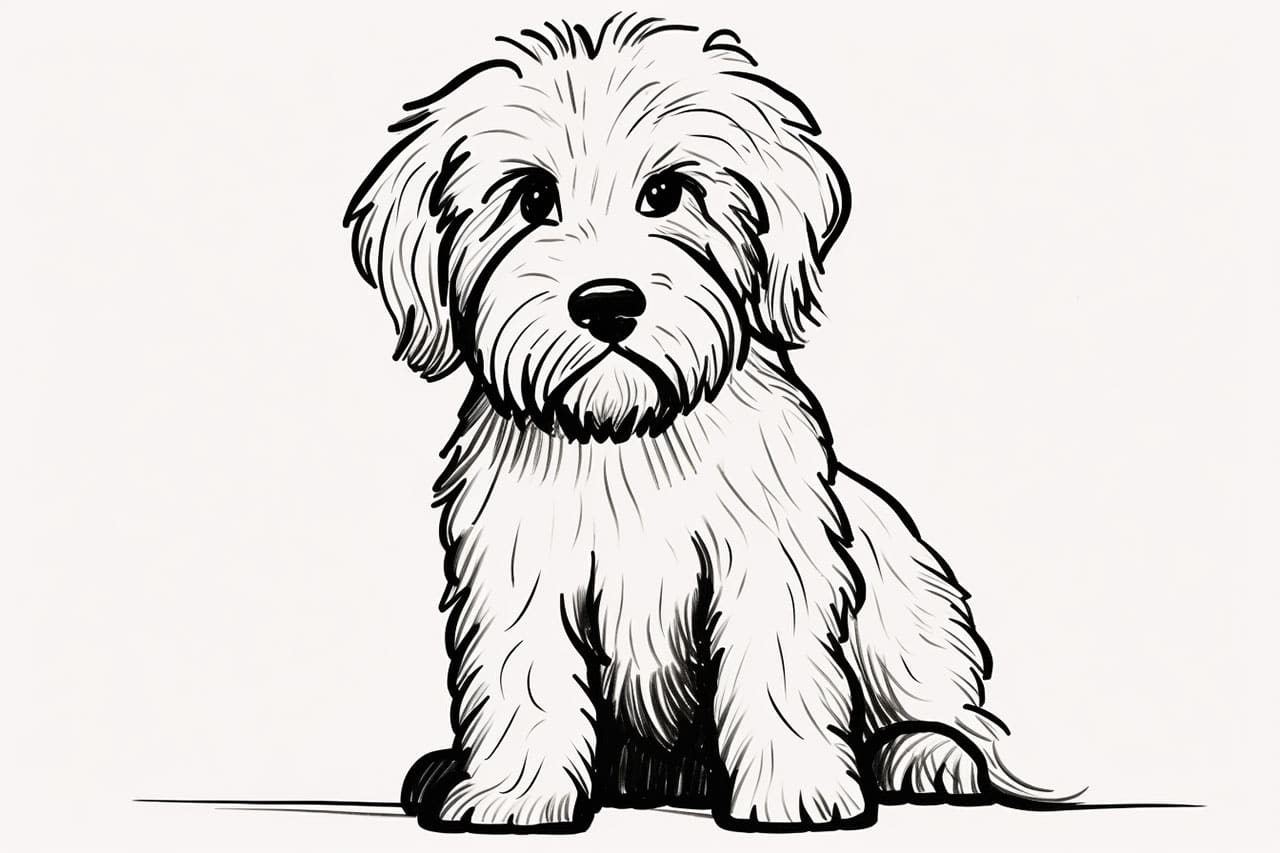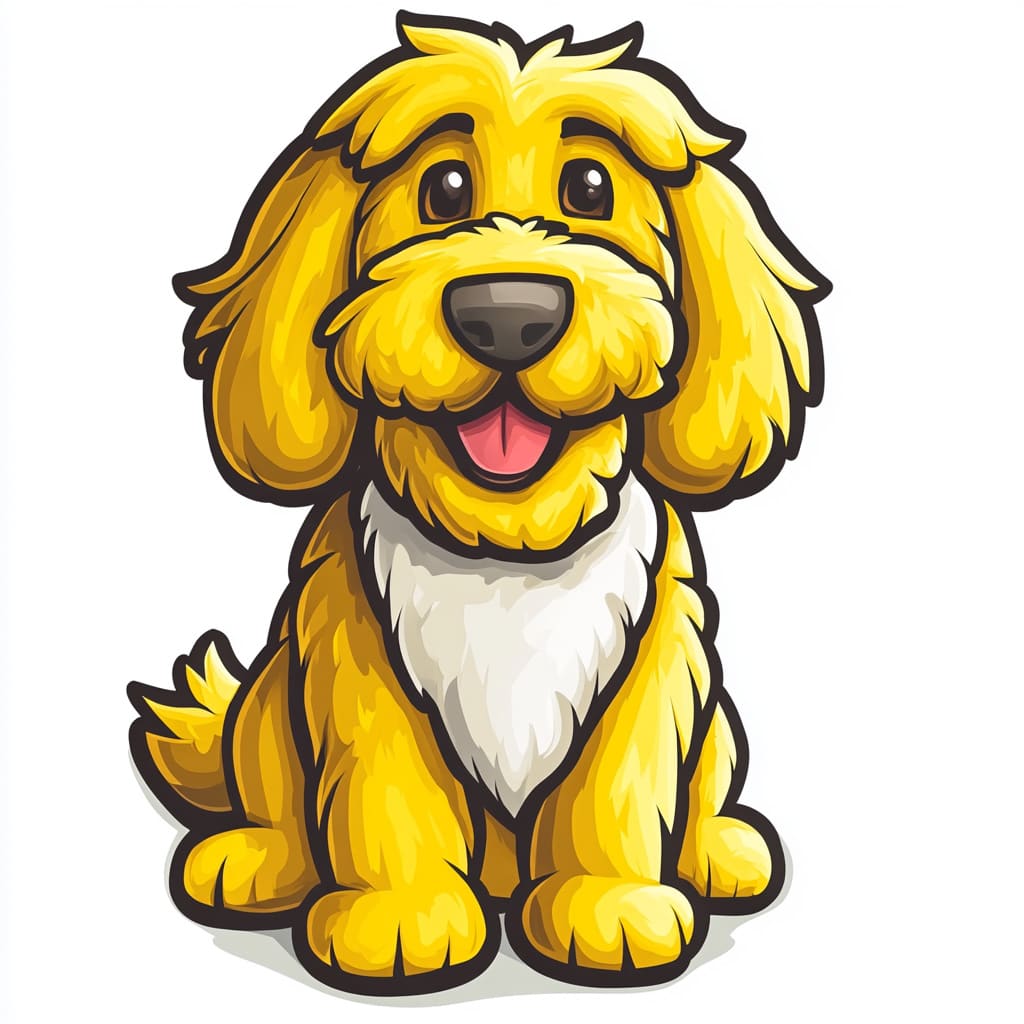
Goldendoodles are adorable, fluffy, and full of personality, making them a fantastic subject for artists of all skill levels. With their curly coats, expressive eyes, and friendly demeanor, capturing the essence of a Goldendoodle in a drawing can be a rewarding experience.
Whether you’re a beginner just starting your artistic journey or an experienced artist looking to refine your pet portraits, this step-by-step tutorial will walk you through the process of how to draw a Goldendoodle.
Materials Required
Before we dive into the drawing process, let’s gather the materials you’ll need:
- Drawing paper or sketchbook
- Pencils of various hardness (HB, 2B, 4B, 6B)
- Eraser
- Blending stump or tortillon
- Reference image of a Goldendoodle (either a photograph or a printout)
Now that we have everything ready, let’s get started with the drawing process!
Step-by-Step Guide: How to Draw a Goldendoodle
Goldendoodles are known for their fluffy, curly coats, expressive eyes, and playful personalities—making them a fantastic subject for artists of all skill levels. Whether you’re drawing a Goldendoodle dog for a pet portrait or just for fun, this step-by-step guide will help you bring this lovable breed to life on paper.
Step 1: Sketch the Basic Outline
Begin by lightly sketching the basic structure of the Goldendoodle using a hard pencil (HB or 2B). Start with a large, rounded circle for the head, as Goldendoodles have soft, rounded faces. Add a smaller, oval-like shape beneath the head for the muzzle. This will help establish the proportions of the face.
Pro Tip: Keep your lines light and loose so you can easily make adjustments later.
Step 2: Draw the Facial Features
Now, let’s add the face! Use a reference image to carefully position the eyes, nose, and mouth.
- Draw two round or almond-shaped eyes slightly above the middle of the head.
- Inside each eye, add smaller circles for highlights to make the eyes look shiny and expressive.
- Sketch a small oval for the nose, making sure it’s proportionate to the muzzle.
- For the mouth, draw a gentle curved line extending downward from the nose, adding small curves at the ends for a soft smile.
Take your time adjusting the facial features until you’re happy with the expression.
Step 3: Sketch the Floppy Ears and Wavy Hair
Goldendoodles have adorable floppy ears covered in curly fur.
- Sketch two soft, curved shapes on either side of the head, letting them hang slightly below the chin.
- The ears should appear slightly rounded at the bottom, rather than pointed.
- Then, use light, wavy strokes around the face to begin shaping the fluffy fur.
Don’t stress about perfection! The key is to create a natural, textured look rather than perfectly symmetrical ears.
Step 4: Draw the Body and Legs
Extend the head outline downward to sketch the Goldendoodle’s fluffy body.
- Use curved lines to connect the head to the shoulders, keeping the shape rounded and soft.
- Sketch the front legs slightly apart with paws resting gently on the ground.
- Add the back legs partially tucked behind the front ones, following the natural posture of a relaxed dog.
Goldendoodles have slightly stocky, well-proportioned bodies, so avoid making the legs too thin.
Step 5: Draw the Fluffy Tail
A Goldendoodle’s tail is long, slightly curved, and full of fluff!
- Extend a curved line from the back of the body to indicate the tail’s natural movement.
- Use short, wavy strokes to add the soft, feathery texture of the fur.
Make sure the tail’s fluffiness matches the rest of the drawing for consistency.
Step 6: Add Fur Details and Texture
To capture the Goldendoodle’s signature curly coat, use light, curved strokes all over the body.
- Around the face, chest, and legs, sketch small overlapping loops or waves to mimic curly fur.
- For a shaggier look, use longer strokes on the ears and tail.
- Around the muzzle, make the fur softer and slightly straighter, as Goldendoodles have shorter fur in that area.
Keep the strokes random and organic—you don’t want it to look too uniform!
Step 7: Add Depth with Shading
Now, let’s make your Goldendoodle drawing more realistic by adding shading!
- Use a soft pencil (4B or 6B) to shade under the ears, around the eyes, and along the body’s curves.
- Gently shade under the chin and belly to create a sense of volume.
- Add subtle shadows under the paws and tail for a grounded look.
- Darken the nose and inner parts of the eyes for contrast.
Use a blending stump or tissue to gently soften the shading where needed.
Step 8: Refine and Clean Up the Drawing
Now, take a step back and assess your work.
- Erase any unnecessary sketch lines and adjust the shape where needed.
- Darken the main outlines of the face and body to give the drawing more clarity.
- Add final touches of shading and fur details to make the drawing feel complete.
Step 9: Optional – Add Color!
If you want to bring your Goldendoodle to life with color, use:
Colored pencils or soft pastels for a natural, blended look
Markers for a bold, cartoon-like effect
Watercolors for a soft, artistic touch
Use warm tones like golden yellows, light browns, and creams to capture their signature coat color.
Final Thoughts on How to Draw a Goldendoodle
Amazing job! You’ve successfully drawn an adorable and realistic Goldendoodle!
By following these steps, you’ve learned how to:


Remember, practice makes perfect—so keep experimenting with different poses, expressions, and artistic styles!
Now, grab your art supplies and keep drawing more furry friends!
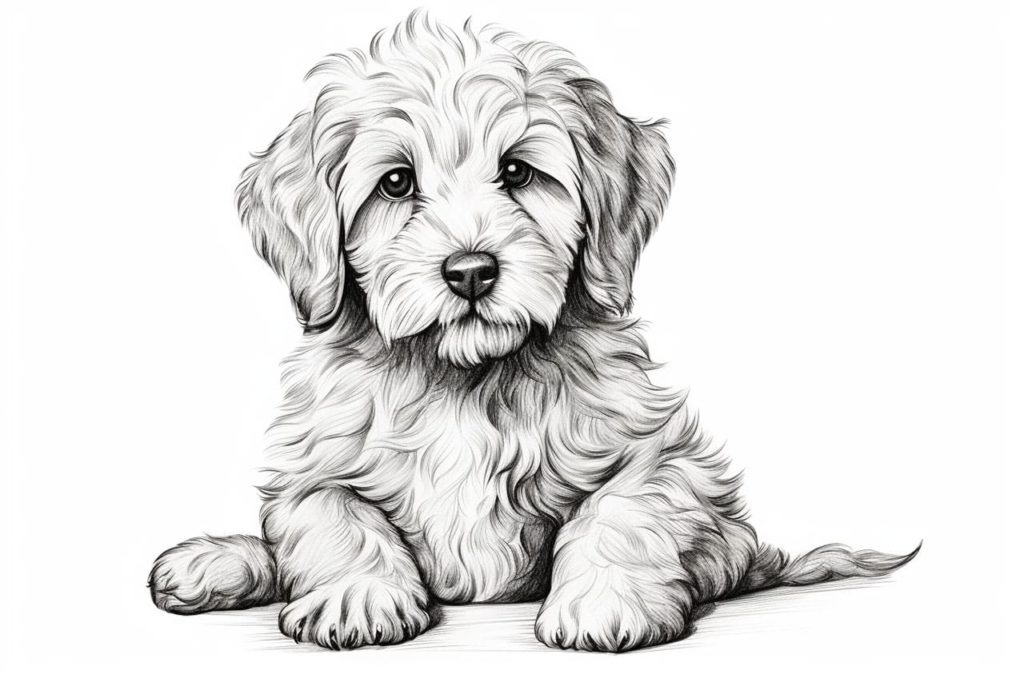
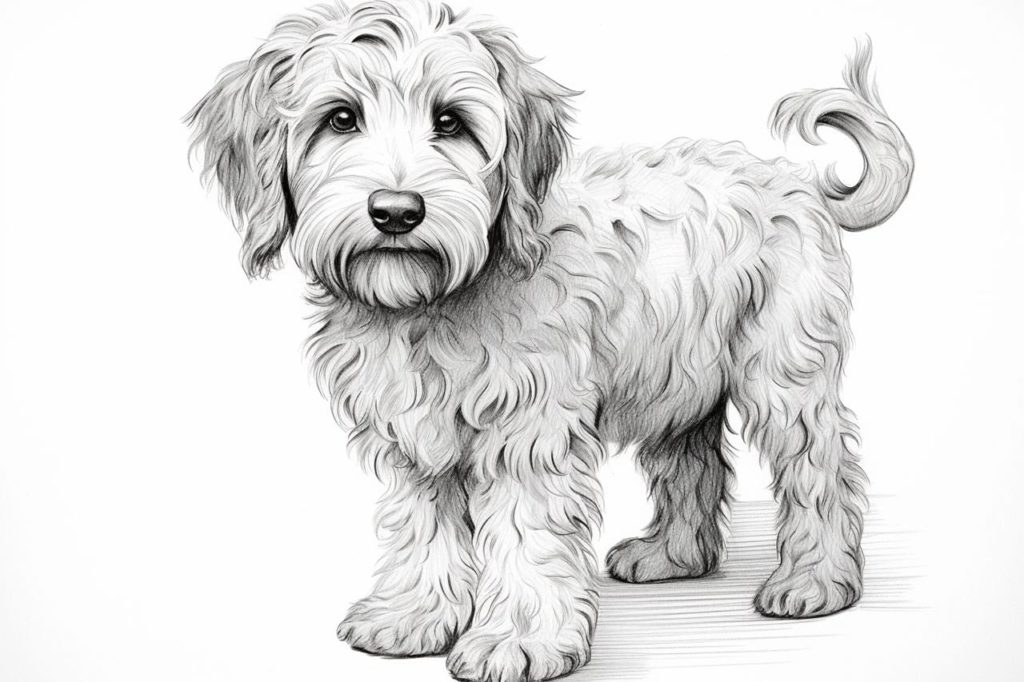
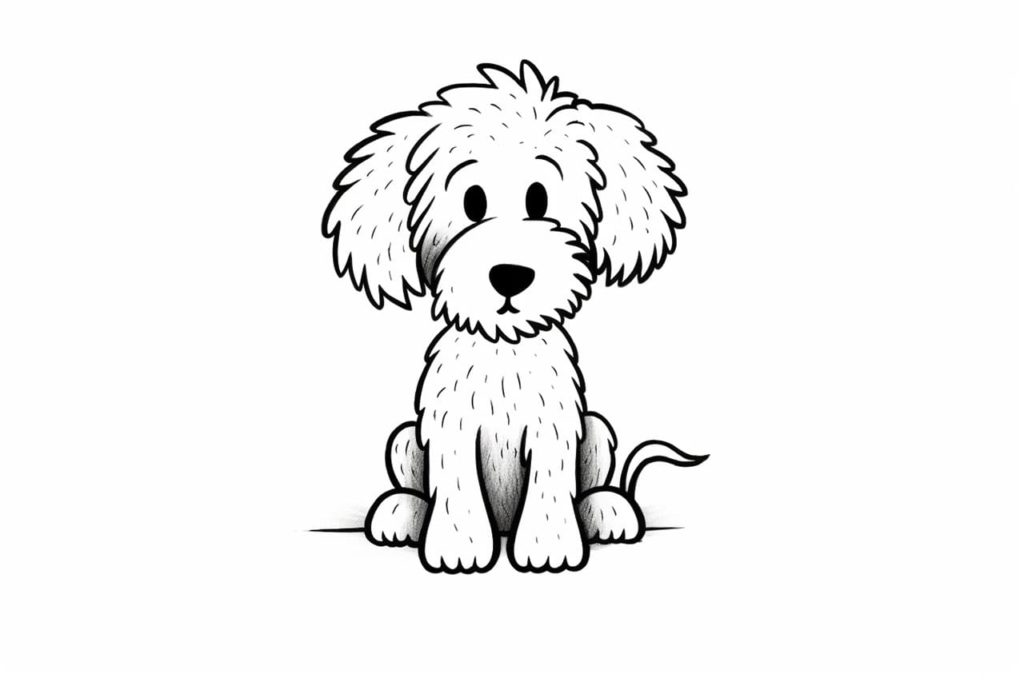
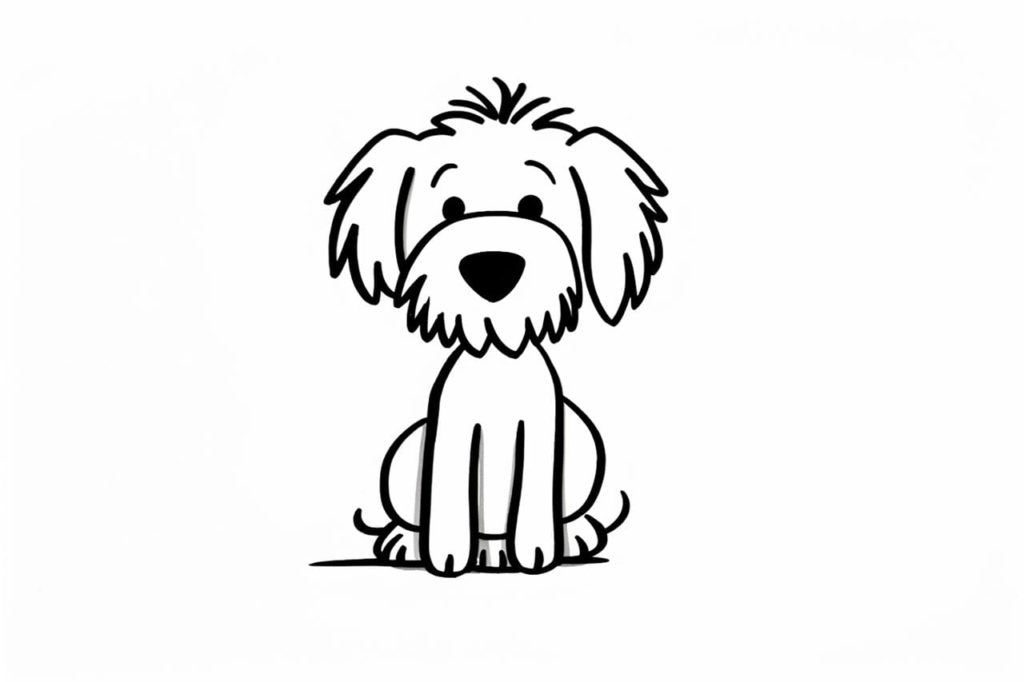
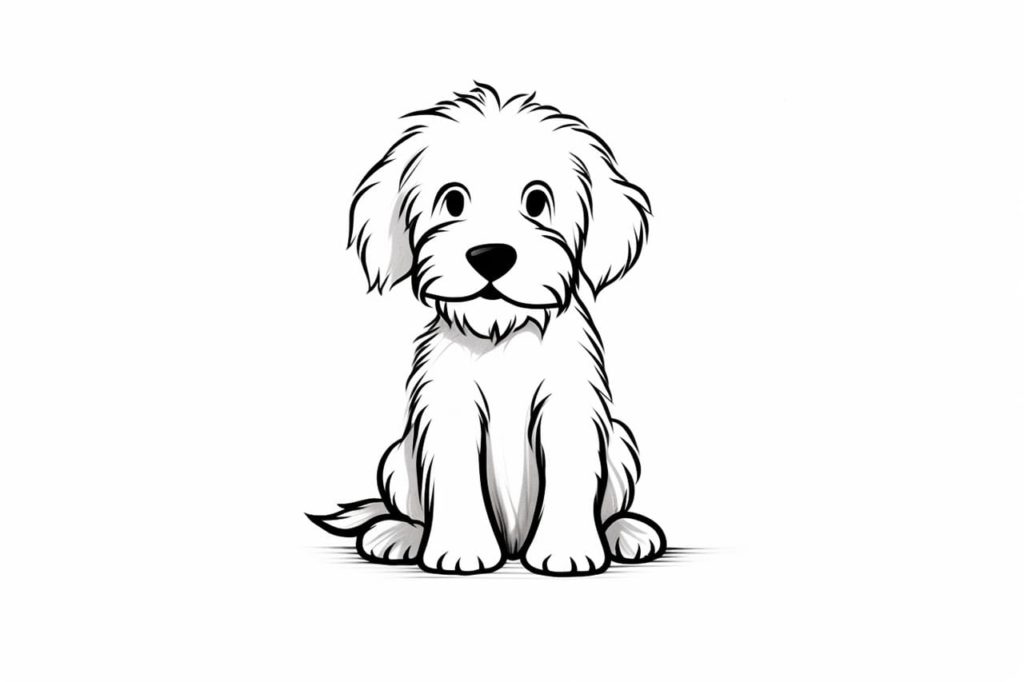
Gallery of Goldendoodle Drawings
Fun Facts About Goldendoodles
- Origin and Recognition: Goldendoodles are a crossbreed between a Golden Retriever and a Poodle, first widely bred in the 1990s. They are not recognized as a breed by major kennel clubs, such as the AKC.
- Variety in Size: Goldendoodles come in three main sizes: standard, miniature, and toy, depending on the size of the Poodle used in breeding.
- Intelligence and Trainability: They are highly intelligent and easy to train, making them excellent service dogs. However, without training, they might be mischievous .
- Friendly Nature: Goldendoodles are extremely friendly and get along well with people and other pets, making them ideal for families with children .
- Love for Water: They have a natural affinity for water, inherited from their parent breeds, both of which were bred for water-related activities .
- Hypoallergenic: Goldendoodles are often considered “hypoallergenic” due to their Poodle heritage, though this does not mean they are completely allergen-free.
- Separation Anxiety: Despite their loving nature, Goldendoodles can suffer from separation anxiety if left alone for extended periods .
Tip: To effectively capture the unique texture of a Goldendoodle’s curly coat, focus on using a blending stump or tortillon to create soft, seamless transitions between the different shades of fur. Start with a light sketch using your HB pencil to outline the shape and general flow of the curls, then gradually build up the depth with 2B and 4B pencils, layering darker shades in areas where shadows naturally occur. Avoid pressing too hard on your pencil; instead, use gentle strokes to mimic the softness of the fur. Once you have your layers in place, use the blending stump to smooth out harsh lines and create a more realistic, fluffy appearance. Don’t forget to step back occasionally to assess your work from a distance, as this will help you see the overall texture and balance of your drawing!
Suggestions for Scenes and Settings for Goldendoodle Drawings
- Puppy Play Park: Draw a lively park scene with Goldendoodles frolicking in the grass, playing chase with butterflies, or leaping for a frisbee in the air.
- Beach Day Adventure: Illustrate Goldendoodles enjoying a sunny day at the beach, splashing in the waves, digging in the sand, or lounging under a beach umbrella.
- Winter Wonderland: Create a picturesque winter scene with fluffy Goldendoodles bounding through snow, their fur dusted with snowflakes, perhaps sporting cozy scarves.
- Family Gathering: Show a heartwarming indoor scene of Goldendoodles snuggling at the feet of family members during a cozy fireplace chat, or waiting patiently for treats in the kitchen.
- Forest Exploration: Design an adventurous forest setting with Goldendoodles sniffing out trails, playfully hiding behind trees, or watching squirrels from a distance.
- City Stroll: Draw Goldendoodles walking happily along a bustling city street, passing by cafes, sitting beside their owners as they sip coffee, or interacting with friendly strangers.
- Camping Night: Picture a serene camping scene with Goldendoodles lying contentedly by a campfire, or peering out of a tent under a starlit sky.
- Grooming Day Spa: Create a whimsical depiction of Goldendoodles enjoying a pampering day at the pet spa, with sudsy baths and warm towel wraps.
- Farm Fun: Portray Goldendoodles playing on a farm, bounding alongside farm animals or curiously exploring the barnyard.
- A Day at the Dog Show: Imagine Goldendoodles looking polished and poised, strutting gracefully in a dog show, and receiving cheerful applause for their tricks.

