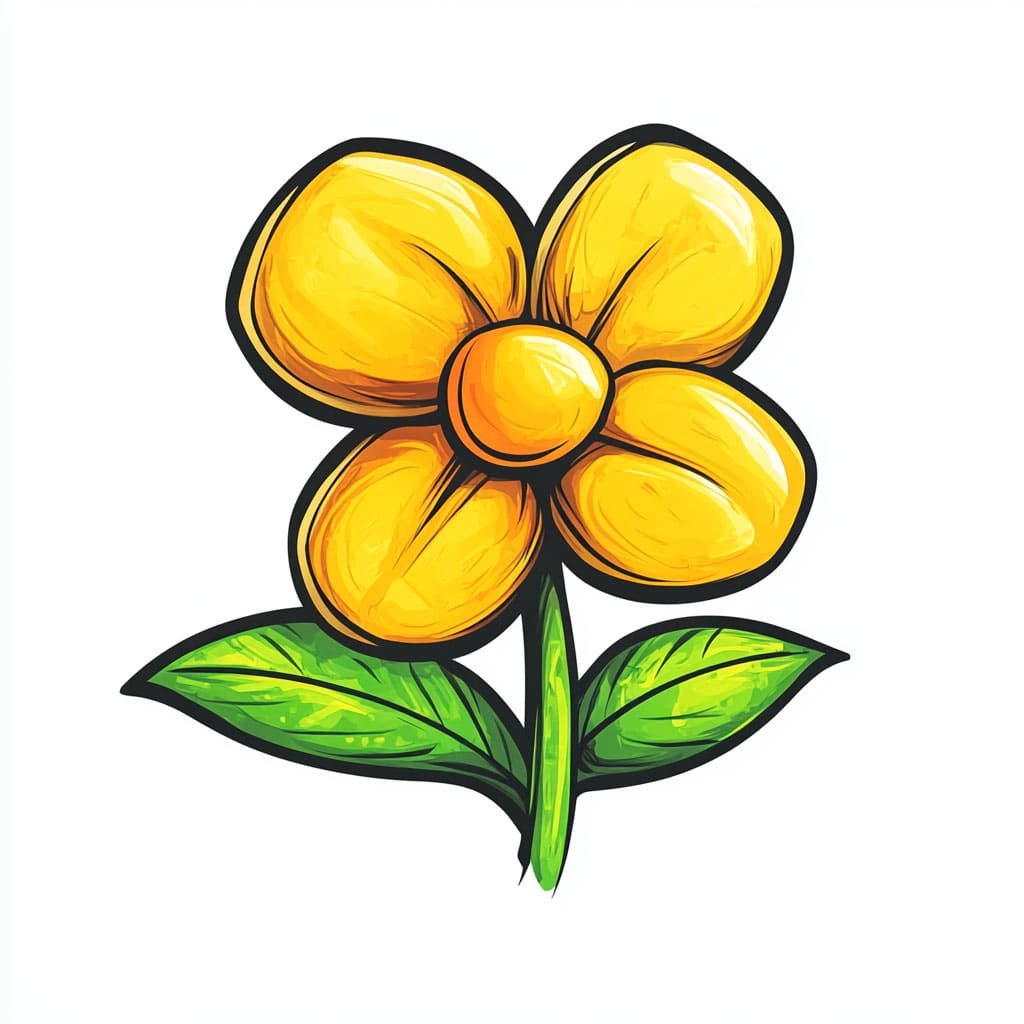
Drawing flowers is a timeless and soothing artistic practice that allows you to capture the elegance and beauty of nature. Whether it’s a single bloom or an entire bouquet, flowers offer endless inspiration with their delicate petals, intricate details, and vibrant forms. Sketching and shading a flower not only sharpens your artistic skills but also provides a relaxing and meditative creative outlet.
In this tutorial, we’ll guide you through how to draw a flower, breaking it down into simple, approachable steps. Whether you’re just starting out or looking to refine your technique, this guide is designed to help you create a realistic and stunning floral illustration. From basic shapes to the final details, you’ll learn how to bring your flower drawing to life with ease.
So, grab your pencils, paper, and a touch of creativity, and let’s dive into the world of botanical art!
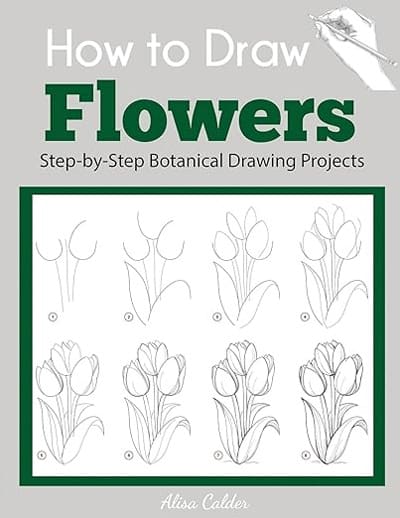
Learn How to Draw Flowers Step-by-Step
This simple and straightforward guide teaches you how to draw many different kinds of flowers with step-by-step instructions. It’s perfect both for total beginners and experienced artists who want to expand their skills.
Table of Contents
Materials Required
- Pencil
- Eraser
- Drawing paper
- Reference picture of a flower
How to Draw a Flower Step-by-Step
Step 1: Sketch the Basic Shapes
Let’s start by building the foundation for your flower. Lightly sketch a circle in the center of your paper—this will represent the flower’s core, where all the petals radiate outward. Around the circle, draw a series of small, elongated ovals to outline the petals. These ovals don’t need to be perfect; a touch of irregularity adds charm and mimics nature’s diversity.
Step 2: Refine the Petals and Add Leaves
Now that you’ve outlined the basic shapes, it’s time to refine your flower. Begin by shaping the petals more naturally, giving them gentle curves and slight variations in length and width. Add overlapping edges where the petals meet for a layered look.
Next, draw the stem by extending a vertical line downward from the base of the flower’s core. On either side of the stem, sketch leaves using jagged, uneven lines to reflect their natural texture. Position the leaves at different angles to create a dynamic and organic composition.
Step 3: Add Intricate Details
Bring your flower to life by adding finer details. Sketch veins on each leaf, following their natural direction from the stem outward. These lines should be thin and slightly curved.
For the petals, enhance their realism by adding subtle folds or creases. Pay attention to how petals overlap or curl at the edges, giving them depth. You can also draw faint lines radiating outward from the center of the flower to mimic the delicate texture often seen in real petals.
Step 4: Introduce Shading and Texture
Shading is where your flower truly starts to bloom! Identify the light source in your drawing—imagine sunlight hitting the flower from one side. Shade the areas that fall into shadow, such as the undersides of petals, the base of the flower, and areas where the petals overlap.
Use soft, curved pencil strokes to add texture to the petals and leaves. For the petals, focus on the direction in which they naturally curve, and for the leaves, emphasize the jagged edges and veins. Blending tools or even your fingertip can help create smooth transitions between light and shadow, giving your drawing a more realistic appearance.
Step 5: Add Final Touches
Take a step back and evaluate your flower drawing as a whole. Does it feel balanced? Are the details consistent across the petals and leaves? Make any necessary adjustments to refine the shape, shading, or texture.
If you want to add more character to your flower, consider drawing a few dewdrops on the petals or leaves. A simple teardrop shape with a tiny highlight at the top can add a fresh and dynamic element to your drawing.
Blooming Finale: Your Flower is Complete!
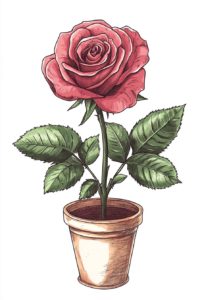
Congratulations! You’ve successfully drawn a beautiful flower, complete with intricate details, realistic shading, and lifelike texture.
Drawing flowers is not only a way to sharpen your artistic skills but also a chance to connect with the beauty and elegance of nature. Keep practicing, experimenting with different flower types, and exploring the vibrant world of botanical art. Whether you keep it monochrome or add a splash of color, let your creativity blossom and enjoy the process. Happy drawing!
With practice, you can refine your skills and draw even more beautiful botanicals. Want to draw some other popular flowers? Try our tutorial on how to draw a rose and how to draw a sunflower. If you want, you can even draw a whole bouquet.
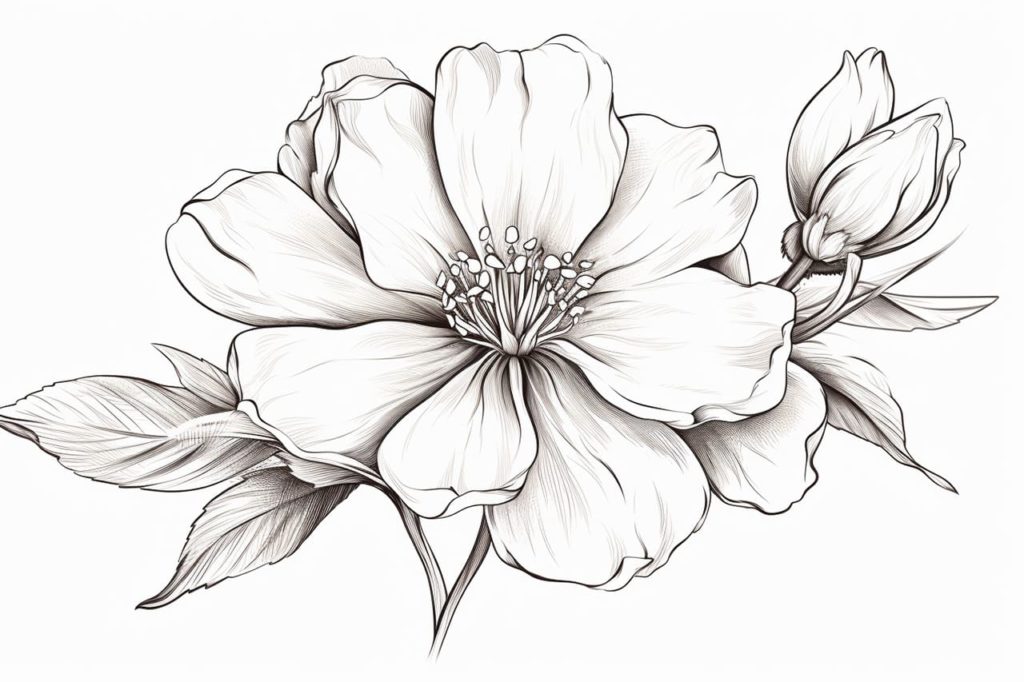
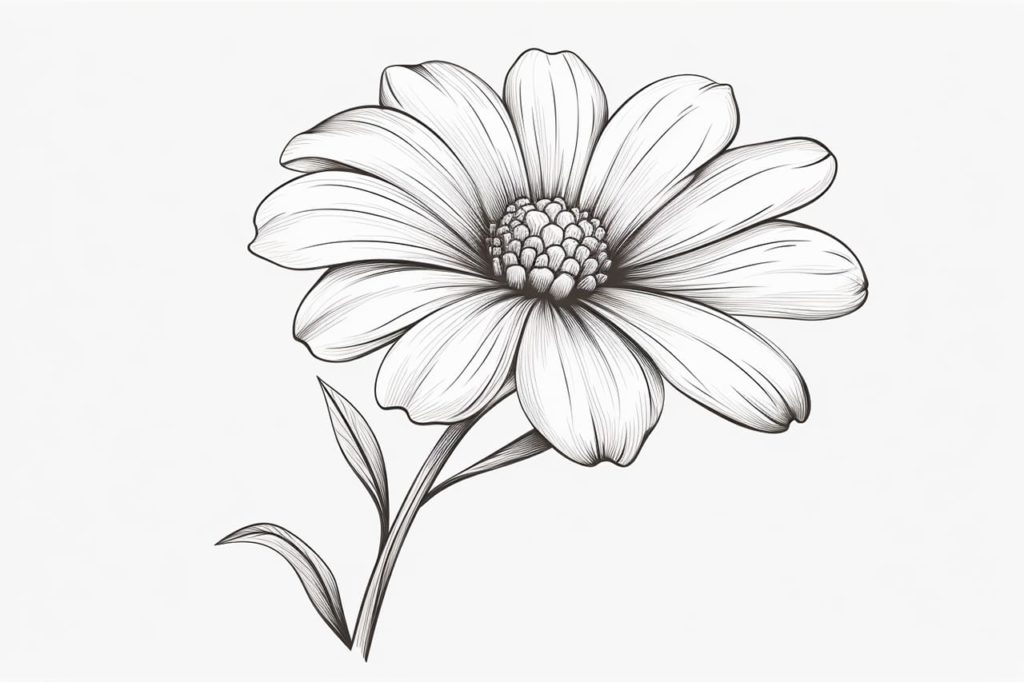
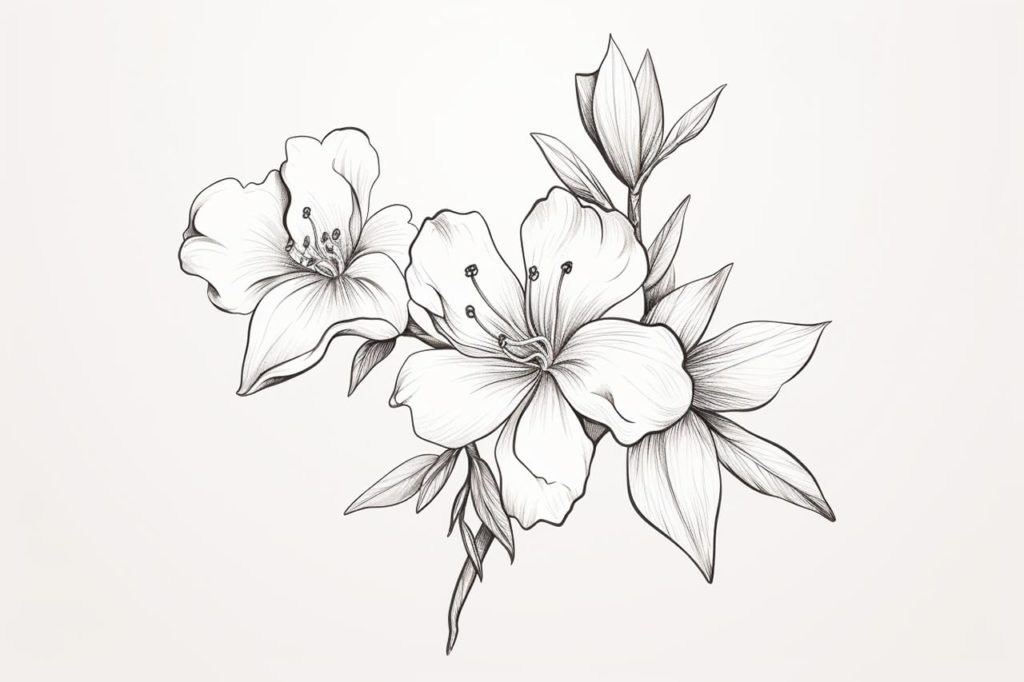
Gallery of Flower Drawings
Fun Facts About Flowers
- Flowers have been symbols of beauty and love throughout history and appear in countless art forms, from paintings to poetry.
- The world’s largest flower, the Rafflesia arnoldii, can grow up to 3 feet in diameter and is found in the rainforests of Indonesia.
- Sunflowers are known for their heliotropism, where they face the sun as it moves across the sky.
- Each year, more than 250,000 species of flowers bloom across different climates around the world.
- The tradition of giving flowers dates back to ancient times, where they were used as romantic gestures and offerings.
- Some flowers, such as the moonflower, bloom at night and are pollinated by night-flying moths and bats.
- The colors and shapes of flowers have evolved to attract specific pollinators, such as bees, birds, and butterflies.
- In Victorian times, the language of flowers, or floriography, was used to send secret messages; each flower had its own meaning.
- Flowers like roses and tulips have been subjects of economic phenomena like “”Tulip Mania”” in the 17th century, where prices for these flowers reached extraordinary levels.
- Flowers play a crucial role in ecosystems, providing food for pollinators and contributing to the production of seeds and fruit.
Suggestions for Scenes and Settings for Flower Drawings
- Wildflower Meadow: Illustrate a sea of wildflowers swaying gently in the breeze, with bees buzzing and butterflies fluttering around.
- Garden Pathway: Draw a picturesque garden path lined with blooming flowers of various colors and shapes, leading to a cozy bench or fountain.
- Rooftop Terrace: Create a scene of a vibrant garden blooming on a city rooftop, with skyscrapers visible in the background.
- Botanical Conservatory: Depict a greenhouse filled with exotic flowers from around the world, bathed in sunlight filtering through glass ceilings.
- Sunlit Clearing: Illustrate a sunlit clearing in a dense forest, where a single flower blooms with radiant color.
- Desert Bloom: Capture a rare moment of desert flowers blooming after a sudden rain, their bright colors contrasting against sandy dunes.
- Victorian Parlor: Draw an opulent Victorian parlor with vases of fresh-cut flowers adorning the tables and mantles.
- Alpine Field: Depict a field of alpine flowers at the base of majestic mountains, with snow peaks framing the scene.
- Zen Garden: Create a tranquil setting of a Zen garden with minimalist design and strategically placed blossoms.
- Floral Archway: Illustrate a wedding scene with an ornate floral archway, petals scattered down the aisle, creating a romantic atmosphere.
These suggestions offer a variety of settings to explore when drawing flowers, enhancing their natural beauty with atmospheric backdrops.





 Flower Power