How to Draw a Bouquet of Flowers
Learn how to draw a bouquet of flowers step by step in this easy-to-follow tutorial. Create stunning floral art with these simple instructions.
Materials You'll Need
- Pencil
- Paper
- Eraser
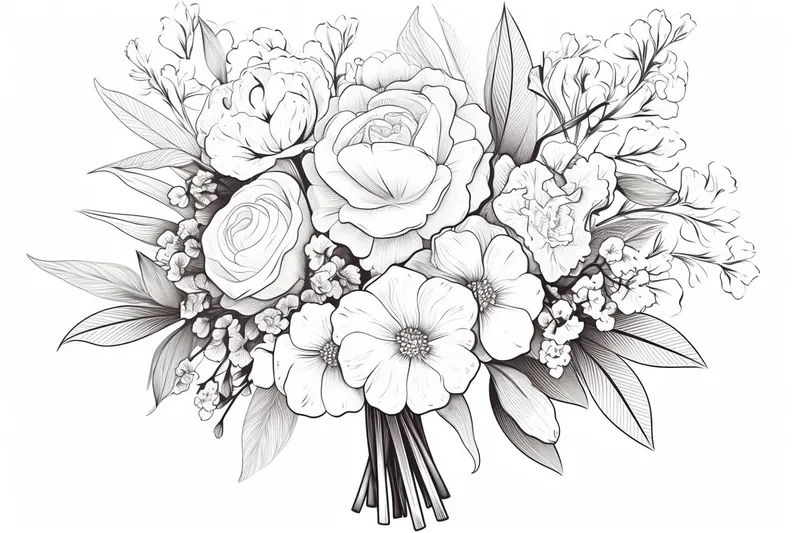
![]() Learning how to draw a bouquet of flowers is not just an excellent way to express your creativity, but it also offers a fulfilling artistic challenge that can elevate your skills. With the right approach, you will find that capturing the beauty of flowers on paper is attainable and can yield stunning and vibrant results. Whether you're an experienced artist seeking to refine your technique or a curious beginner ready to explore the world of drawing, this guide is tailored to accompany you through every step of the process.
Learning how to draw a bouquet of flowers is not just an excellent way to express your creativity, but it also offers a fulfilling artistic challenge that can elevate your skills. With the right approach, you will find that capturing the beauty of flowers on paper is attainable and can yield stunning and vibrant results. Whether you're an experienced artist seeking to refine your technique or a curious beginner ready to explore the world of drawing, this guide is tailored to accompany you through every step of the process.
In this comprehensive, step-by-step tutorial, we'll break down the essential techniques needed to create a lifelike bouquet of flowers. We'll provide you with clear and straightforward instructions that emphasize the importance of observation, texture, and color. Every artist has their unique style, and this guide will help you discover and hone yours while enabling you to create a bouquet that showcases both your individuality and your artistic voice.
So, gather your drawing materials and get ready to unleash your creativity! As we journey through the steps of sketching, detailing, and even coloring your bouquet, we hope to inspire you to appreciate the intricacies of floral design. Whether it's for a personal project or simply to enjoy a new hobby, let's bring that bouquet to life together!
Materials Required
Before we dive into the steps, let's gather the materials you will need for this drawing:
- Drawing paper: Choose a smooth, sturdy paper suitable for your preferred drawing medium.
- Pencil: A regular graphite pencil or mechanical pencil will do.
- Eraser: Have a good quality eraser handy for corrections and adjustments.
- Colored pencils or markers (optional): If you wish to add color to your bouquet, have your preferred coloring tools ready.
Now that we have everything we need, let's get started with the drawing process.
Step 1: Sketch the Basic Shapes
Begin by lightly sketching the basic shapes of your bouquet. Identify the flowers you want to include and the general arrangement you envision. Use simple geometric shapes like circles, ovals, and rectangles as the framework for each flower and leaf. Place them lightly on the paper, ensuring enough space for the entire bouquet.
Step 2: Outline the Flowers
Once you have the basic shapes, start refining the outlines of the flowers. Pay attention to the contours and natural curves of each flower, capturing their unique characteristics. Add petals, buds, and stems to your sketches, using your reference image or real flowers as inspiration. Take your time to create a detailed and accurate outline for each flower in your bouquet.
Step 3: Add Details and Textures
Now that you have the basic outline of your flowers, it's time to bring them to life by adding details and textures. Observe the patterns on each flower and carefully replicate them in your drawing. Shade the areas that require depth, such as the folds in petals or the centers of the flowers. Use light, feathery strokes for smooth transitions and darker, more defined lines for contours.
Step 4: Draw the Leaves and Stems
To complete the bouquet, draw the leaves and stems for each flower. Leaves can vary significantly in shape and size, so observe the reference image or real flowers for guidance. Use curved lines to create the veins on the leaves, adding a realistic touch to your drawing. The stems can be straight or slightly curved, depending on the flowers you have chosen. Connect the stems to the base of each flower, ensuring a natural flow.
Step 5: Refine and Adjust
Take a step back and evaluate your drawing as a whole. Look for any areas that need refinement or adjustment. Erase any unwanted lines or shapes, and make any necessary corrections to ensure the proportions and details are accurate. This is your opportunity to fine-tune your drawing before moving on to the next steps.
Step 6: Add Color (optional)
If you prefer a colored bouquet, now is the time to bring it to life. Select your preferred coloring tools, whether it be colored pencils, markers, or any other medium of your choice. Start by applying a base color to each flower and leaf, then gradually build up layers to create dimension and depth. Pay attention to light and shadow, as these elements can greatly enhance the realism of your drawing.
Step 7: Finalize the Details
In this final step, focus on refining the details of your bouquet. Add any remaining intricate patterns, folds, or textures that may have been overlooked. Enhance the contrast and depth of your drawing by deepening shadows and adding highlights where necessary. Take your time to meticulously add those final touches that will elevate your artwork to the next level.
Tip: To create a stunning bouquet of flowers, start by using a variety of drawing tools to achieve different textures and details. For softer petals, try using colored pencils with a light touch or watercolor pencils that can be blended with a damp brush for a gentle, flowing effect. When sketching the flowers, begin with loose, light outlines to capture their shapes before adding layers of detail and shadow, which will give depth and realism. Don't forget to observe real flowers or reference images closely; notice how the light interacts with their surfaces, and replicate those highlights and shadows in your drawing. Finally, play with composition by varying the sizes and angles of the flowers to create a visually dynamic arrangement that feels alive and inviting.
Conclusion
Drawing a bouquet of flowers can be a delightful and rewarding experience. Following these step-by-step instructions, you can create a beautiful and realistic bouquet showcasing your artistic abilities. Remember to take your time, pay attention to details, and enjoy bringing nature's beauty to life through your artwork.
We hope this guide has inspired you to pick up your pencil and start drawing. With practice and patience, you can master the art of drawing bouquets of flowers. So grab your materials, find some inspiration, and let your creativity blossom!