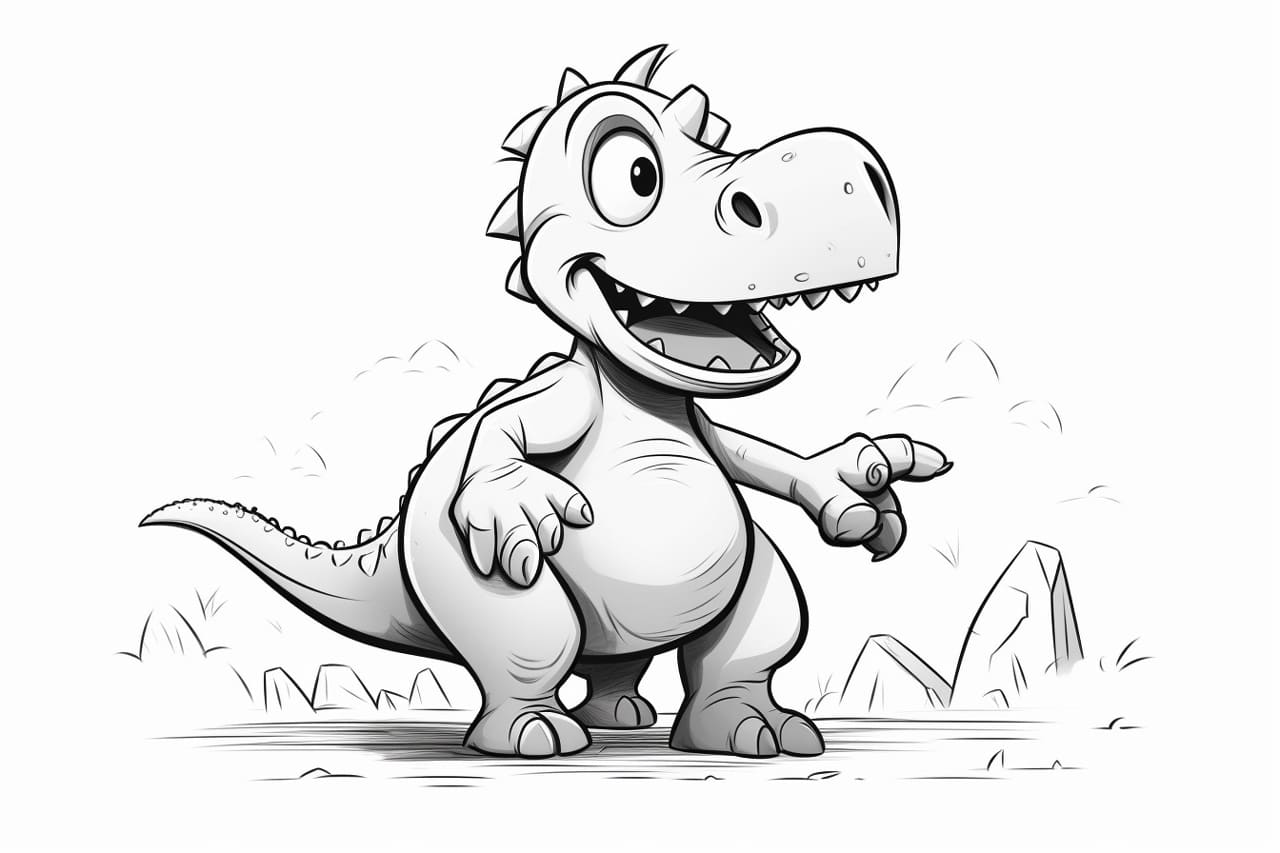
Welcome to this step-by-step guide on how to draw a cartoon dinosaur! Whether you’re a beginner artist or a seasoned doodler, this tutorial will provide you with clear and concise instructions to create your very own adorable dinosaur character. So grab your paper and pencil, and let’s get started!
Materials Required
Here are the materials you’ll need for this drawing tutorial:
- Paper: Use a clean, white sheet of paper. You can choose any size based on your preference.
- Pencil: A regular graphite pencil would work just fine.
- Eraser: Have a good quality eraser handy for any mistakes you might make along the way.
- Colored Markers or Pencils (optional): If you’d like to add some color to your cartoon dinosaur, have some colored markers or pencils ready.
Now that you have your materials ready, let’s dive into the steps of drawing a cartoon dinosaur!
Step 1: Draw the Body Outline
Start by drawing a large oval shape in the center of your paper. This will serve as the body of your dinosaur.
Step 2: Add the Head and Neck
From the top left side of the oval, draw a smaller oval shape slightly tilted to the right. This will be the head of your dinosaur. Connect the head to the body using a curved line for the neck.
Step 3: Create the Legs
Draw two straight lines extending downwards from the body. These will be the front legs of your dinosaur. For each leg, add a curved line at the bottom to represent the foot. Repeat this process to create the hind legs as well.
Step 4: Craft the Tail
Extend a curved line from the back of the body to create the tail of your dinosaur. You can make it short and stubby or long and whippy – it’s up to you!
Step 5: Define the Facial Features
Now it’s time to add some personality to your dinosaur. Draw two small circles near the top of the head for the eyes. Underneath the eyes, draw a slightly curved line for the snout. Add a tiny circle at the end of the snout for the nose. To complete the facial features, draw a smiling mouth using a curved line.
Step 6: Add Details to the Body
Give your dinosaur some texture and character by adding small triangular shapes along its back. These will represent the dinosaur’s bumpy scales. You can also draw a few short lines on the legs to indicate joints.
Step 7: Refine the Outline
Take a moment to refine and darken the outline of your cartoon dinosaur, erasing any unnecessary lines from earlier steps. This will give your drawing a cleaner and crisper appearance.
Step 8: Color (Optional)
If you’d like to add color to your cartoon dinosaur, now is the time to do so! Use colored markers or pencils to bring your creation to life. You can choose traditional green for a classic dinosaur look, or let your imagination run wild with any colors you desire.
Conclusion
Congratulations! You’ve successfully learned how to draw a cartoon dinosaur. By following these step-by-step instructions, you’ve created your very own lovable dinosaur character. Remember, practice makes perfect, so keep honing your drawing skills and have fun experimenting with different dinosaur variations. Happy drawing!